How to Use a Lotion Bar + Recipe for Easy DIY Bars
As a participant in the Amazon Services LLC Associates Program and other affiliate programs, Easy Homemade Life may collect a share of sales or other compensation from the links on this page. This comes at no additional cost to you, and all the prices and availability are accurate at the time of publishing.
If you’re not sure how to use a lotion bar, don’t worry; it’s easier than it looks! Unlike liquid lotions that can leave your skin greasy, lotion bars glide on smoothly, absorb quickly, and keep your skin soft without any mess. Compact and convenient, they’re perfect for on-the-go skincare, and with a little practice, you’ll wonder how you ever lived without one.
This post covers everything you need to know about using a lotion bar, including common mistakes to avoid and tips for maximizing its benefits. Plus, forget about trying to emulsify lotion yourself and make our homemade lotion bars recipe with organic beeswax, coconut oil, shea butter, and essential oils included at the end of the post.
What are Lotion Bars and Why Use Them?
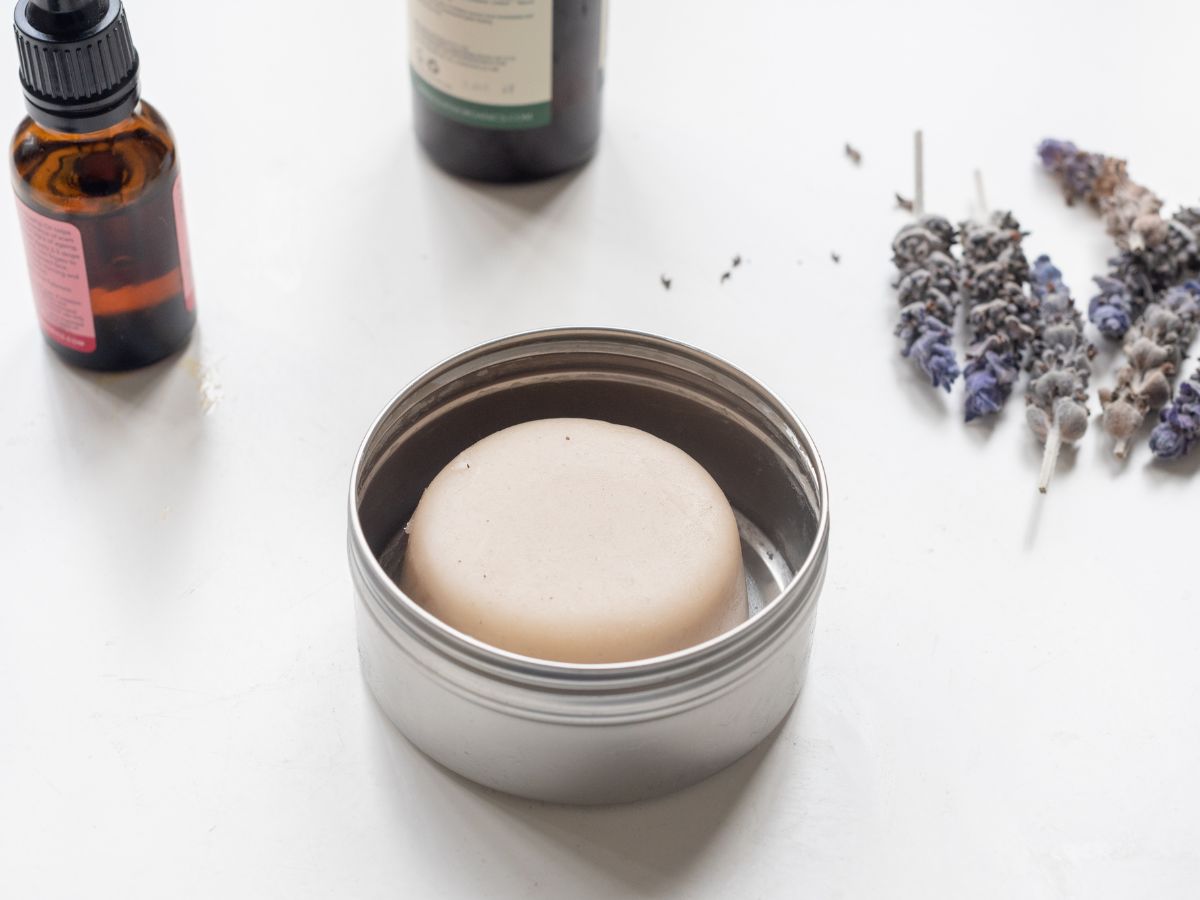
Lotion bars are a solid form of lotion that you can use to moisturize your skin. They look similar to a bar of soap. Unlike traditional lotions, they don’t require any bottles, pumps, or tubes, and they’re mess-free and easy to use.
Solid lotion bars are a convenient option for people who are always on the go and don’t have time to deal with the mess and inconvenience of traditional lotions. They are safe to bring on airplanes and won’t get you in trouble. You’re also less likely to spill lotion on your clothes and face dealing with a nasty stain.
Furthermore, solid lotion bars tend to include all-natural ingredients more often than liquid lotion. This is largely due to traditional lotions needing preservatives and fillers to create and balance the liquid consistency. Unfortunately, that means introducing yourself to potentially harsh chemicals that can irritate the skin.
Additionally, solid body lotion bars are more concentrated than their traditional counterparts, so you get more moisturizing power in every application. Finally, lotion bars greatly minimize the need for packaging and can offer an entirely zero-waste presentation, which pump lotion can never do.
In summary, a hard lotion bar offers these main benefits:
- Convenience: Not messy to use or bulky to store.
- Non-greasy: Common ingredients are typically quick to absorb.
- Portable: Easy to take on the go, small and compact.
- Concentrated: Ultra-moisturizing.
- Long-lasting: A little goes a long way.
- Clean ingredients: No fillers, preservatives, parabens, or alcohol.
- Zero waste: Minimal to zero packaging.
Lotion bars have become increasingly popular in recent years, and a wide variety of options are available on the market. They make great gift ideas and are useful for the entire body, including sensitive skin areas like the face. They’re also a nice DIY project to take on with your partner if you’re looking for at home Valentine’s Day ideas.
You may have seen them in the store or come across a recipe for DIY lotion bars on Pinterest, but haven’t tried one yet because they are a little confusing at first.
Knowing how to use a lotion bar is important, so you can get the most out of the experience and enjoy taking care of your skin. Let’s continue exploring to dial in exactly how to rub lotion bars on your skin.
How to Warm Up Your Lotion Bar
Bars are naturally solid at room temperature, so it’s important to warm them up properly before using your lotion bar. This helps to soften the bar and make it easier to apply to your skin. Otherwise, you can irritate the skin by being so abrasive and rub off clumps of the bar in a very ineffective way.
To warm up your lotion bar:
- Rub it between your hands for 10-15 seconds until the body heat begins to melt the ingredients slightly.
- Place it on a warm surface like a radiator or in a sunny window.
How to Use a Lotion Bar: A Step-by-Step Guide
Using a lotion bar is as simple and easy as rubbing a warm bar over your body like a bar of soap. This technique works for all shapes and sizes, from full-sized to mini-lotion bars
Follow these step-by-step instructions to get the most out of your lotion bar:
- Apply the warmed solid bar directly to your skin. It should glide over easily. Start with a small amount, and add more as needed.
- Massage the lotion bar into your skin using circular motions.
- Pay particular attention to dry areas of the body, such as the elbows, knees, and heels. These areas tend to be more prone to dryness and can benefit from intentional moisturizing.
- For areas of the body that require more precision, such as the face or neck, you can warm up the lotion bar and then apply it using your fingertips.
- Once you’ve applied the lotion bar to all desired areas, allow it to absorb fully before getting dressed or applying other skincare products.
After a hot shower, I get the best results applying lotion when my skin is relaxed and the pores are open, ready to absorb the moisturizer. Dry off well and then rub in the body butter. But you can also apply lotion any time you notice dry skin.
Feel free to extend the usefulness of a lotion bar and use it as a replacement to massage oil or keep it by your skin and use it after washing hands. In a pinch, lotion bars can also serve as a substitute for lip balms.
By following these steps, you can get the most out of your lotion bar and enjoy healthy, moisturized skin all day long.
Common Mistakes to Avoid When Using Lotion Bars
Using a lotion bar sounds pretty straightforward, doesn’t it? Even so, there are some common mistakes you will want to avoid.
- Applying too much: Lotion bars are concentrated, meaning a little goes a long way. Applying too much leaves a greasy residue on the skin that is more than it can absorb, thereby reducing the effectiveness of all your nice moisturizing ingredients.
- Using on wet skin: Lotion bars are for external use only and are meant to be applied to dry skin. Applying them to wet or damp skin can prevent them from absorbing properly or making the skin feel sticky.
- Storing improperly: Lotion bars should be stored in a cool, dry place away from direct sunlight. They can melt and make a mess if they are exposed to heat or moisture.
- Not warming up enough: Lotion bars must be warmed up before use to make them easier to apply. If you don’t warm them up enough, they may not glide smoothly on the skin, making them difficult to apply evenly.
- Not rubbing in properly: Lotion bars need to be massaged into the skin for maximum effectiveness. If you don’t massage them in properly, they may leave a greasy residue on the skin or not be fully absorbed.
- Choosing the wrong formula: Lotion bars come in various formulas, and it’s important to choose one that’s right for your skin type. Using a lotion bar that’s too heavy or light for your skin can cause issues like clogged pores or dryness.
Best Tips for Storing Lotion Bars
Lotion bars last for many months without any sanitary issues. Unlike regular lotion, lotion bars never use water so they are not hospitible to bacteria and fungus.
- Store your lotion bar in a dry, cool place away from direct sunlight.
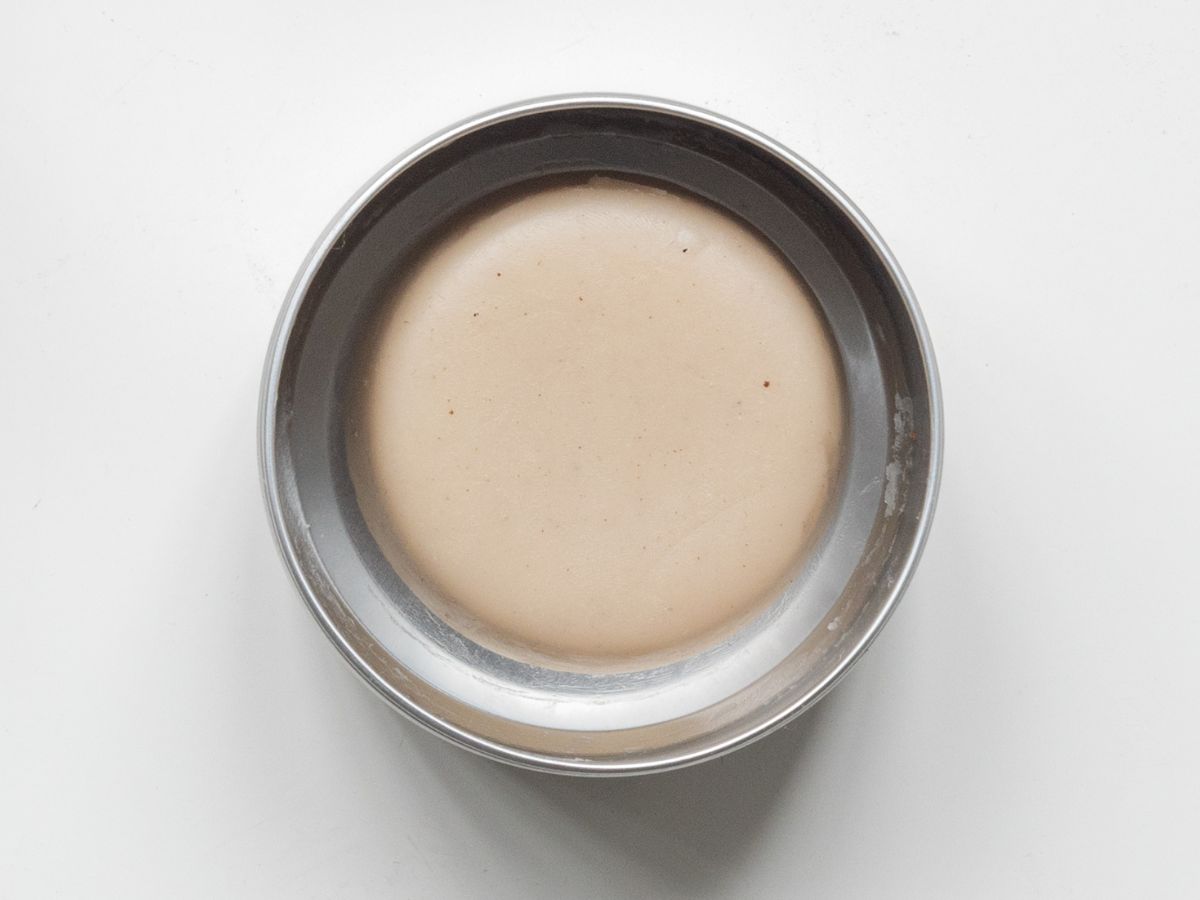
- Keep your lotion bar in a tin or container to protect it from moisture and heat.
- If you live in a warm climate or are traveling with your lotion bar, store it in the refrigerator or freezer to keep it from melting.
Always check the storage instructions on the packaging of your lotion bar for any specific recommendations from the manufacturer.
How to Make a Homemade Lotion Bar
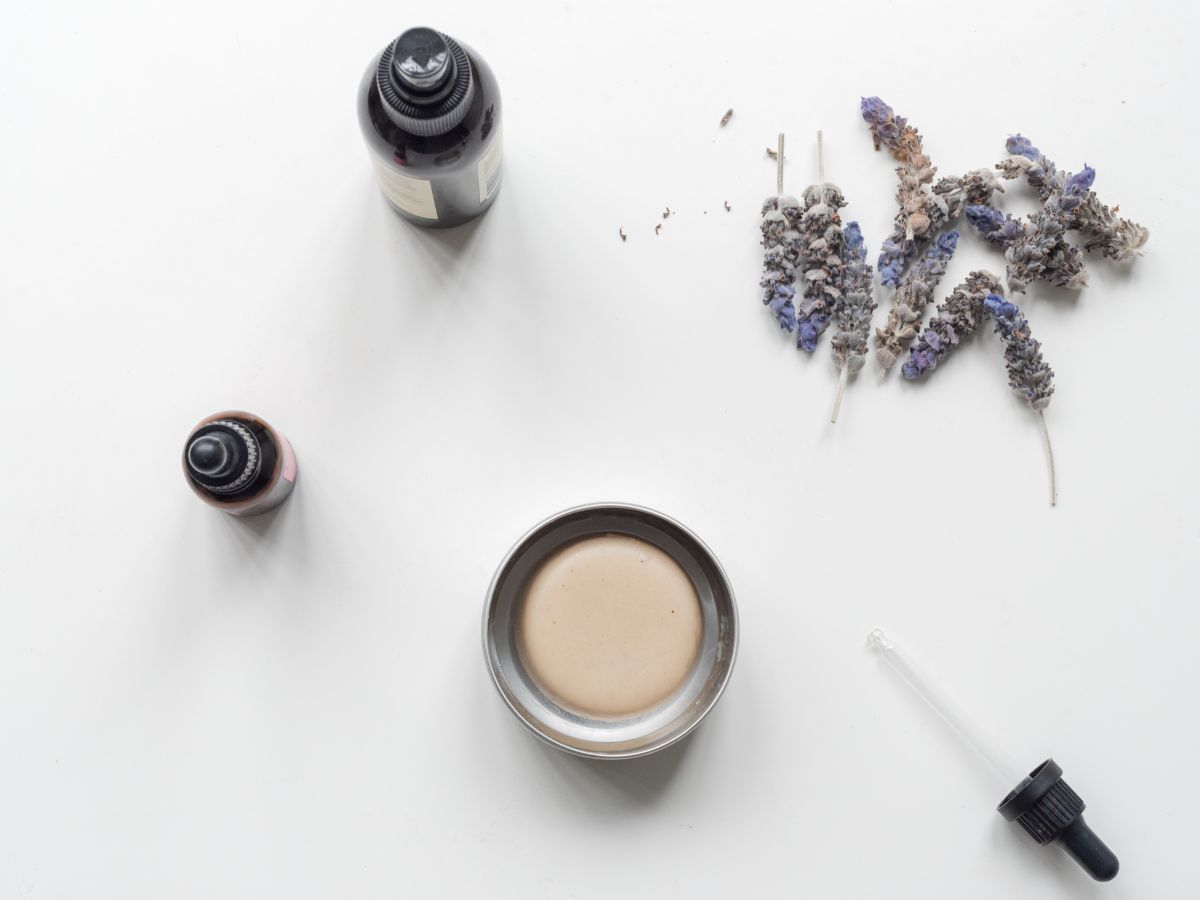
Make homemade body butter bars by combining coconut oil, shea butter, beeswax, and lavender essential oil then pouring into a lotion bar mold. This process provides a simple yet effective way to make your own personal care products, ideal for keeping your skin soft and hydrated, with naturally moisturizing and nourishing ingredients.
Materials:
- 1/4 cup coconut oil
- 1/4 cup shea butter
- 1/4 cup beeswax pastilles
- 40 drops lavender essential oil, optional, can omit for an unscented lotion bar
Substitutions:
- Coconut oil: Swap out for another natural oil of your choice. For example, use equal parts olive oil, avocado oil, jojoba oil, sweet almond oil or a combination thereof.
- Shea butter: Substitute organic shea butter for the same amount of mango butter, or organic cocoa butter.
- Beesax pastilles: Replace pastilles with beeswax shredded or grated from a larger bar. Alternatively, use plant-based candelilla wax or carnauba wax. Soy wax may also be used. However, beeswax gives the best results, all the better if you can source local beeswax.
- Lavender essential oil: I suggest other single essential oils or a combination of oils rather than synthetic fragrance oil. You might like essential oils for pain relief, fresh woodsy essential oil blends, or seasonal winter essential oils instead of a floral fragrance.
Instructions:
- Warm the coconut oil, shea butter, and beeswax over medium heat in a double boiler or DIY alternative. Stir occasionally until fully melted.
- Remove from heat. Stir in the optional essential oil.
- Pour into a little metal tin or silicon soap mold and leave to set at room temperature or in the refrigerator. Pop the bars out of the silicone mold if using. Store them in an airtight container or put the lid on the tins and keep them in a cool, dry place for six months.
Lotion bars are a game changer for your simple skincare routine. A non-greasy lotion bar proves a reliable, convenient, homemade, natural product with organic ingredients. It’s a great alternative to traditional lotions while also providing superior moisturizing benefits.
More Easy Homemade Skincare Ideas
- Mosquito repelling lavender lotion
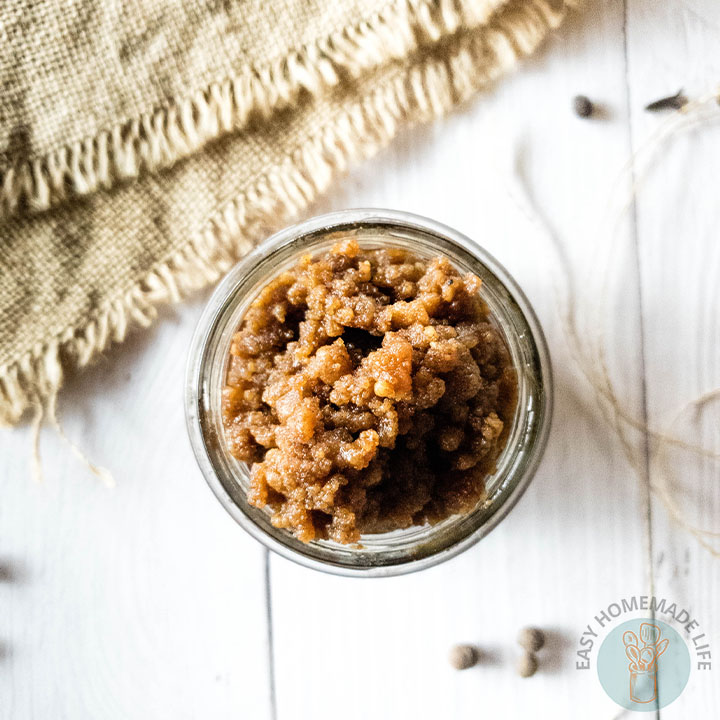
- Goat milk body scrub with honey
- Homemade turmeric scrub
- Lavender sugar scrub
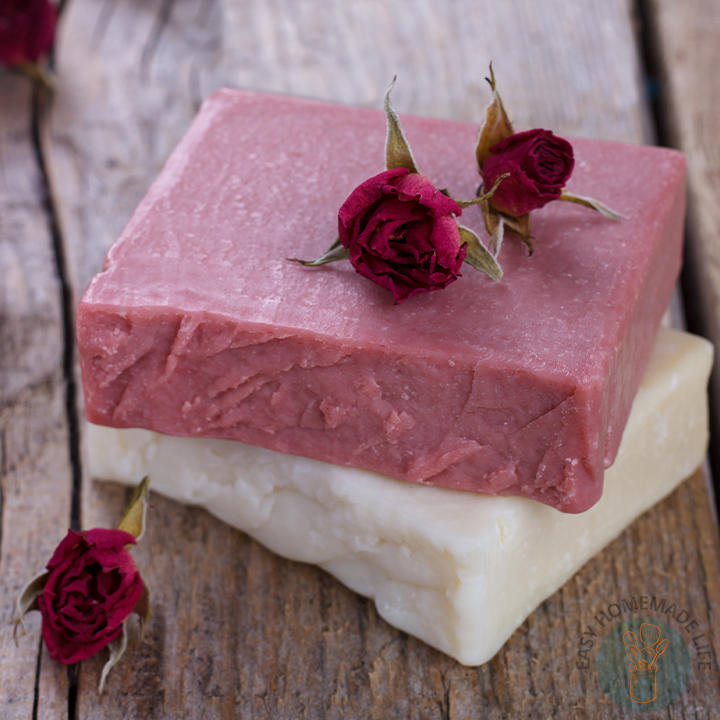
- Rose soap
Homemade Lotion Bar Recipe
Equipment
- 1 Measuring cup
- 1 Double boiler
- 1 Spoon
- 1 Silicone mold
Materials
- ¼ cup coconut oil
- ¼ cup shea butter
- ¼ cup beswax pastilles
- 40 drops lavender essential oil
Instructions
- Warm the coconut oil, shea butter, and beeswax over medium heat in a double boiler or DIY alternative. Stir occasionally until fully melted.
- Remove from heat. Stir in the optional essential oil.
- Pour into the silicon soap mold and leave to set at room temperature or in the refrigerator. Then, pop the bars out of the mold and store them in an airtight container in a cool, dry place for up to six months.