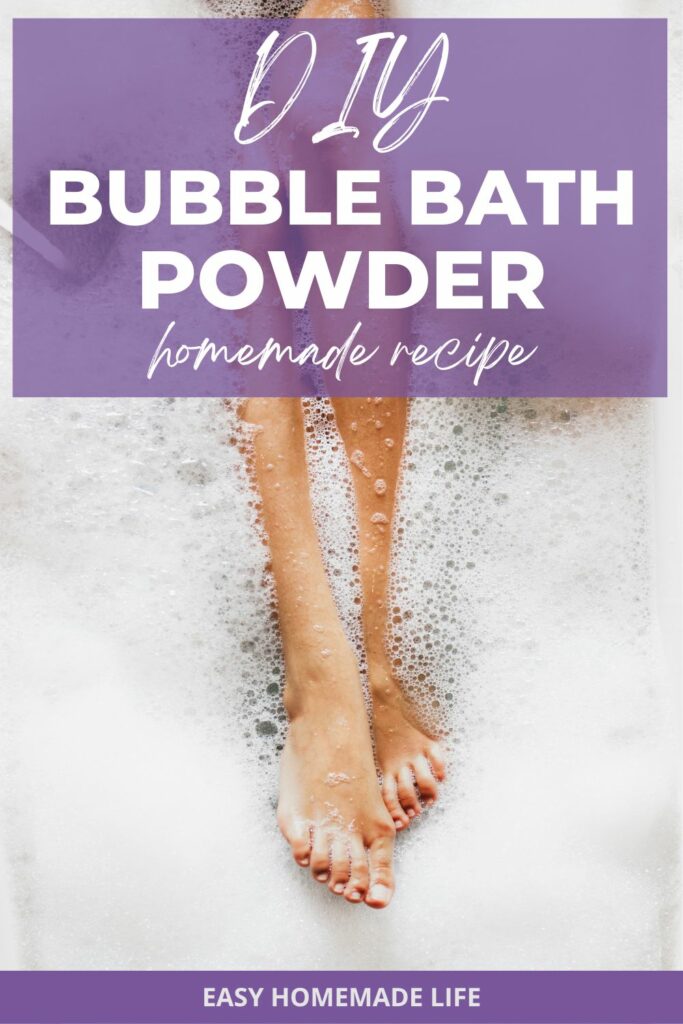
DIY Bubble Bath Powder Recipe
As a participant in the Amazon Services LLC Associates Program and other affiliate programs, Easy Homemade Life may collect a share of sales or other compensation from the links on this page. This comes at no additional cost to you, and all the prices and availability are accurate at the time of publishing.
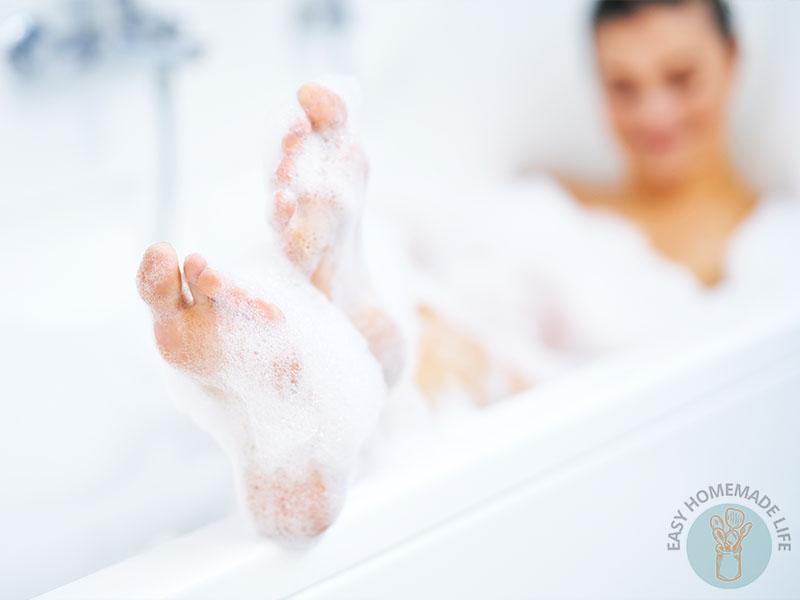
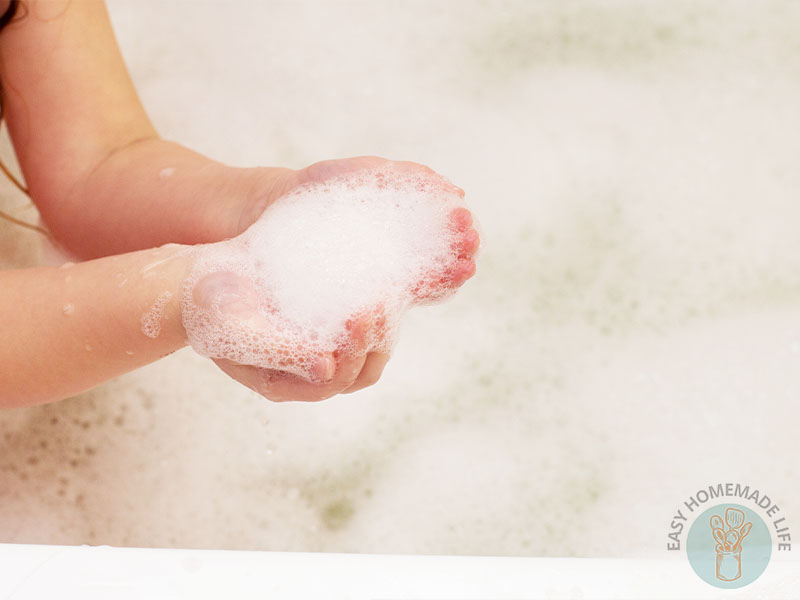
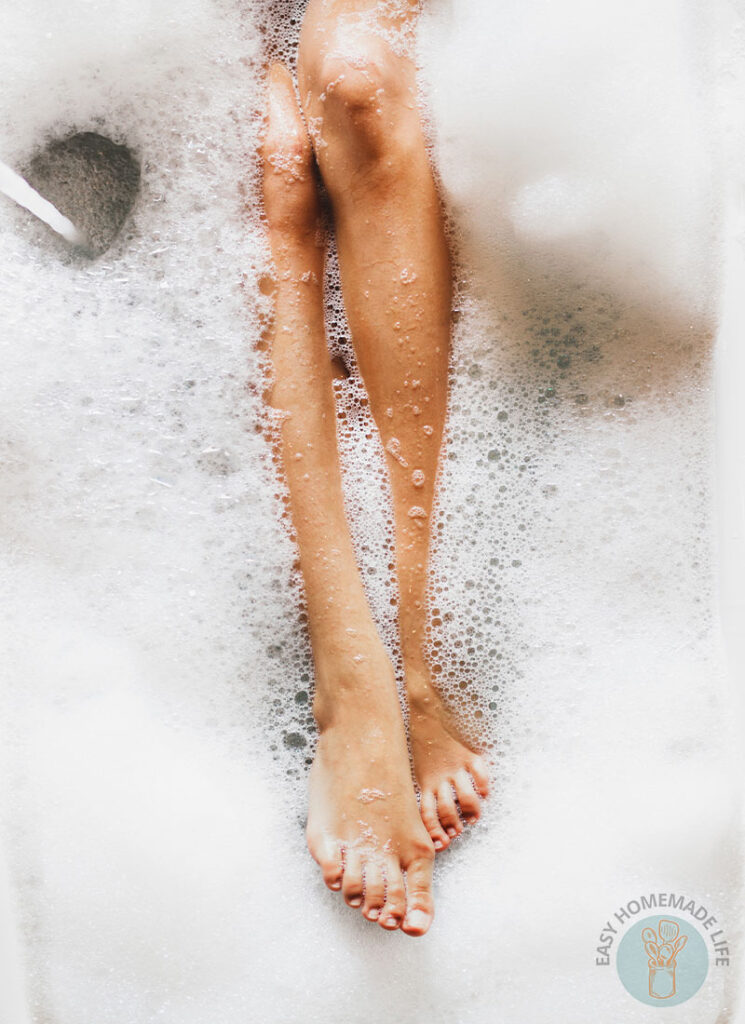
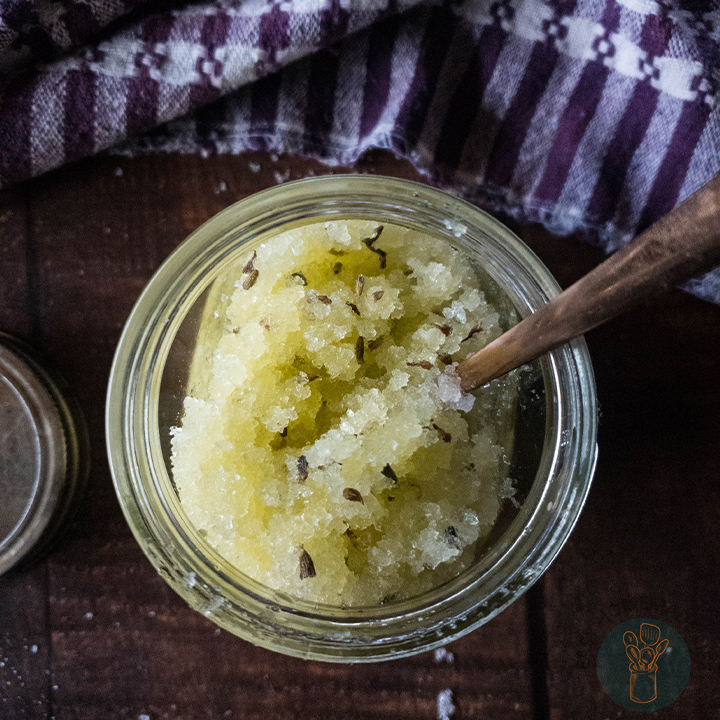
This homemade bubble bath powder creates firm, long-lasting bubbles that delight bathers of all ages. Scoop up fluffy foam mountains, make a little bubble beard, or melt into a cloud of suds. However you like to soak, this quick DIY comes together with just a few simple ingredients and a whole lot of joy.
What is Bubble Bath Powder?
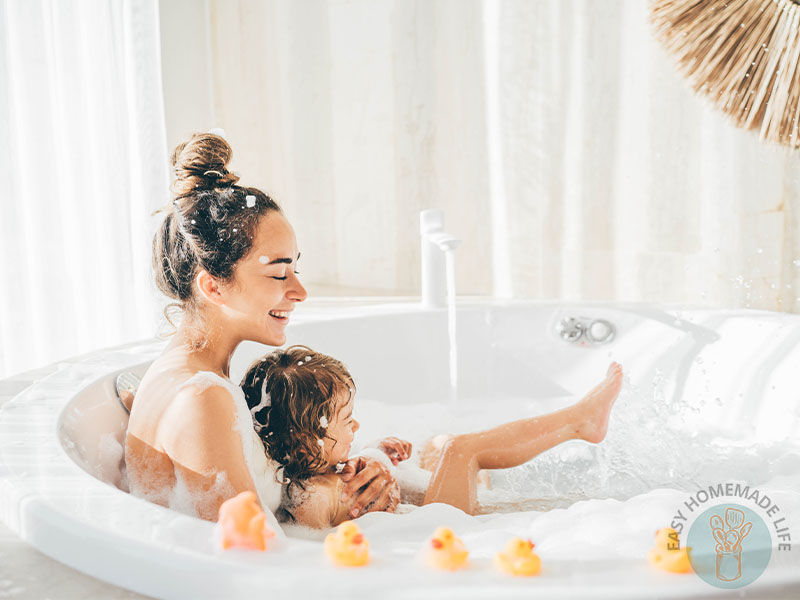
Bubbles make everything fun, but nothing more so than bath time. For a child, toddler, baby, or adult, bubble baths are a treat.
Bubble bath powder is a dry bubble bath mixture that acts as a foaming bath powder when you dissolve it in water. It works the same way as bubble bath liquid and fizzing bath bombs do. All you need to do is add a portion to running water and watch it foam up!
Some might know this as foaming bath dust or magic powder bubble bath. Either way, it works well as a homemade bubble bath for kids. So call it whatever you like and share some with everyone you know! It makes an ideal last-minute gift for a variety of ages, a great stocking stuffer idea for kids, and a fun birthday gift for teens.
It’s easy to duplicate this recipe and make enough for everyone in your life. Once you pack the finished bath powder into a jar and tie it off with a ribbon, I’m sure you will think of many people who would enjoy it.
How to Make Homemade Bubble Bath Powder
Ready to make homemade bubble bath powder? All you need are four simple ingredients. Using an essential oil to add scent and a colorant to add color is optional.
Tools & Equipment
- Medium fine mesh strainer
- Large mixing bowl
- Metal whisk
- Mask, recommended
- Dropper or teaspoon to measure 5 mL
- Baking sheet
- Parchment paper
- Storage jar with lid
Materials
Baking soda: Use 1 cup baking soda for the base of this powder
SLSA: This is short for sodium lauryl sulfoacetate, a coconut derived bubble powder. It is not the same as sodium laureth sulfate (even though the names sound the same) which has controversial effects in personal care items. SLSA is a safe foaming agent for babies and people of all ages. I suggest buying it on from a good source.
Citric acid: Without citric acid, the powder gets clumpy and is hard to sift. You can also buy citric acid.
Essential oil: Optional if you like fragrance. Pick any favorite scent like lavender essential oil or lemon essential oil from your essential oil kit.
Colorant: Optional; otherwise the powder remains white. You can use liquid or powder colorants. Make sure they are safe for bath and beauty products like this skin safe dye.
Liquid bubble bath: We use 5 teaspoons for the whole recipe, which breaks down to 5 mL (same as 1 tsp) liquid bubble bath solution per ½ cup dry powder. I’d opt for a mild bubble bath so you can customize it with your own essential oils rather than one with a heavy scent.
Step-By-Step Directions
There are only 15 minutes of active time, but the project needs 12-24 hours to dry. Starting this over the weekend when you have a few days off in a row is a great time to make bubble bath powder!
Mix the formula
Measure the ingredients and use a metal whisk or spoon to sift the baking soda and SLSA powder through a fine mesh strainer placed over a large mixing bowl. Wear a mask and work in a well ventilated area to prevent breathing in the powders as you mix ingredients together.
Next, stir in citric acid.
If you are adding essential oils and color dye, now is the time. Begin with 40 drops of essential oil (your choice of scent) and 10 drops of liquid dye. Mix well, test, and adjust as you see fit.
You can get fancy with the colors if you want. Divide the total batch into multiple smaller bowls and make as many colors as you like. Follow these color palette tips for picking the perfect colors!
When it comes time for storing, you can make an exquisite display of what looks like colored sand art, but I suggest sticking to a basic layering technique for practical purposes. It’s easy enough for kids to do too, so bring your helpers over if you have them!
Let’s get back to the powder. Our final step for making the mixture is measuring the liquid bubble bath with a dropper or teaspoon and squirting it over the dry powder. Mix again well.
Wait for it to dry
Line a flat surface like a rimmed baking sheet or 9×13-inch glass baking dish with parchment paper and spread the powder in a thin, even layer.
Wait 12-24 hours until dries completely.
Store & Use
Now that the powder is dry, lift the paper liner, curl it into a tight taco shape and dump it all into a strainer resting over a bowl for the last sifting. Use the back of a spoon to break apart all lumps.
The end result should flow out of your fingers like dry sand. It’s a light, even weight material that is ready to pour and has no lumps.
Transfer the powder from the bowl to recycled jars or mason jars with open cut daisy lids. The daisy lids are great for pouring out of, but I suggest placing a piece of plastic wrap over the jar first and then screwing the lid on. This will prevent any powder from spilling accidentally. Trim off any plastic that extends past the lid.
If you store with a closed lid, double check that the powder is bone dry (no moisture left!) before bottling for storage. Even the smallest amount of moisture could negatively react with the citric acid and cause built up pressure that eventually breaks the bottle. We don’t want that!
Store the powder in the bathroom and use as often as you like by adding four tablespoons to running water as you fill up the bath. This recipe yields 2.5 cups which is enough for 10 baths. Treat your kids or your self for a self-care Sunday soak.
More DIY Bath and Beauty Recipes
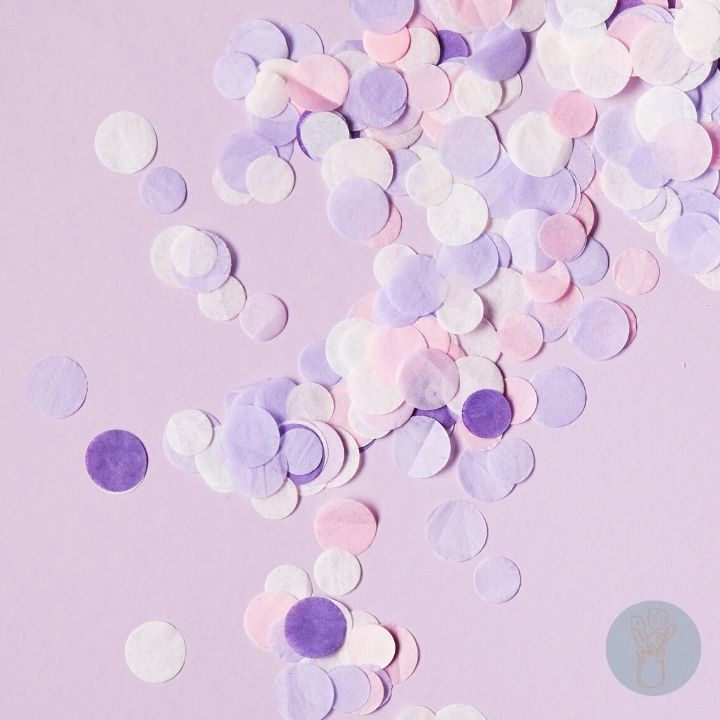
- DIY bath confetti with rice paper
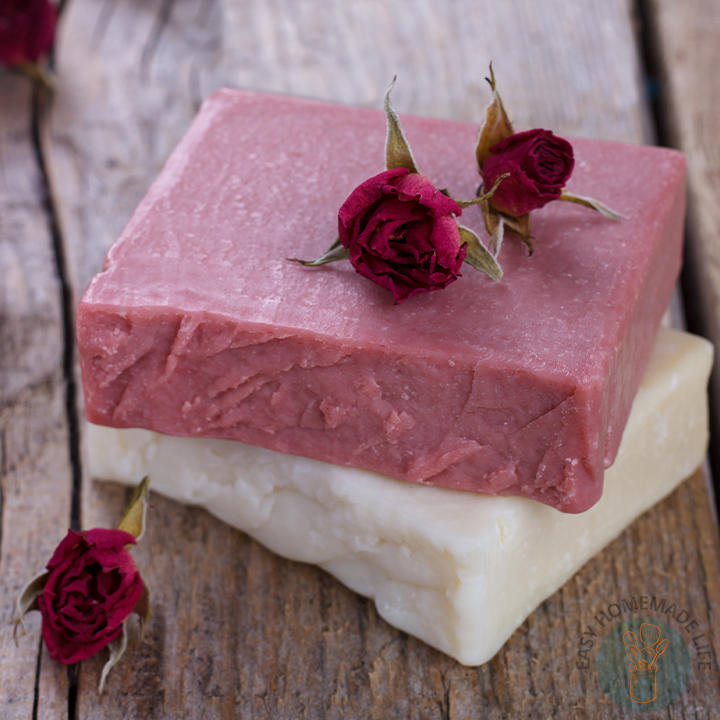
- DIY turmeric soap
- DIY face mask for dry skin
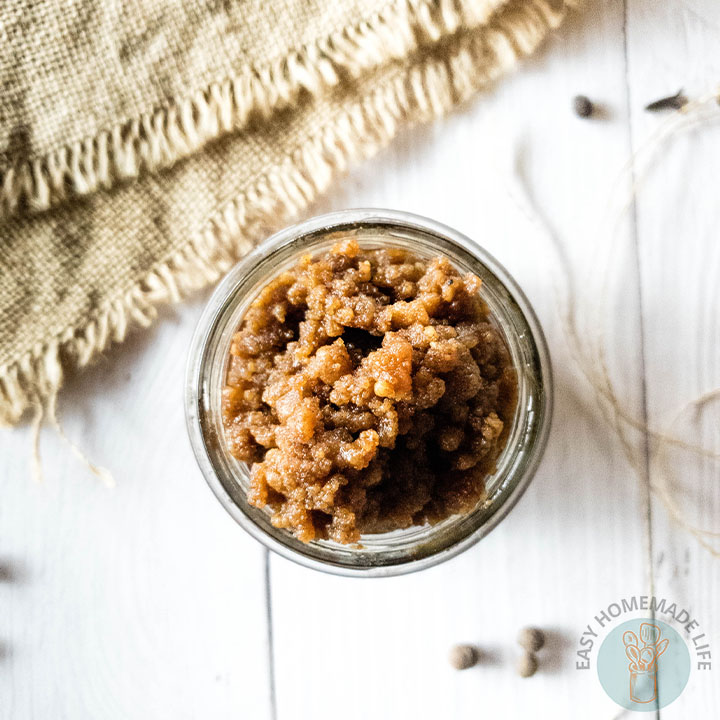
- Homemade body salt scrubs recipes with essential oils
Bubble Bath Powder Recipe
Equipment
- 1 Medium fine mesh strainer
- 1 Large mixing bowl
- 1 Metal whisk
- 1 Mask recommended
- 1 Dropper to measure 5 mL or teaspoon
- 1 Baking sheet
- 1 Parchment paper
- 1 Storage jar with lid
Materials
- 1 cup baking soda
- 1 cup SLSA
- ½ cup citric acid
- 40 drops essential oil optional
- 10 drops colorant optional
- 5 teaspoons liquid bubble bath 25 ml
Instructions
- Use a metal whisk or spoon to sift the baking soda and SLSA powder through a fine mesh strainer placed over a large mixing bowl. Wear a mask and work in a well ventilated area to prevent breathing in the powders as you mix ingredients together.
- Stir in citric acid. If you are adding essential oils and color dye, now is the time. Begin with 40 drops of essential oil (your choice of scent) and 10 drops of liquid dye. Mix well, test, and adjust as you see fit.
- Measure the liquid bubble bath with a dropper or teaspoon and squirt it over the dry powder. Mix again well.
- Line a flat surface like a rimmed baking sheet or 9×13-inch glass baking dish with parchment paper and spread the powder in a thin even layer. Wait 12-24 hours until dries completely.
- Once dry, lift the paper liner up, dump the contents into a strainer resting over a bowl for the last sifting. Use the back of a spoon to break apart all lumps.
- Transfer the powder to a storage jar and keep in the bathroom for use. Add 3-4 tbsp under running water as you fill the bath.
Do you know of a natural substitute for SLSA?
That’s a great question! I wondered the same and usually use liquid castile soap as an alternative. However, I didn’t know how to apply that to this powder. If you find a viable option, please let me know!