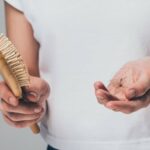
How to Get Lint Out of a Hairbrush Easily
As a participant in the Amazon Services LLC Associates Program and other affiliate programs, Easy Homemade Life may collect a share of sales or other compensation from the links on this page. This comes at no additional cost to you, and all the prices and availability are accurate at the time of publishing.

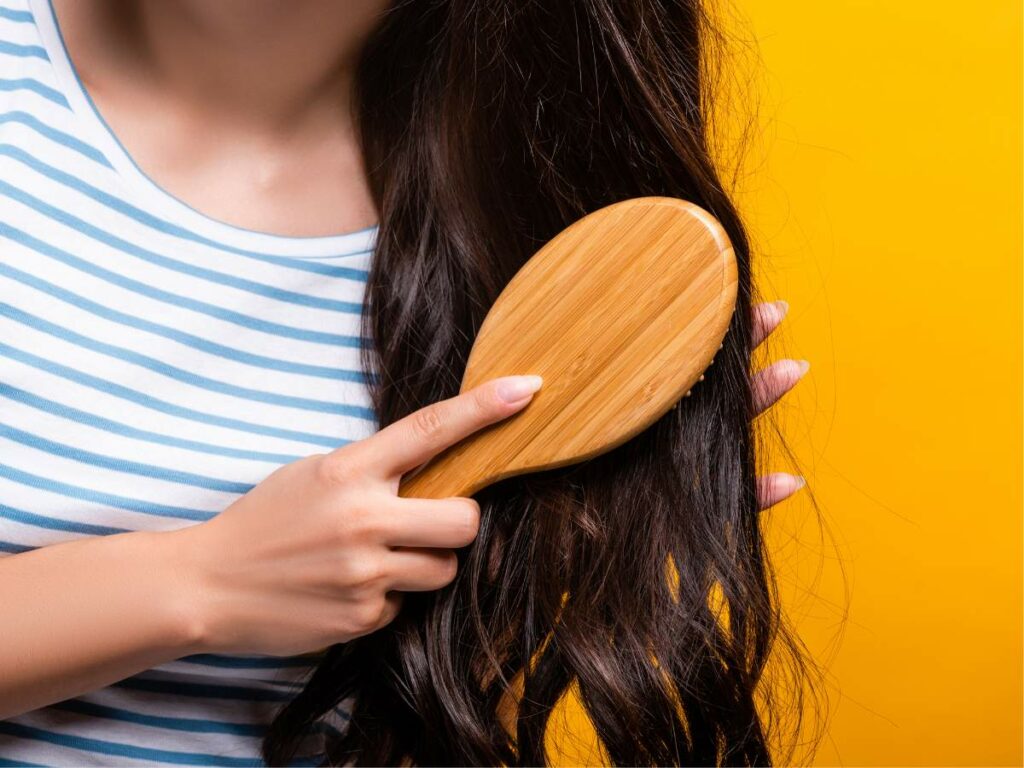
Learning how to get lint out of a hairbrush is something useful that everyone should know. I get it. It’s probably not something you would get excited about, but keeping your hairbrush clean will do wonders for your hair.
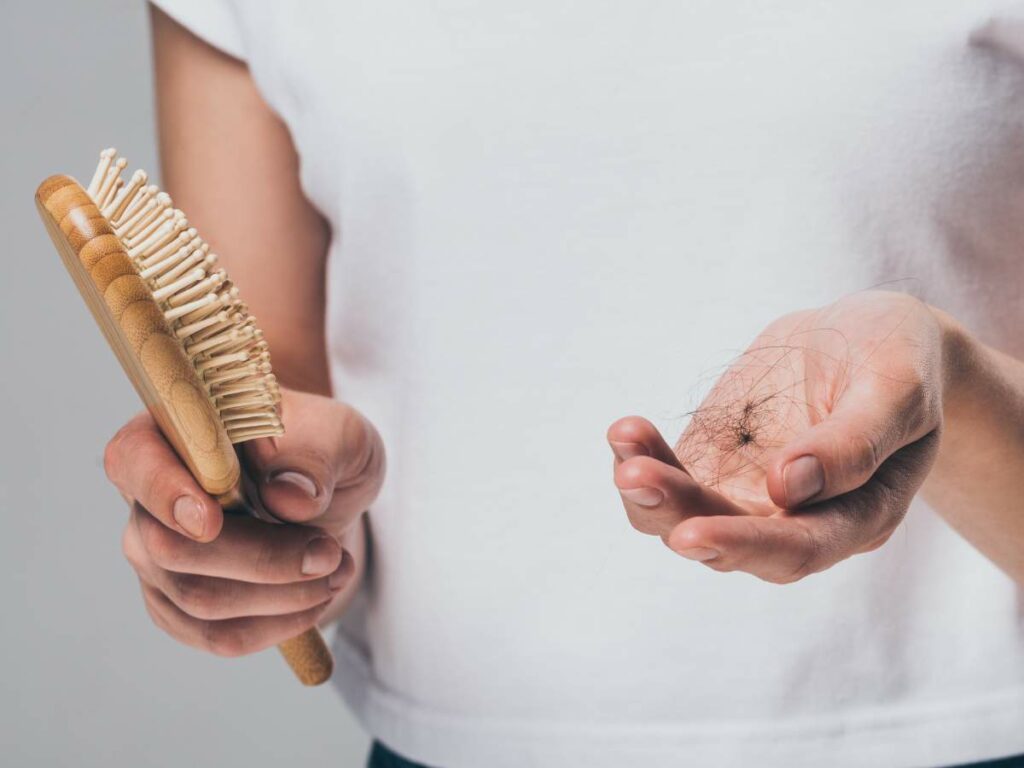
Any hairbrush needs regular cleaning as lint, dirt, oils, hair strands, and hair product residue accumulate in the brush bristles over time, which can greatly compromise your hair health and hygiene.
And if you think about it, are you really okay with all that gunk ending up back on your hair? Fortunately, removing lint accumulation and deep cleaning a hairbrush is fairly easy.
I’m excited to share with you a step-by-step guide on how to get lint out of a hairbrush effectively, plus some useful insight on keeping your hairbrush clean. Let’s get started!
How to Get Lint Out of Hairbrush Step-By-Step
Lint refers to the visible accumulation of various materials like dirt, hair, and textile fibers usually found on clothing. On a hairbrush, lint is typically a mixture of dead skin cells, natural oils from the scalp, dust, and excess hair products, so it’s definitely something you want to remove.
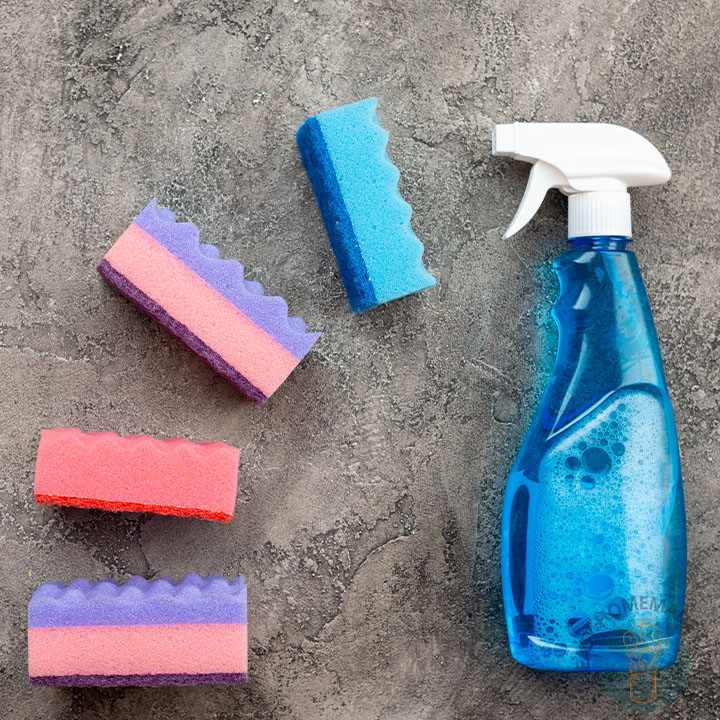
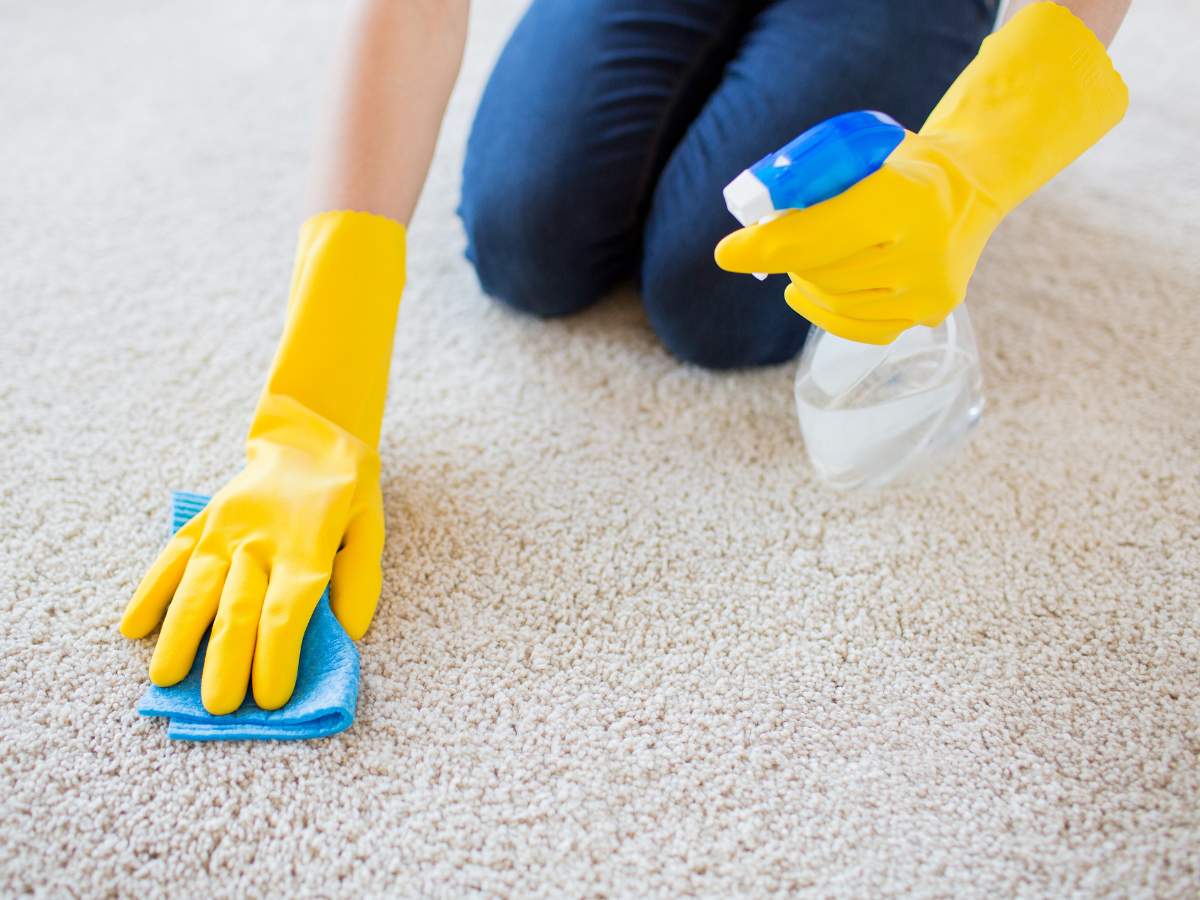
Here’s a simple way to remove lint from your hairbrush, followed by a deep clean so that your brush remains a reliable tool for keeping healthy hair. First, you’ll need a few materials.
Things You’ll Need
The things you’ll need can be easily found around your home. It’s ideal to gather everything in one place before you start to make cleaning more efficient.
- Tweezers, scissors, or a fine-toothed comb
- Toothbrush
- Shampoo
- Baking soda
- Rubbing alcohol or disinfectant spray
- Warm water
- Cotton pads
- A big bowl
- A clean towel
Step 1: Remove hair from the brush
The first step of the cleaning process is get rid of loose hair from the bristles. You can use a tweezer, a comb, or your fingers to do this. If there’s plenty of hair wound around the bristles, use a pair of scissors to cut away the strands before gently pulling them out.
Step 2: Remove the lint
Once you’ve cleared your hairbrush of hair, the next step would be to work on removing the lint and other product buildup. These can be a little harder to remove because they’re usually stuck to the base of the brush. Use tweezers to remove as much lint as you can before washing your hairbrush.
Step 3: Soak the brush
Next, pour warm water into a bowl and add a few drops of gentle shampoo (preferably one without conditioner). Swish the water with the brush to create some suds, then soak the brush head into the water and wait for about ten minutes.
Skip this step if you’re using a wooden hairbrush. I wouldn’t recommend soaking it, as water can damage the material. Instead, dip a clean old toothbrush in warm, soapy water and scrub gently between the bristles.
Step 4: Scrub with a toothbrush
Once the ten minutes are up, remove your hairbrush from the water and inspect it for any remaining lint. Use a clean, dry toothbrush to sweep both vertically and horizontally between the bristles to make sure that you get rid of all the lint.
Optionally, you can dip the toothbrush in dry baking soda and continue scrubbing, as baking soda’s chemical properties and abrasive texture are effective for removing dirt and buildup.
After cleaning the bristles, use cotton pads to wipe down the handle of your hairbrush. It’s also important to clean the handle because it likely has plenty of dirt and product residue.
Step 5: Rinse
Replace the soapy water in the bowl with clean, warm water. Soak the brush head in the water, rinse thoroughly, then shake out the excess water. Quickly rinse wooden brushes or hairbrushes with natural bristles under warm running water instead of soaking them.
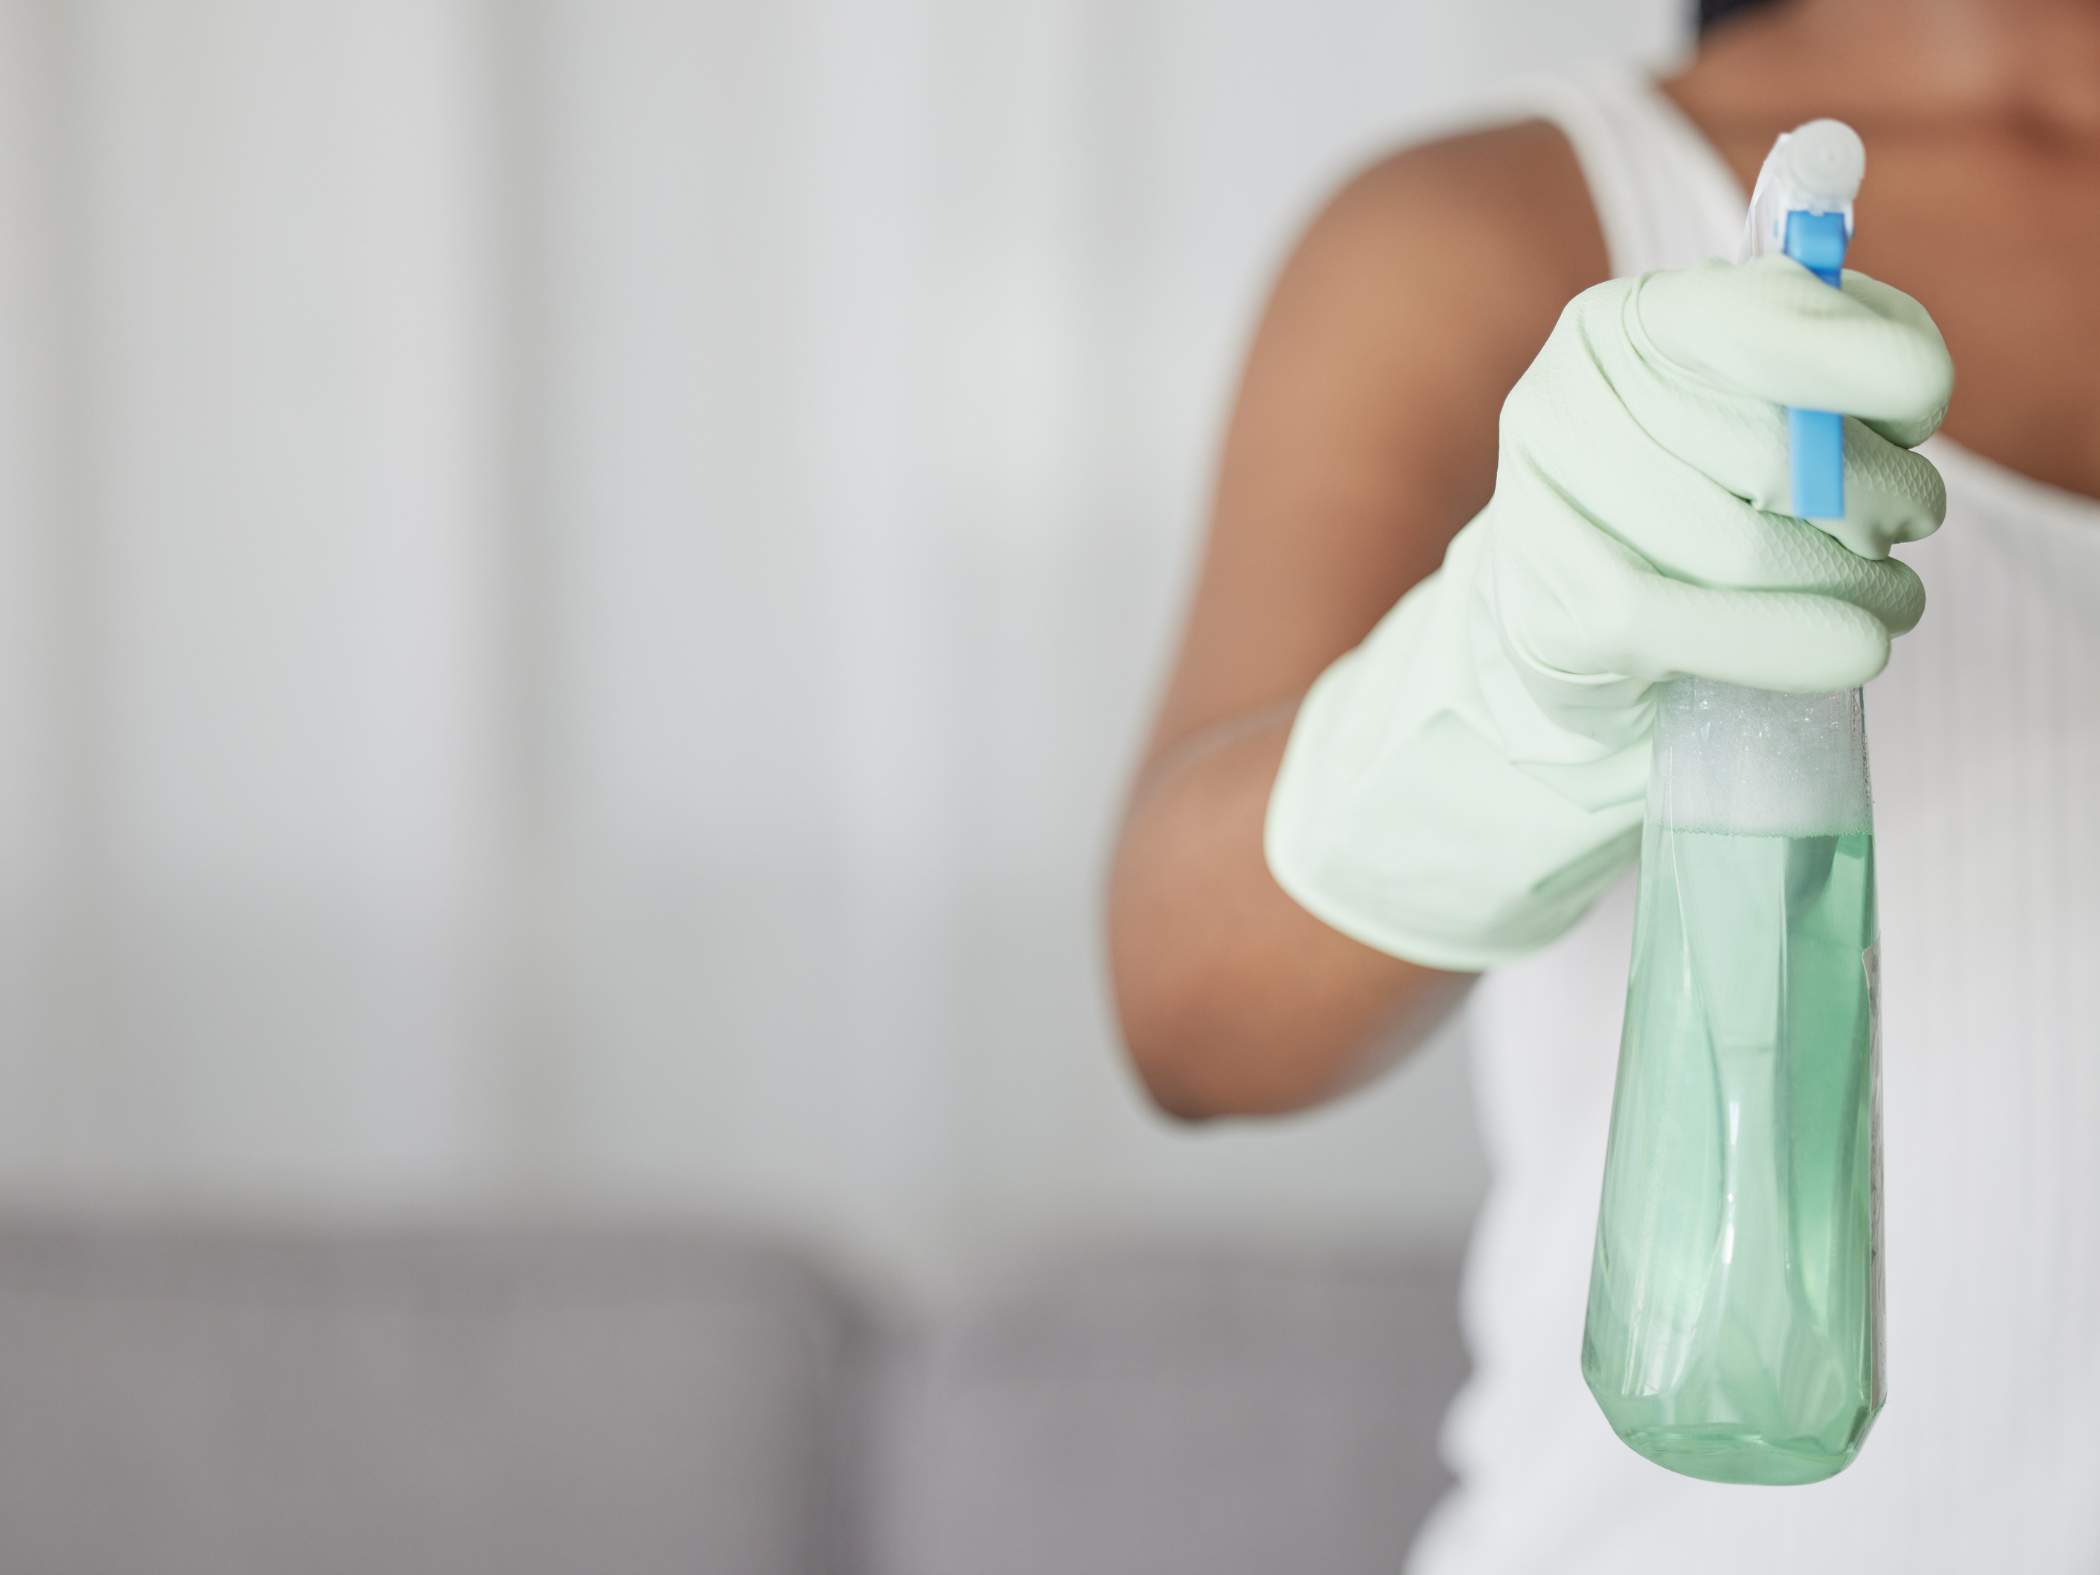
Step 6: Sanitize
The last step is to sanitize your hairbrush. If you use the synthetic variety, you can combine one part rubbing alcohol and one part water in a bowl. Dip your hairbrush in the mixture, pat dry with a paper towel, then place face down on a clean towel to dry.
If you use a hairbrush with natural bristles, I don’t recommend sanitizing it with rubbing alcohol, as it can dry out and damage the bristles. Instead, lightly spray the surface with disinfectant spray, place on a clean towel with the bristles down, and allow to air-dry.
Other Easy Ways to Remove Lint from a Hairbrush
Keep any type of brush clean through regular maintenance. If you need to remove lint buildup from your hairbrush without a need for a deep clean, you can try these other easy methods:
Use a fine-toothed comb
Run a fine-toothed comb through the bristles of your hairbrush, starting from the base and working your way up towards the tips. Exert moderate pressure and use short strokes to dislodge any trapped lint between the bristles. Repeat this process until you have gone through the entire hairbrush.
Remove loosened lint and dirt with your fingers, then rinse the brush under running water to wash away excess buildup. Shake off excess water, then allow the brush to air-dry on a clean towel.
Use a lint roller
Using a lint roller is another quick and easy way to get lint out of your hairbrush. Just roll a clean lint roller over the bristles of the hairbrush in one direction. Use moderate pressure to make sure that the adhesive effectively picks up lint and other debris. Repeat this process over different sections of the bristles.
Once all visible lint is removed from your hairbrush, run it under running water and allow it to dry, bristles down, on a clean towel.
Try a vinegar solution
Believe it or not, vinegar effectively removes lint, dirt, and other buildup from your hairbrush. It contains acetic acid, which helps break down the structure of dirt, oils, and bacteria from various surfaces.
Simply fill a small bowl with white vinegar and soak your brush head in it for at least half an hour. The vinegar will not only loosen stuck lint but will also disinfect your hairbrush. After thirty minutes, rinse your hairbrush thoroughly with warm water.
Repeat the process until all visible lint is removed. Shake off excess water then allow to air-dry on a clean towel.
The Importance of Keeping Your Hairbrush Clean
Clearing your hairbrush of lint, hair, and other buildup often and deep cleaning it regularly provides plenty of benefits to your hair health and hygiene. Not only will this prolong the lifespan of your brush, but it will also help maintain the health of your hair by minimizing the transfer of buildup and residue to your scalp.
Dirty brushes can lead to dirty oily hair, hair breakage, skin irritation, and scalp conditions if still used.
Hair science expert Bridgette Hill, also known as The Scalp Therapist, told Business Insider that “Dirty hair brushes are a breeding ground for dust, bacteria, mites, and product buildup.”
More importantly, it will allow your hairbrush to serve its purpose with good performance, so you can brush and style your hair smoothly with no hassle. Besides, who wants to keep using a dirty brush?
How Often Should You Clean Your Hairbrush?
A good rule of thumb would be to give your hairbrush a deep clean once a month. However, if you have long hair or regularly use dry shampoo, hairspray, hair gels, or creams, your hairbrush will need thorough cleaning every week.
It’s also important to clear your brush of lint and hair regularly or as needed, even if you don’t do a deep clean. A hairbrush that is full of tangled hair won’t be as effective at keeping your hair healthy.
When Should You Replace Your Hairbrush?
A good-quality, regularly cleaned and maintained hairbrush can last for many years. However, if your brush is more than five years old, you should think about getting a new one.
There are also subtle signs to look out for that will tell you that it’s time to replace your old brush.
- Worn-down bristles: If you notice that some or most of the bristles are worn-down, damaged, bent, or broken, it means it’s no longer effective in serving its purpose, so it’s a clear sign that your hairbrush needs to be replaced.
- Hair loss: The bristles of your brush may already be damaged if you start noticing that it pulls out more hair from your head compared to when it was new. This is a clear indication to get a new one for your hair care routine.
- Dirt buildup: If you find it hard to remove buildup and residue from your hairbrush despite cleaning it regularly, it’s time to let it go and buy a new one.
- Unpleasant odor: An unpleasant odor coming from your brush, especially after cleaning, indicates bacterial or fungal growth within the bristles and clearly indicates that you need a new hairbrush.
How To Get Lint Out of a Natural or Plastic Hairbrush
Equipment
- 1 Tweezers scissors or a fine-toothed comb
- 1 Toothbrush
- 2 Cotton pads
- 1 A big bowl
- 1 A clean towel
Materials
- 1 bottle shampoo
- 1 pack baking soda
- 1 bottle rubbing alcohol or disinfectant spray
Instructions
- Get rid of loose hair from the bristles. You can use a tweezer, a comb, or your fingers to do this. If there’s plenty of hair wound around the bristles, use a pair of scissors to cut away the strands before gently pulling them out.
- Use tweezers to remove as much lint as you can before washing your hairbrush.
- Pour warm water into a bowl and add a few drops of gentle shampoo (preferably one without conditioner). Swish the water with the brush to create some suds, then soak the brush head into the water and wait for about ten minutes. (Skip this step if you’re using a wooden hairbrush. I wouldn’t recommend soaking it, as water can damage the material. Instead, dip a clean old toothbrush in warm soapy water and scrub gently between the bristles.)
- Once the ten minutes are up, remove your hairbrush from the water and inspect it for any remaining lint.
- Use a clean, dry toothbrush to sweep both vertically and horizontally between the bristles to make sure that you get rid of all the lint.
- Replace the soapy water in the bowl with clean, warm water. Soak the brush head in the water, rinse thoroughly, then shake out the excess water. (Quickly rinse wooden brushes or hairbrushes with natural bristles under warm running water instead of soaking them.)
- If you use a synthetic brush, combine one part rubbing alcohol and one part water in a bowl. Dip your hairbrush in the mixture, pat dry with a paper towel, then place face down on a clean towel to dry. (If you have a natural bristle brush, lightly spray the surface with disinfectant spray, place on a clean towel with the bristles down, and allow to air-dry.)

Both my brush and my comb very badly needed cleaning. I gave them both the same treatment and I no longer feel a waxy residue left on my hair after brushing. I’ll definitely be doing this again soon!