7 Easy Steps On How To Clean A Self-Clean Oven Efficiently
As a participant in the Amazon Services LLC Associates Program and other affiliate programs, Easy Homemade Life may collect a share of sales or other compensation from the links on this page. This comes at no additional cost to you, and all the prices and availability are accurate at the time of publishing.
Learning how to clean a self-clean oven is the secret to keeping it running like a dream for years to come. Surprise: despite the name, a self-cleaning oven doesn’t actually get everything spotless, so a little hands-on help goes a long way.
Yes, it has a self-clean function, but that doesn’t mean you don’t have to do a little scrubbing, too. Even self-clean ovens still need some TLC from time to time. But don’t worry, cleaning it isn’t as complex as you might think.
I’ll show you how to clean your oven well without too much effort. You’ll prolong your self-cleaning oven’s lifespan and preserve its optimal performance with this easy step-by-step guide.
How To Clean a Self-Clean Oven in 7 Steps
First things first. The term “self-cleaning oven” can be misleading. Yes, it does turn small particles into ash, but you’ll still need to clean it manually once in a while.
I learned this the hard way when I bought my first self-cleaning oven. I thought that because it “cleans itself” on its own, I only needed to clean the countertops in the kitchen, and everything was good to go. Don’t be like me! The inside of the oven will soon begin to resemble a coal mine if you don’t clean it periodically.
Here’s how to clean a self-clean oven:
Step 1: Remove loose items from the oven
Loose items like oven accessories, baking sheets, and last night’s lasagna dish you didn’t want to wash can negatively affect the self-cleaning process. So, remove all foreign objects from inside the oven. Check every corner of your oven as dark pans like cast iron get easily hidden in the shadows.
Step 2: Clean up any spilled food
Food bits from last night’s dinner or yesterday’s baked goods can also cause damage to your self-clean range over time. That said, it’s a good idea to remove them too. Here’s how you can do it:
- Pick up the food bits in your oven.
- Once these items are removed, wipe anything with a damp cloth. This prevents smoke during the cleaning cycle. Make sure that all food residue on the oven is wiped out.
- Wipe down any visible residue in your oven.
- Take the time to inspect the oven’s seals and gaskets for any signs of wear or damage. If you notice any cracks or gaps, these should be addressed immediately to maintain the oven’s heat retention and energy efficiency.
- Then, clean your oven’s exterior. This includes the control panel and handles to prevent the accumulation of grease and grime, which can become stubborn stains if left unattended.
- Once everything is clear from food bits, you are now ready to run the self-clean cycle of the device.
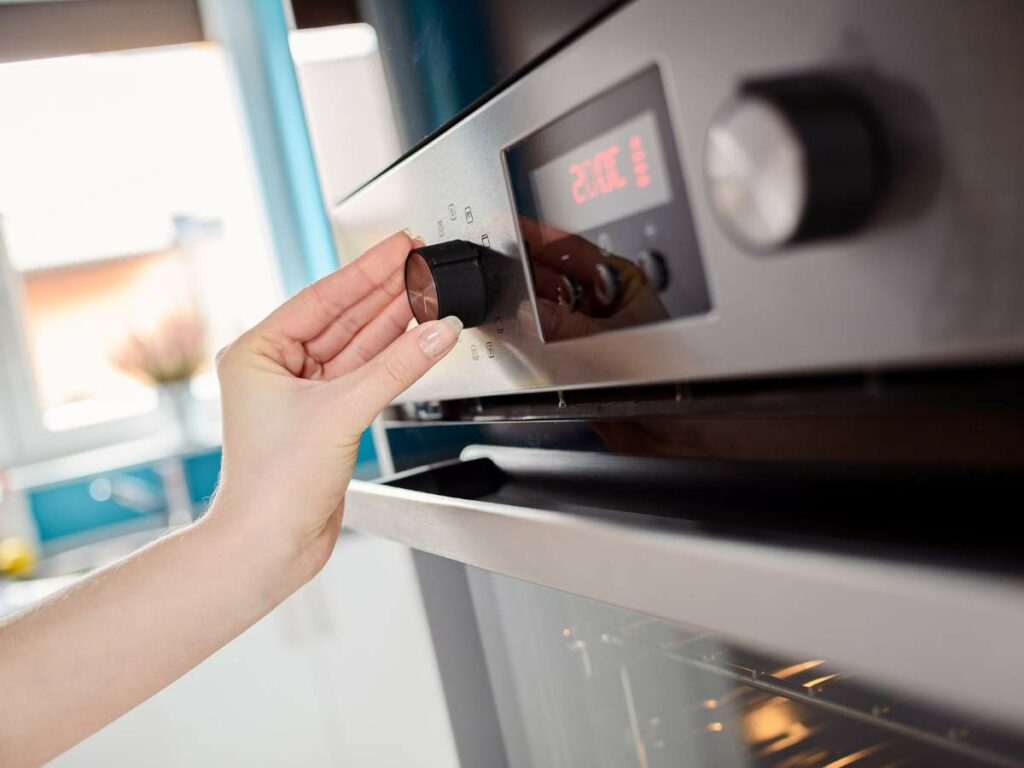
Step 3: Let the self-clean cycle run
You are here because your self-clean oven has a self-clean feature. This is a convenient way to clean the appliance thoroughly. Here’s how you can make the most out of it:
- Make sure to close the door to get the best results from the cleaning process.
- Once you know that everything is clean and free from food bits, running the self-clean cycle is the next step.
- Wait until the clean time finishes before opening the doors of your appliance.
It would help to open your kitchen windows to minimize odors and smoke inside the kitchen. I once forgot about this, and it nearly set off our smoke alarm. It is better to be safe even when cleaning your kitchen appliances.
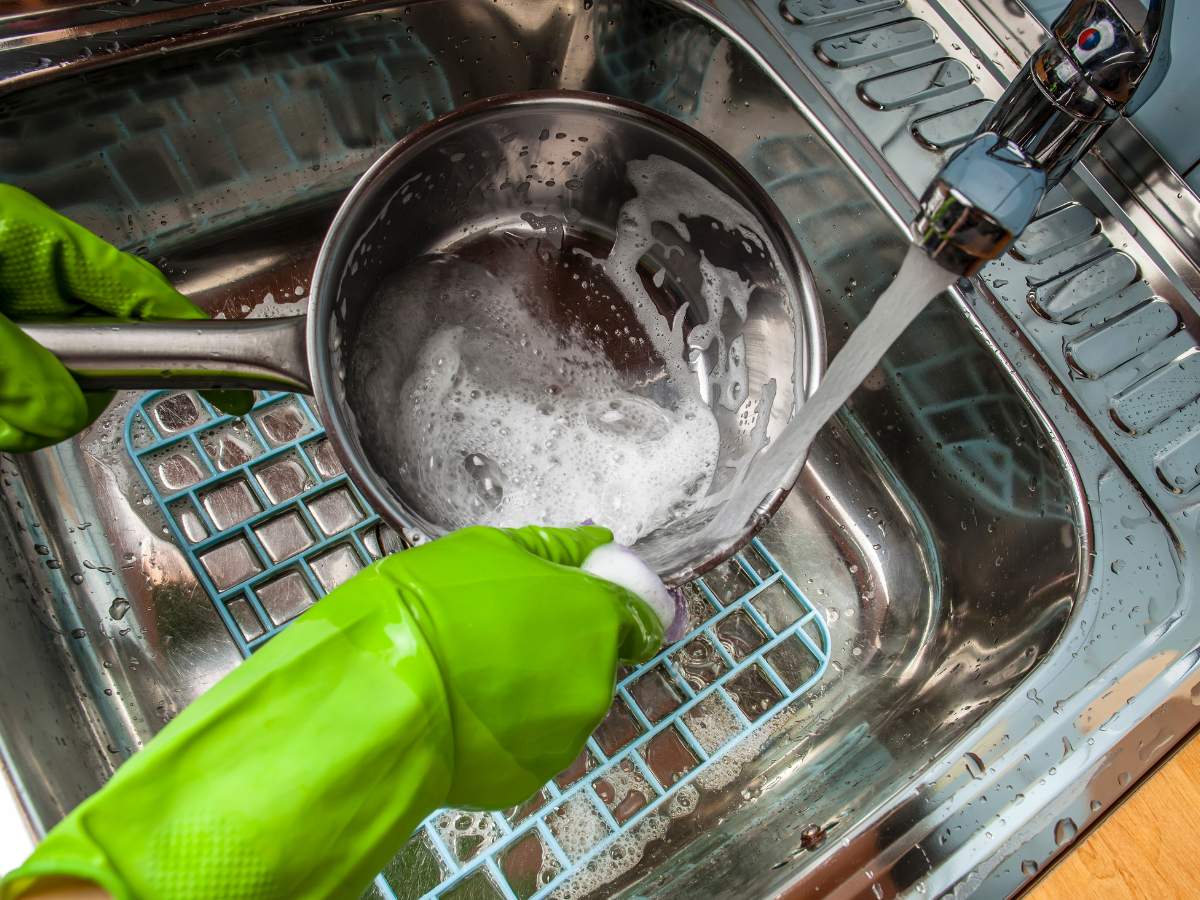
Step 4: Gently wash wire racks
It’s important to clean the wire racks every time you clean the oven. Doing so will prevent warping and discoloration. Additionally, this helps make sure that no debris will get into your freshly baked bread once you start using your oven again. For this part, here’s what you can do while the self-cleaning mode is active.
- Use soap and let the warm running water flow through the racks.
- If stubborn dirt or heavy residue remains on the racks, use a scrub sponge to clean it thoroughly. If the racks are still dirty, you can soak them overnight to remove gunk and grime. Cleaning the racks is a preparation for a clean oven once self-cleaning is done.
- After rinsing the soapy water off the racks, let them dry and prepare them to put back after cleaning.
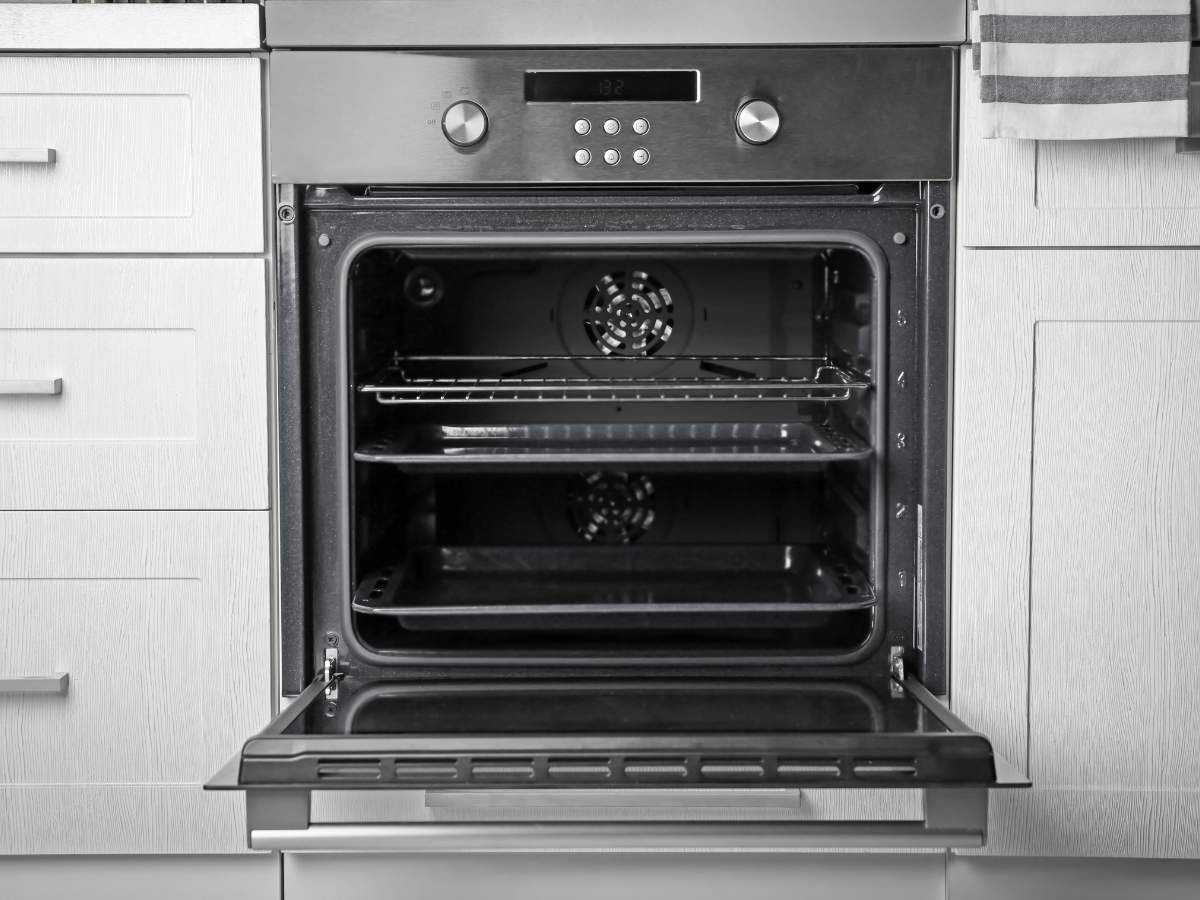
Step 5: Let the cycle finish and oven cool down
If your oven has a self-cleaning feature, its doors will automatically lock once you start the self-cleaning cycle. Most models show a lock icon on the front oven control board. Once the oven is cooled down, the doors will unlock. Remember that you can cancel the cycle anytime. However, the oven stays locked until it is cooled down.
You will know if the cycle is complete when a prompt indicates that the cleaning process has ended. You are ready to replace the wire racks during this time, and your oven is ready to use. I like to organize the kitchen and declutter the space while waiting for the cycle to complete. This makes me more productive.
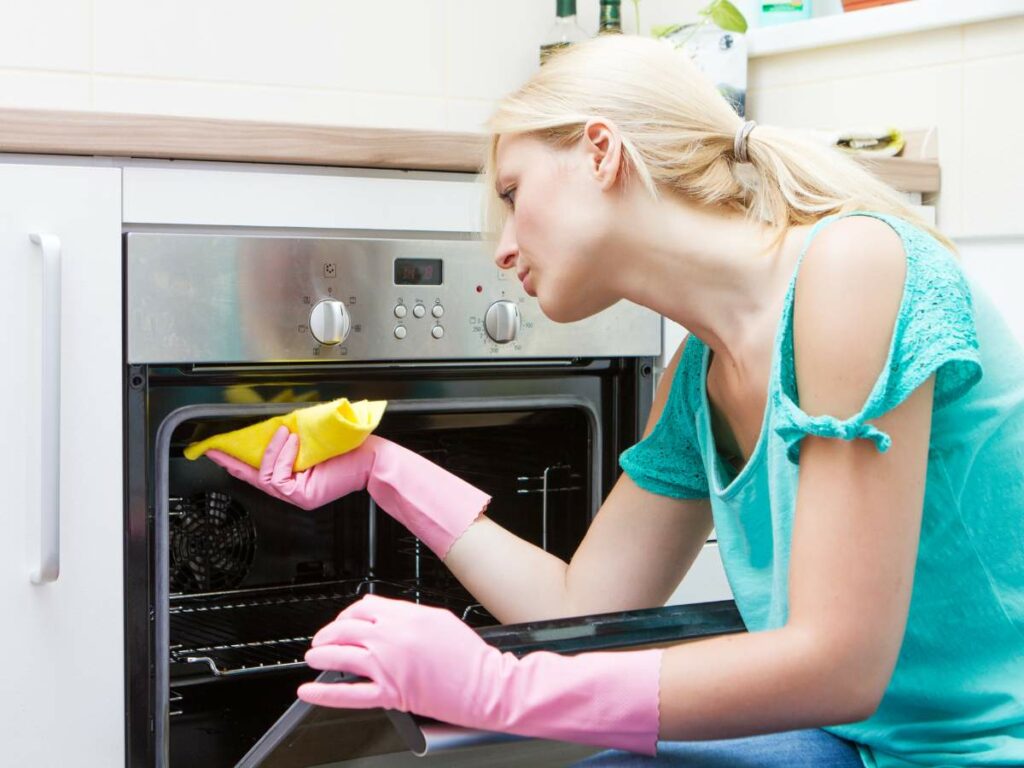
Step 6: Clean any debris inside the oven
Now that your oven is completely cooled down, you can remove debris from the oven interior. This ensures that your appliance is thoroughly clean. Here’s what you can do:
- Use a damp cloth to remove leftover ash inside of your oven.
- Gently wipe any dirt that is left after the cleaning cycle.
- Make sure that the bottom of the oven is free of any debris.
- Use mild cleaners if you need to scrub the inner oven cavity. You can use dish soap and water or vinegar diluted in water. Follow your user manual for suggested gentle cleaners for this procedure.
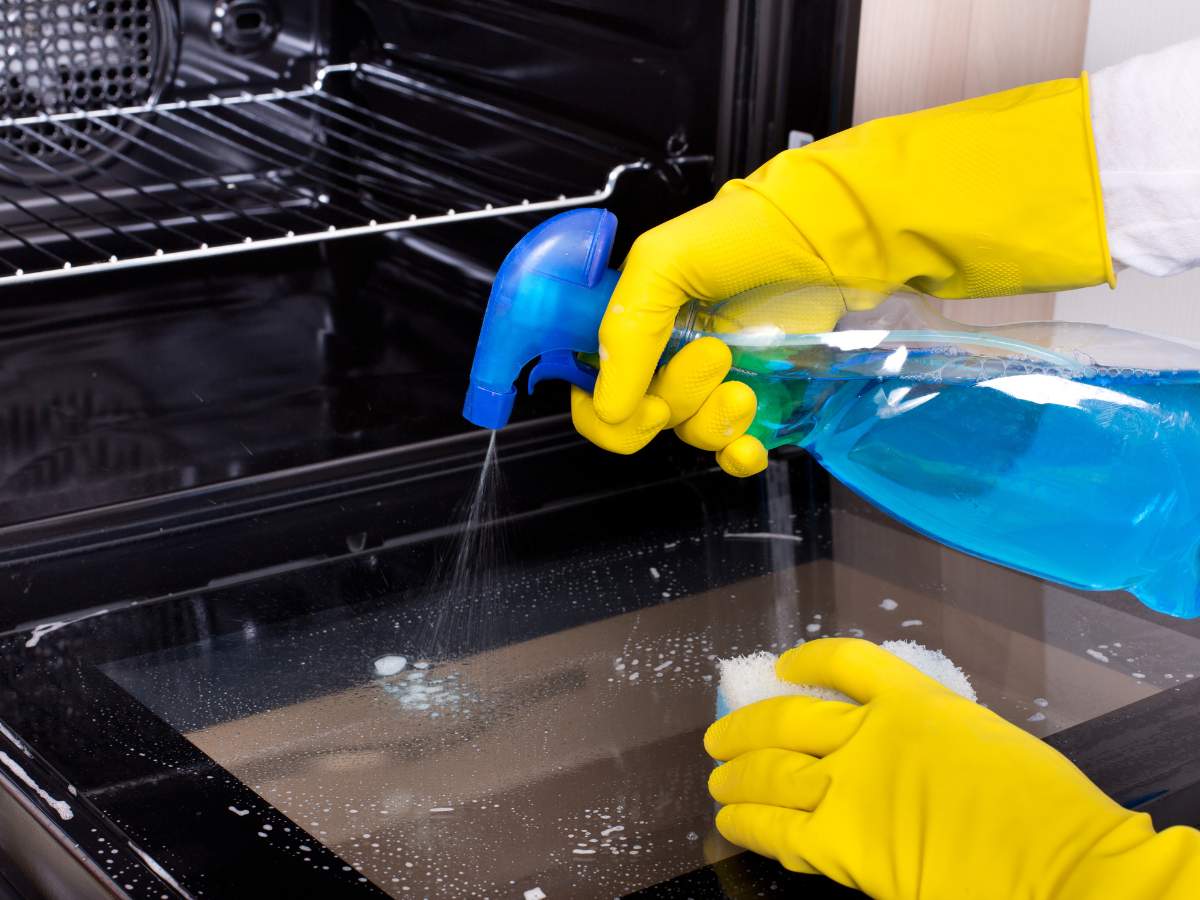
Step 7: Return wire racks and clean the glass
Finally, your appliance is now clean. Return the wire oven racks and gently clean the glass of the oven door. When cleaning the glass, use a glass cleaner and a microfiber or soft dry cloth. These items will help you get a streak-free finish. Check that everything is in place and all areas are clean.
When you return the wire racks, ensure you have already washed them. If they are still dirty, you need to clean them again.
How Frequently Can Self-Clean Ovens Be Used?
How frequently you clean your oven varies. If you cook frequently, I suggest cleaning the appliance more often. If not, then cleaning it once every three months is enough.
Make sure to refer to your user’s manual. If you have a Samsung oven, for example, it’s best to search for the user manual on how to self-clean a Samsung oven. Generally, all brands will have the same basic cleaning methods.
Can You Use Oven Cleaner On A Self-Cleaning Oven?
Use mild, non-abrasive cleaners like dish soap. Using white vinegar diluted with water along with baking soda paste is another great way to clean without harsh chemicals.
Some commercial oven cleaners may cause harm. Read the product label carefully before using it. These cleaners can release fumes even after you have finished cleaning your appliance.
Safety should be a priority when it comes to cleaning your oven. If you use commercial cleaners, consult your user’s manual to be safe.

How To Clean A Self-Clean Oven
Equipment
- 1 Pair of rubber gloves
- 1 Microfiber cloth
Instructions
- Remove loose items from the oven.
- Clean up any spilled food.
- Let the self-clean cycle run.
- Gently wash the wire racks.
- Let the oven cool after the cycle finishes.
- Clean any debris inside the oven.
- Return wire racks and clean the glass.
My husband loves to cook but he is SO messy. I had been afraid to see how bad our oven has gotten and kept putting off cleaning it, but this made it sound really doable. Yesterday I finally tackled it and now our oven looks brand new!
So nice to bake with a clean oven! Thanks for the comment, Tommie.