
Saiki K Coffee Jelly
As an Amazon Associate, I earn from qualifying purchases.


I’ve been making gelatin desserts for years, the savory vintage kind and the sweet kind, old-fashioned shapes and modern spins, and Saiki K coffee jelly might be the one that gets the biggest reaction for the least effort. Four ingredients, about ten minutes of actual work, and what comes out of the fridge is a firm, glossy block of coffee-flavored jelly you can cut into cubes and serve in a glass.
If you’ve ever made Jell-O, you already know the technique. The difference is the coffee, which turns a simple kitchen skill into something that really surprises adults in a way fruit gelatin stopped doing a long time ago.
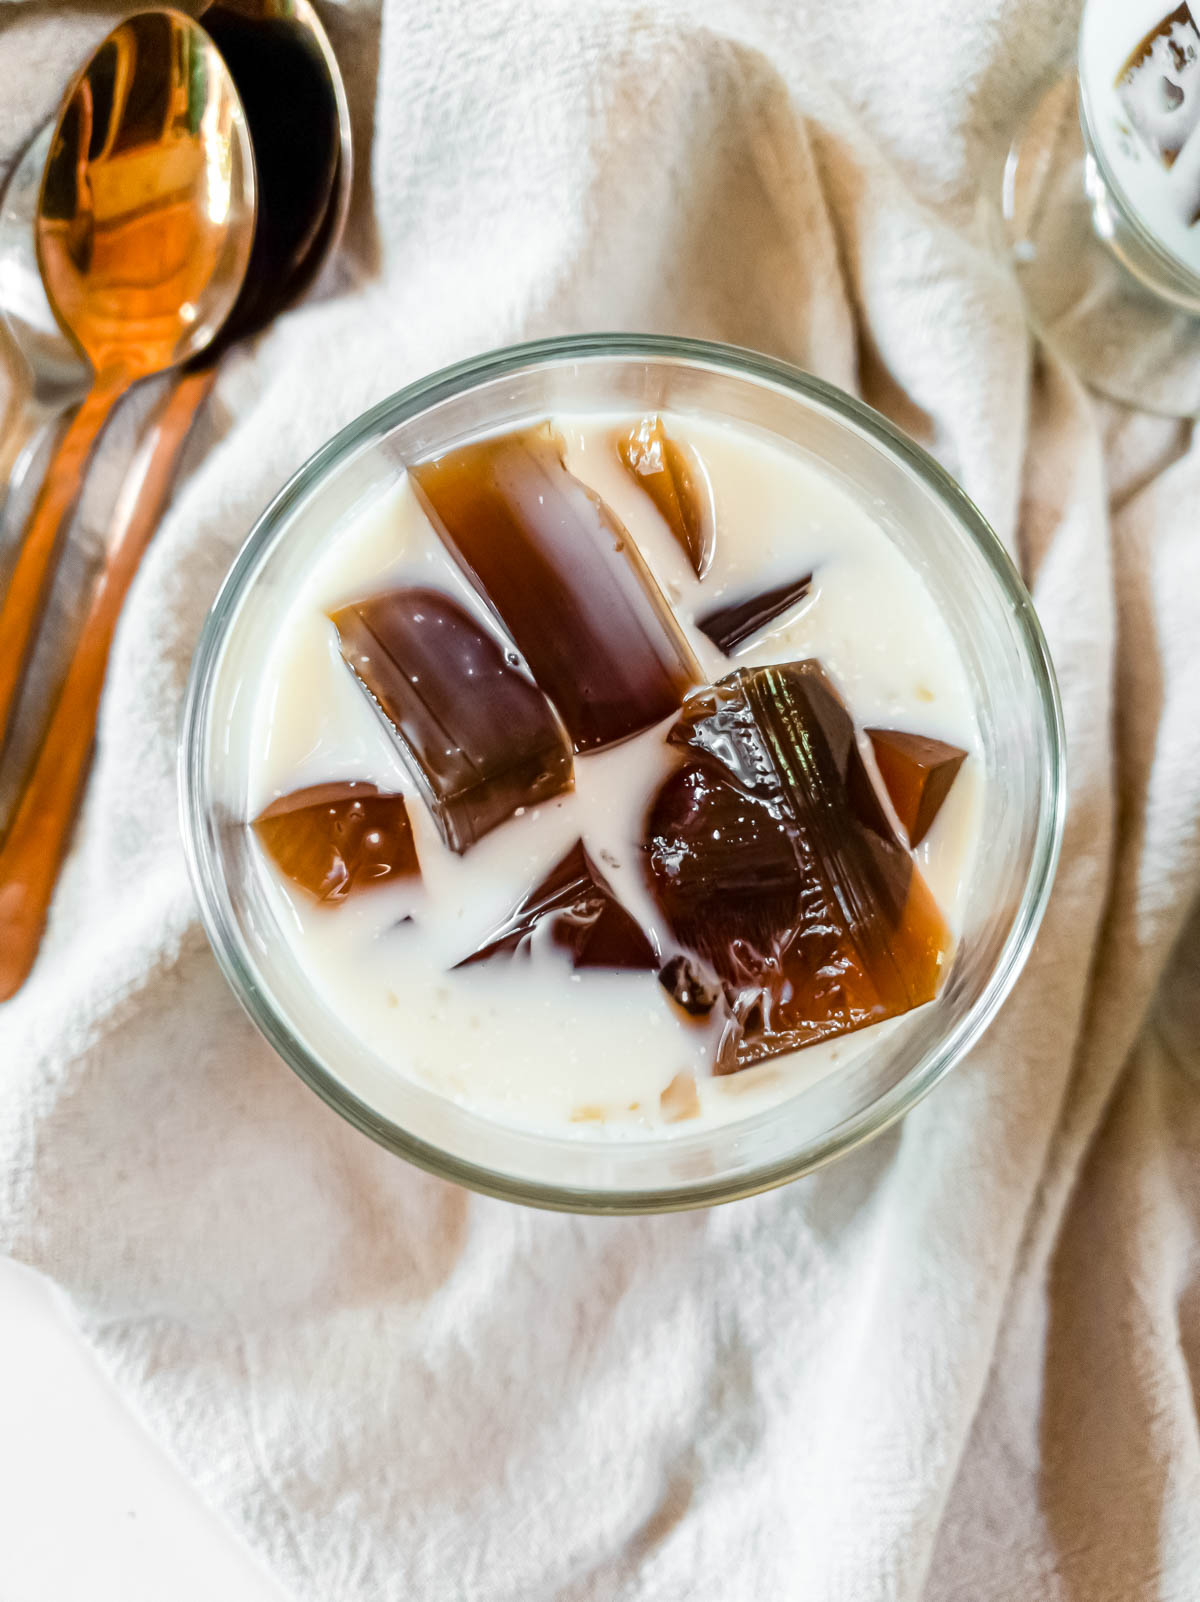
I came to this recipe through my own love of cooking with gelatin, not through the anime, though the anime is what made it famous. In The Disastrous Life of Saiki K, the main character will do just about anything for a cup of coffee jelly, and most people recognize that connection when they hear the name.
To me, it’s a really good gelatin dessert that also travels well. A friend of mine from Russia has brought her version to our church gatherings a few times now, and there’s something really fun about seeing the same jiggly coffee dessert show up at a potluck table from two completely different food traditions.
Coffee jelly works as a weeknight treat after dinner, a make-ahead dessert for a cookout, or a way to use the last pot of coffee from a Saturday morning instead of pouring it out. My kids eat it with sweetened condensed milk drizzled over the top and ask when I’m making it again before the last cube is gone.
It keeps in the refrigerator for up to a week, and once it’s set you can slice it, scoop it into glasses, and let people add their own toppings. If you like working with gelatin or you’re just curious about it, this is one of the most rewarding places to start. For more make-ahead favorites you can bring to the table, browse my full copycat recipe collection.
How It Comes Together
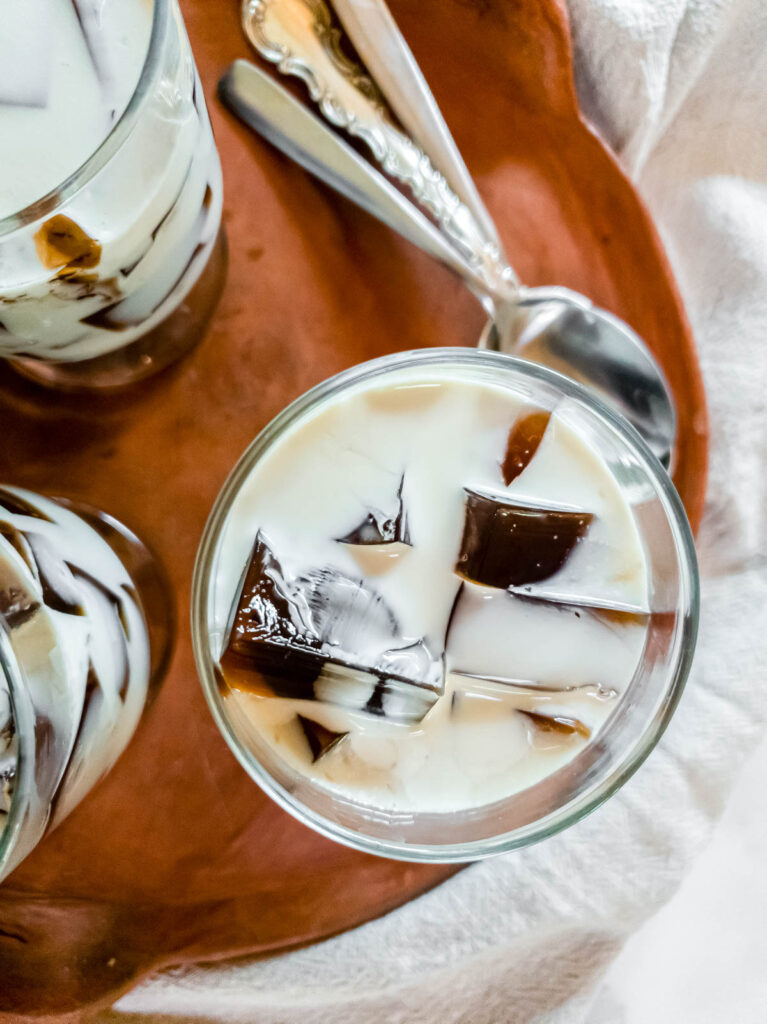
Saiki K coffee jelly is a four-step process: bloom the gelatin, brew strong coffee, dissolve the gelatin into the hot coffee, and chill until set.
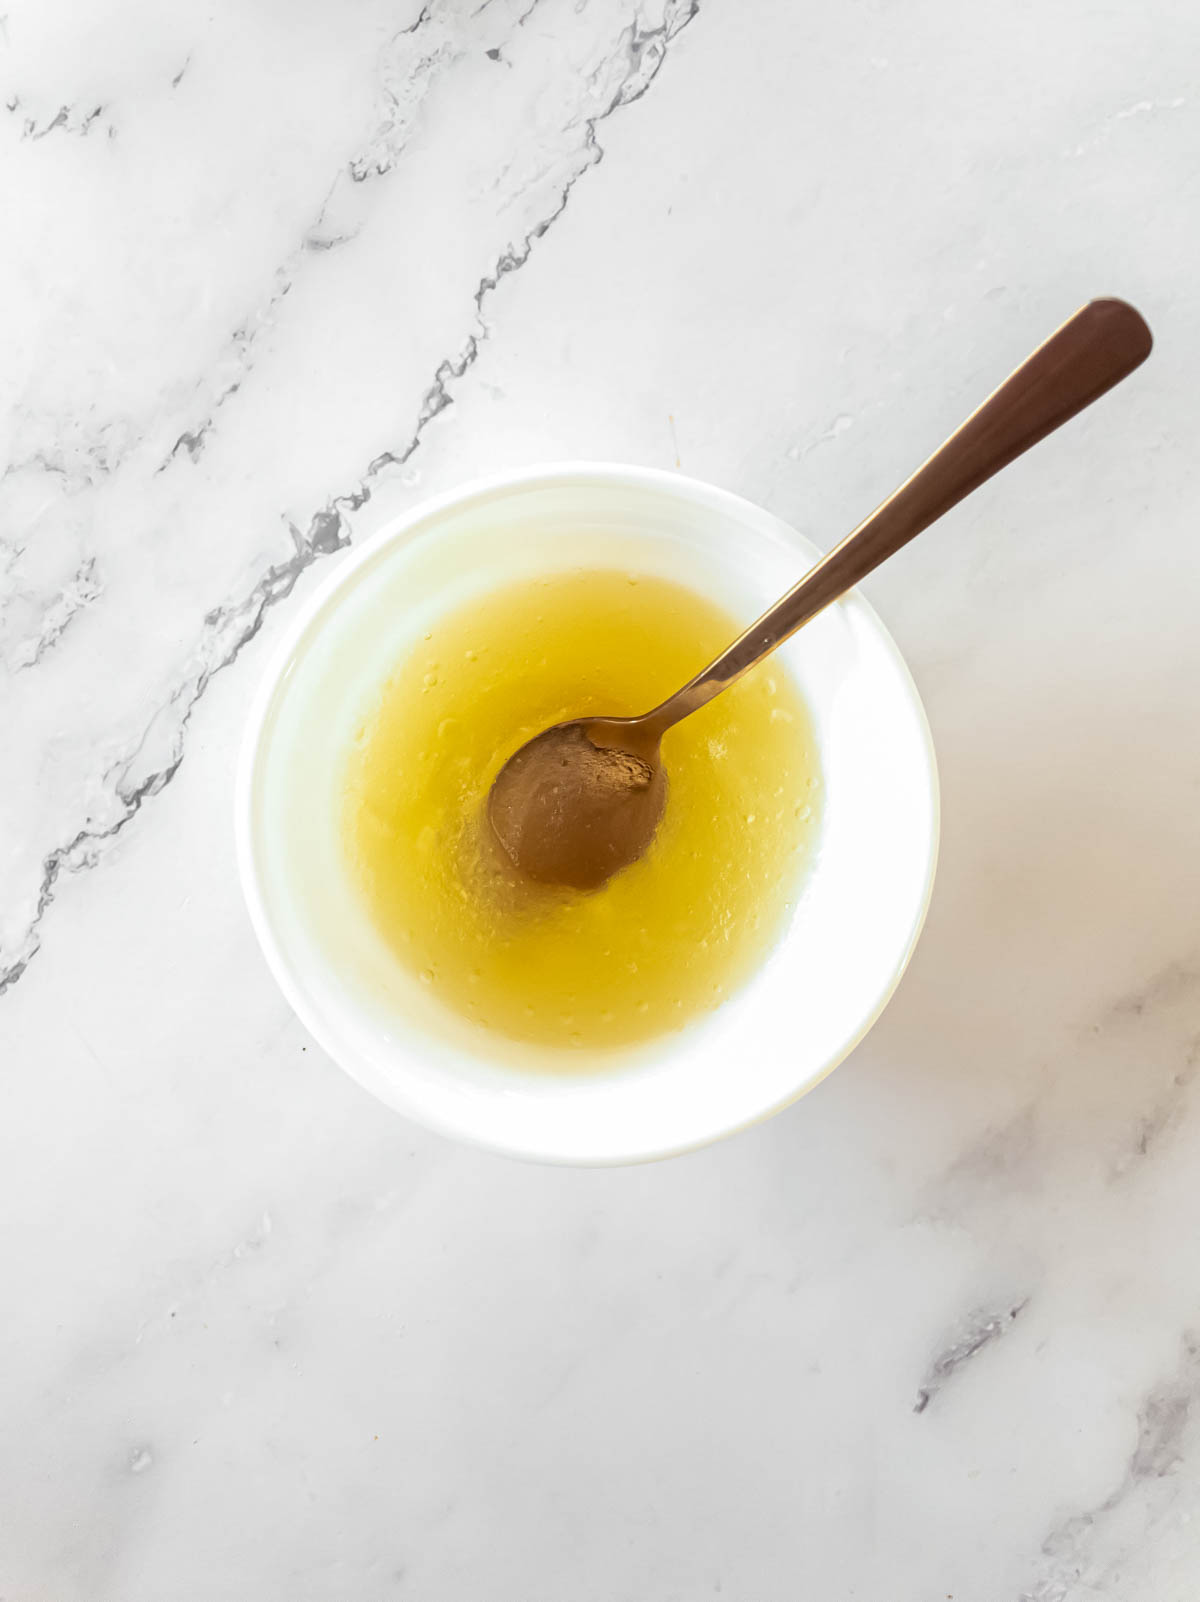
The blooming step matters more than it looks. Sprinkle the gelatin powder over cold water in a wide, shallow dish rather than a deep cup. You want maximum surface area so the granules hydrate evenly. The gelatin starts absorbing water almost immediately and firms up into a soft, rubbery mass within a few minutes. If you get a pocket of dry powder in the center, that’s fine. It will still dissolve once it hits the hot coffee. The bloom just gives it a head start.
Brew extra-strength coffee using a drip cone, moka pot, or French press. A standard drip machine makes a lighter brew, and once it chills, that lighter flavor fades even further. The coffee has to taste strong at the liquid stage because gelatin adds no flavor of its own, and the tablespoon of sugar will soften whatever bitterness you started with. Taste the sweetened coffee before you add the gelatin. That’s what the finished jelly will taste like.
Once the coffee is simmering with the sugar dissolved, turn off the heat and stir in the bloomed gelatin. A few firm whisks and it dissolves completely. Pour the mixture into an 8×8-inch baking dish, let it cool at room temperature for about ten minutes, then refrigerate for at least four hours. You get a firm block you can cut into clean, even cubes.
The one thing I always do differently. I use a full tablespoon of gelatin for two cups of liquid. Most coffee jelly recipes use two teaspoons or less, and you get a jelly that barely holds its shape. I want mine firm enough to cut into cubes that stay cubes when you pick them up, with a clean edge and a solid jiggle. If you prefer a softer, more delicate set, use two teaspoons. But try it my way once.
Point to the printable recipe card below for the full list of ingredients, exact measurements, and step-by-step instructions.
Ingredient Notes
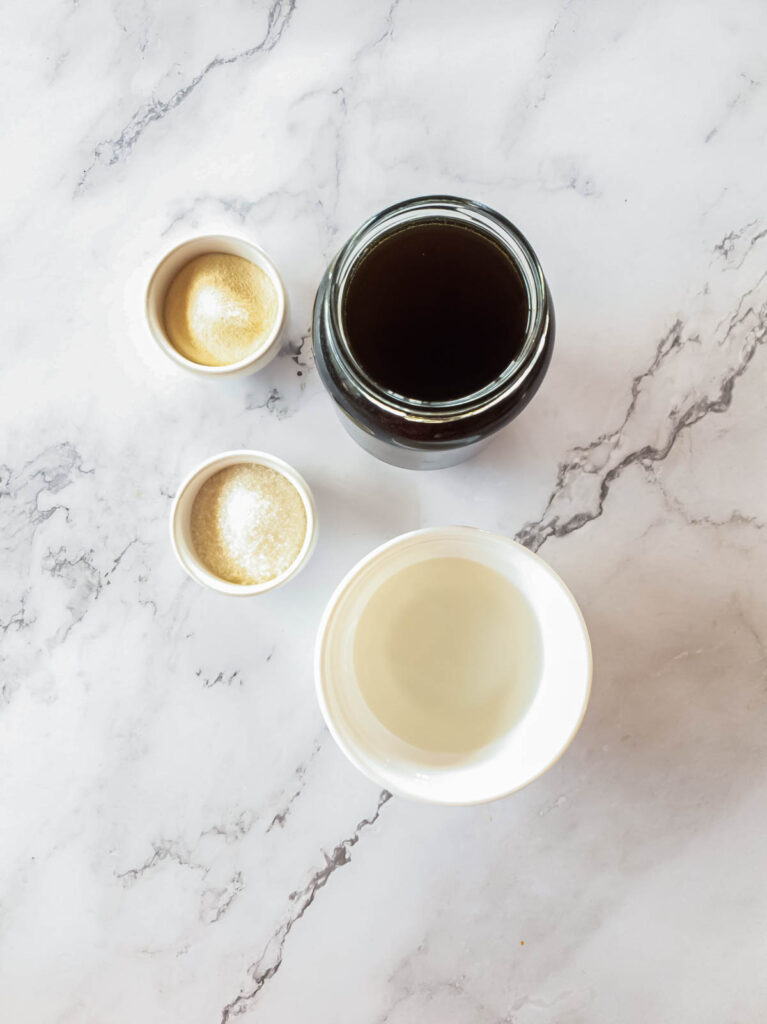
Gelatin powder. Use unflavored gelatin. One tablespoon produces a thick, firm set that holds its shape when cut into cubes. Two teaspoons gives a softer, more delicate texture. The amount of gelatin is the single biggest variable in this recipe, and it is entirely a matter of preference.
Brewed black coffee. Extra-strength, brewed with a drip cone, moka pot, or French press. The intensity of the coffee at the brewing stage determines the flavor of the finished jelly, since chilling mutes taste. You can substitute pour-over or French press coffee, or use two espresso shots diluted with water to make two cups. Instant coffee dissolved in hot water works, and decaf works if caffeine is a concern. Leftover coffee from a morning pot or an event works too. The flavor will be lighter than a batch brewed at full concentration, but the gelatin sets the same way.
Sugar. One tablespoon sweetens the coffee gently without covering it. Add a second tablespoon if you want it noticeably sweeter, or leave it out entirely.
Variations
Mocha coffee jelly. Stir a tablespoon of cocoa powder into the hot coffee before adding the gelatin. The chocolate rounds out the bitterness and makes the jelly a shade darker.
Tea jelly. Replace the coffee with brewed black, herbal, or matcha tea and use the same gelatin-to-liquid ratio.
What I’ve Learned Making This
Bloom the gelatin in a wide, shallow dish, not a deep bowl or cup. You want maximum surface area so every granule sits in contact with the water. A deep vessel traps dry powder in the center. Those clumps will still dissolve in the hot coffee, but the bloom step is easier when nothing is hiding.
The coffee has to taste too strong at the sipping stage. Flavor dampens when cold, and the sugar softens bitterness further. If the hot sweetened coffee tastes “just right” to you, the set jelly will taste mild. Brew it a notch past what you’d drink.
A properly set coffee jelly is a firm block with no liquid pooling around the edges. If you see a puddle of water sitting separately from the jelly, the gelatin-to-liquid ratio was too low. More gelatin next time, or less coffee.
Leave the jelly completely undisturbed while it chills. Do not stir it, do not lift the corner to check, do not rearrange the refrigerator shelf. Four hours minimum, and the less you open the door, the better.
Leftover coffee from a party or a big morning brew is fair game for this recipe. The flavor will be lighter since the coffee wasn’t brewed at full concentration, but it still works, and it’s a better use for that last pot than pouring it down the drain.
How to Serve Saiki K Coffee Jelly
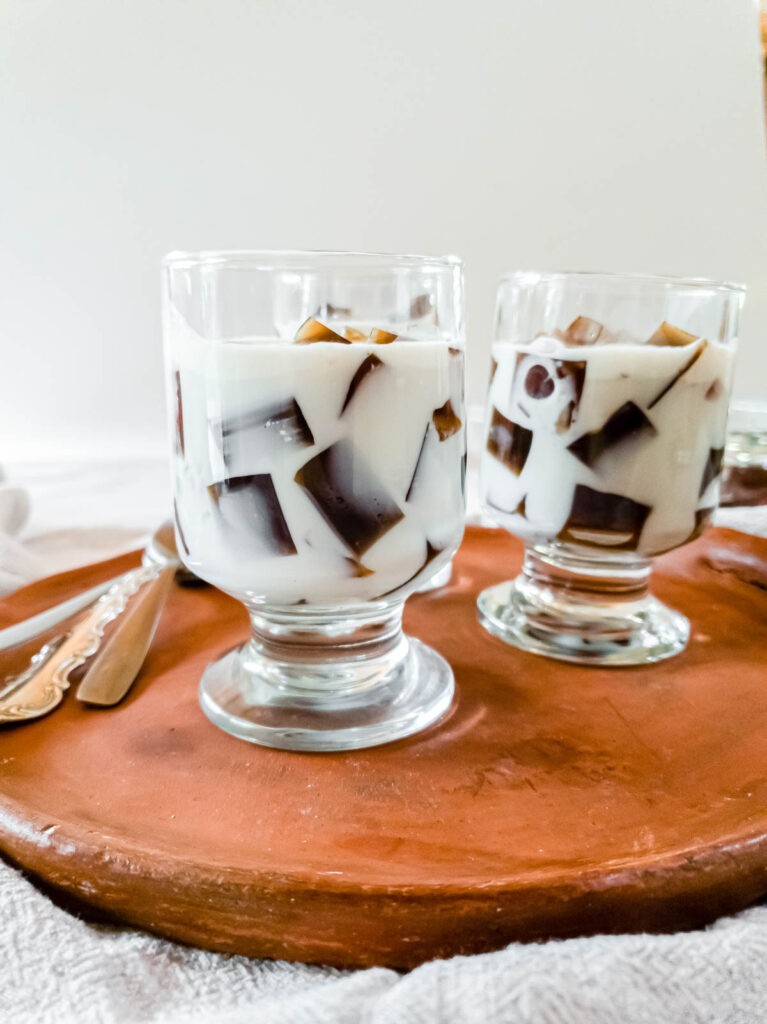
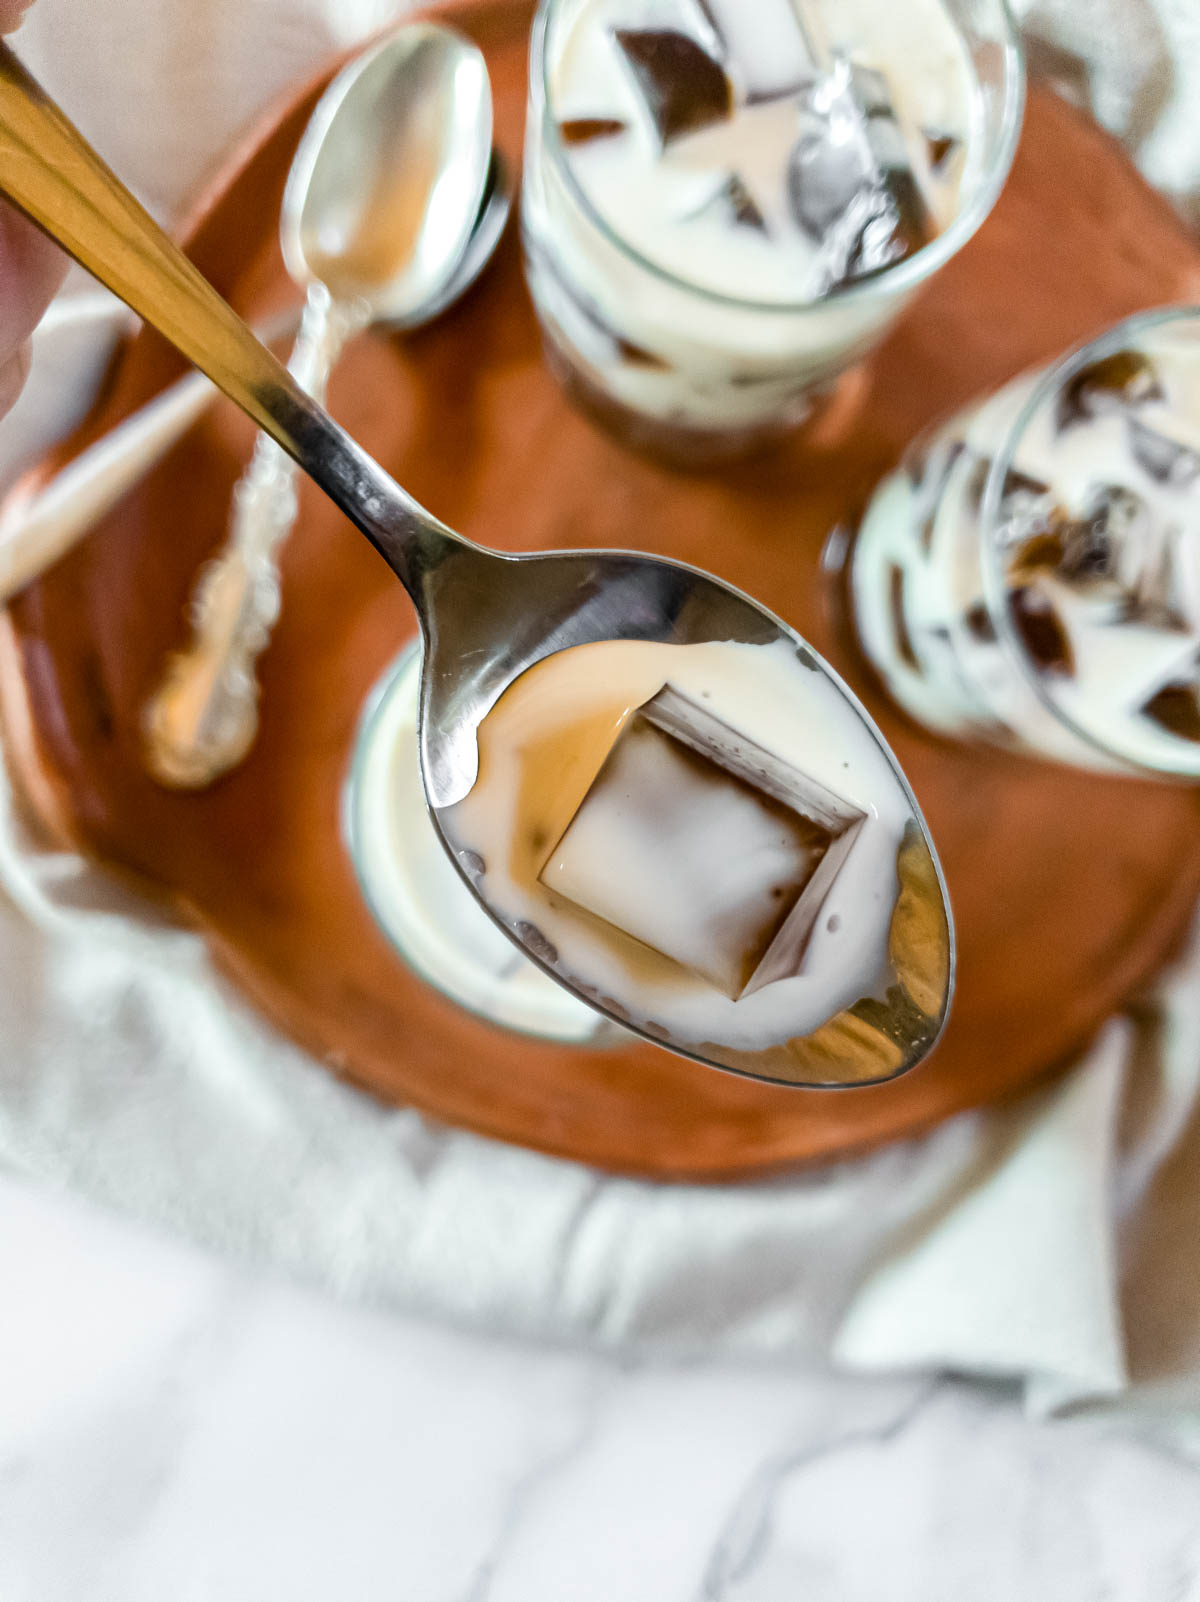
In the anime, Saiki eats his coffee jelly as cubes in a glass with whipped cream on top. That’s the most recognizable version, and it doesn’t need anything more than that.
For a richer topping, drizzle sweetened condensed milk over the cubes instead. Vanilla ice cream turns it into a full dessert. A drizzle of chai tea syrup over the cubes adds warm spice as an alternative to condensed milk. You can also pour the liquid into individual serving cups before chilling instead of setting the whole batch in one dish. That gives you single portions that go straight from the fridge to the table.
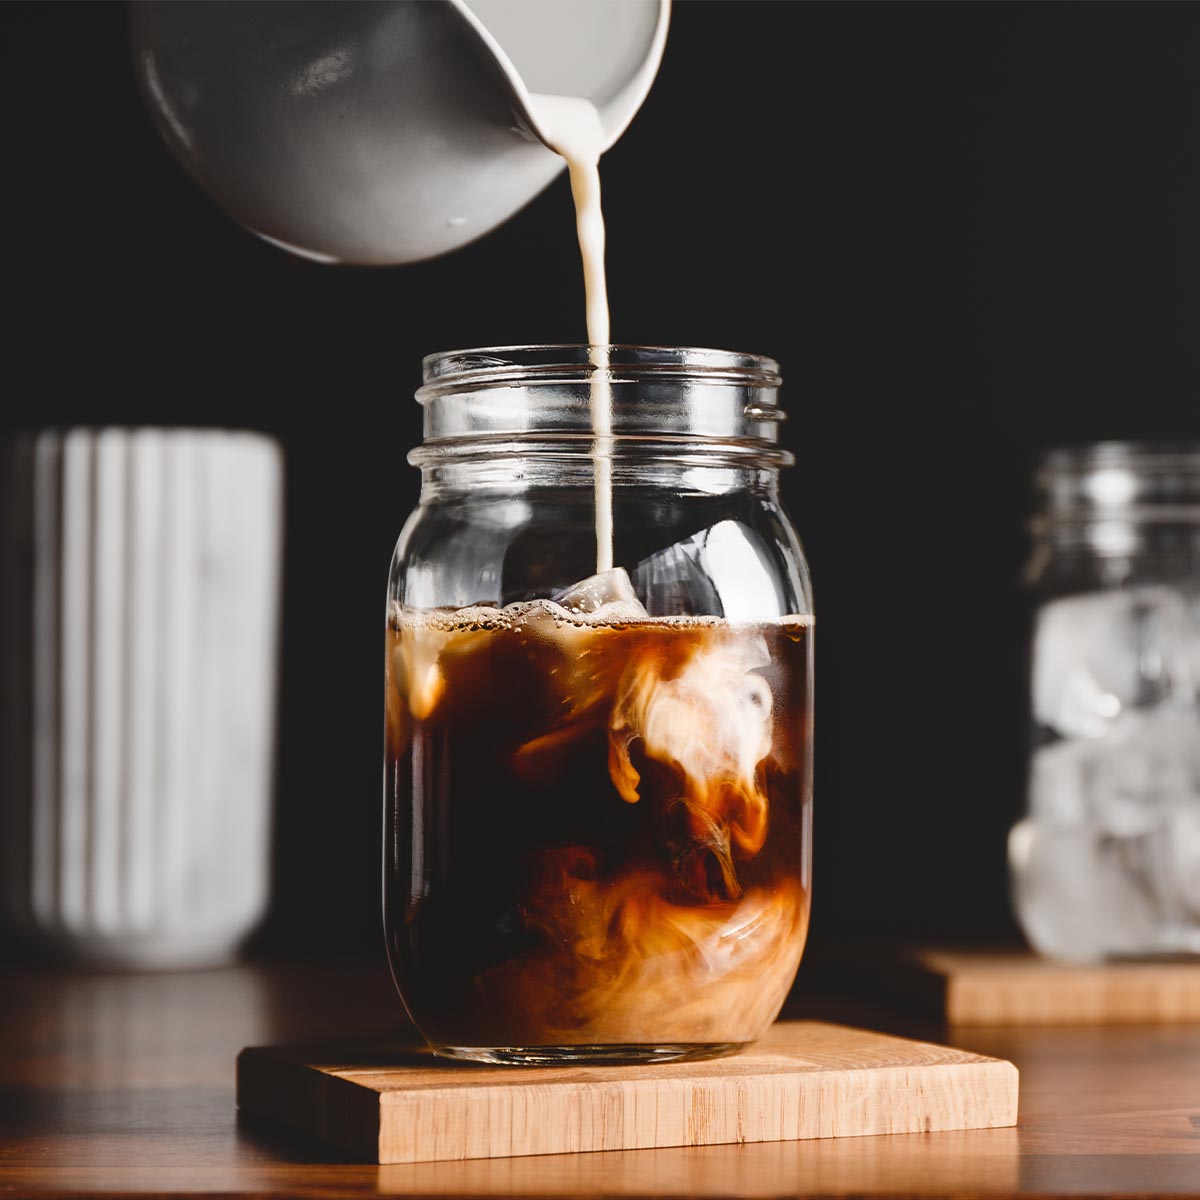
Coffee jelly cubes also work inside cold drinks. Drop them into an iced latte for a boba-style texture, or add them on top of a banana boba for a layered coffee-and-fruit drink. Put a scoop of chai ice cream on the cubes and you get a coffee-and-spice combination that’s hard to stop eating.
If you’re serving this at a gathering, a plate of matcha sugar cookies next to the jelly glasses covers two Japanese-inspired desserts on one table.

Homemade Saiki K Coffee Jelly
Ingredients
- 1 tablespoon gelatin powder
- ¼ cup water
- 2 cups brewed black coffee (extra-strength, brewed with a drip cone, moka pot, or French press)
- 1 tablespoon sugar
Topping (optional – choose one)
- Sweetened condensed milk
- Whipped cream
- Vanilla ice cream
Instructions
- Mix the gelatin powder with 1/4 cup of water in a small, wide bowl. Stir quickly to hydrate the powder so there are no dry clumps. Set aside for a few minutes to bloom.

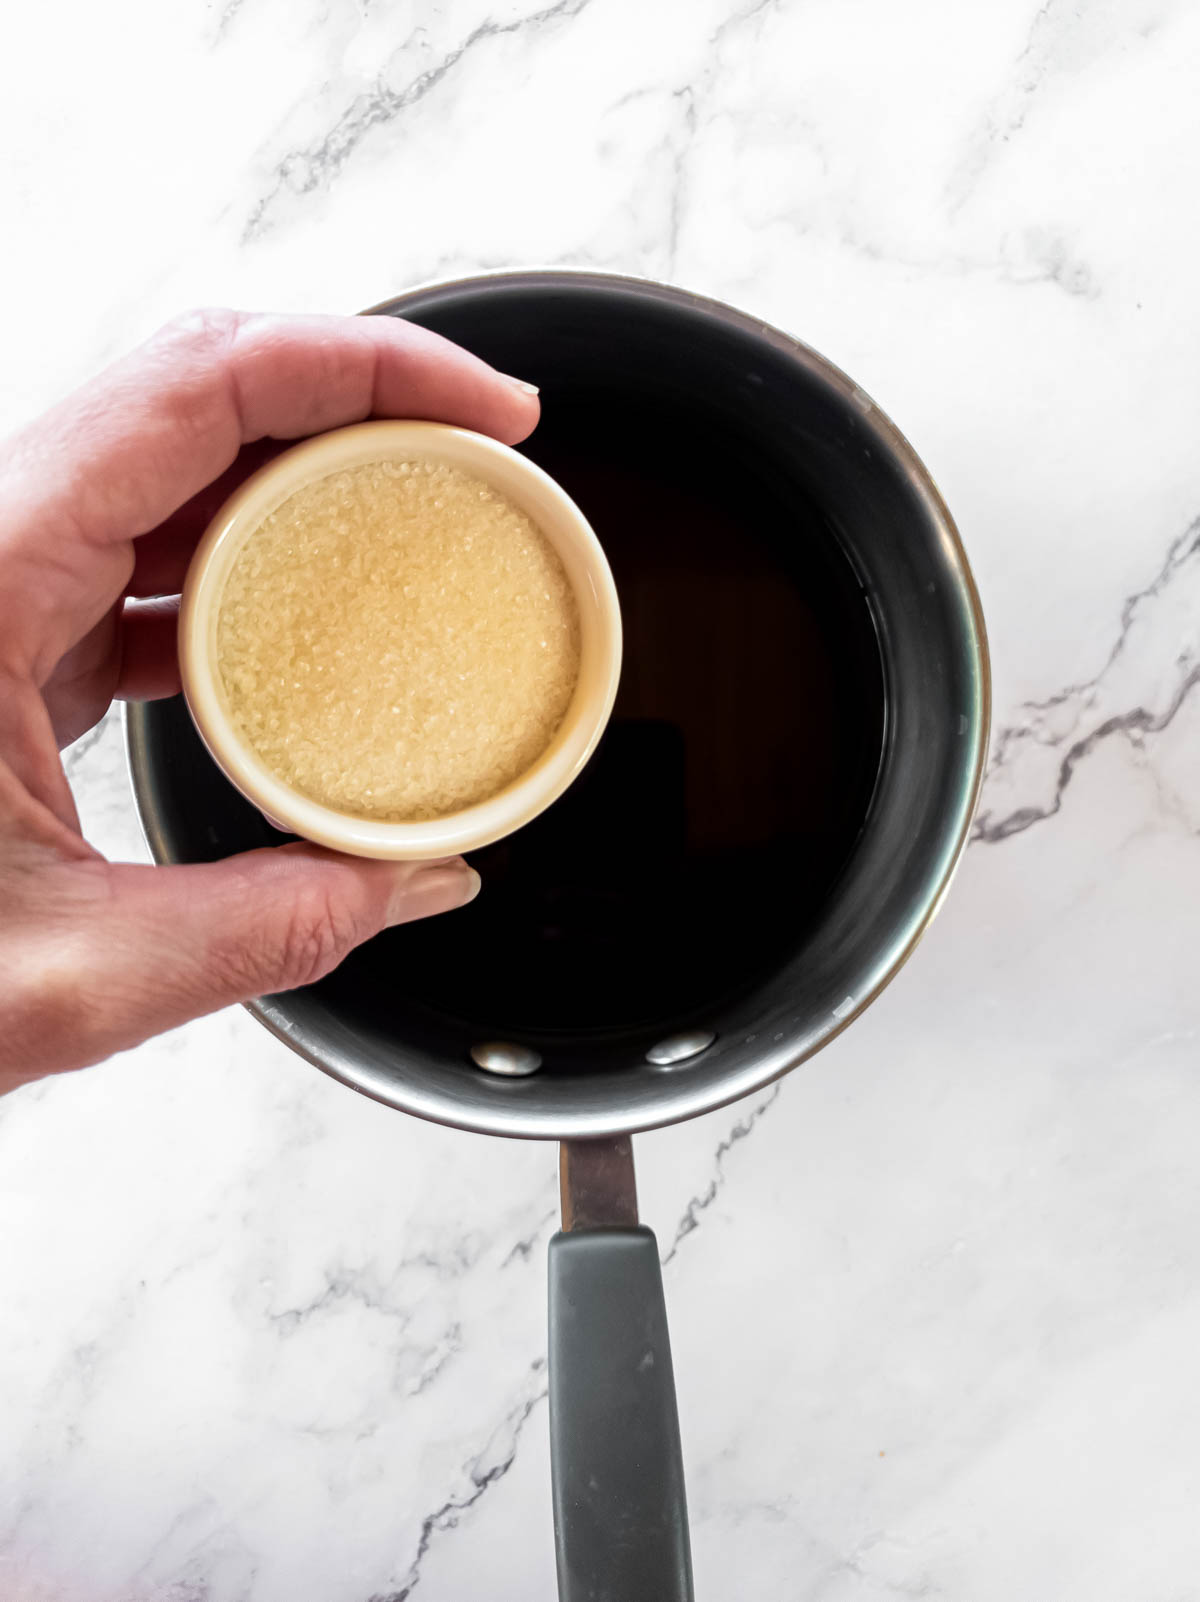
- Heat the coffee and sugar together in a small saucepan over medium heat until it comes to a simmer.
- Turn off the heat and add the bloomed gelatin.
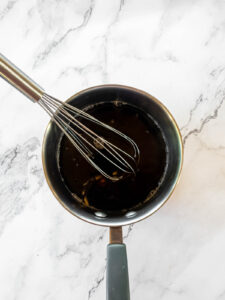
- Whisk well until the gelatin completely dissolves. Continue whisking until smooth and fully incorporated.
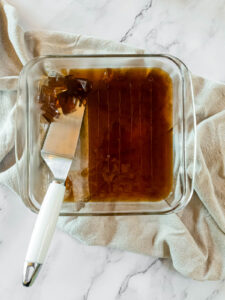
- Cool for 10 minutes at room temperature before pouring the coffee mixture into an 8×8-inch square baking dish. Refrigerate for at least 4 hours or until firmly set. Once set, cut into 1/2-inch cubes.
- Serve in stemware or individual bowls. Top with whipped cream, sweetened condensed milk, or vanilla ice cream.


Notes
- Brew extra-strength coffee. The full-bodied flavor needs to carry through to the chilled dessert. A drip cone, moka pot, or French press gives the concentration a regular drip machine can’t.
- Taste the sweetened coffee before adding gelatin. That’s what the finished jelly will taste like. Add an extra tablespoon of sugar if you want it sweeter.
- For individual portions, pour the liquid into serving cups instead of a baking dish before chilling. Set the cups on a tray for easy transport.




We’ve got a heatwave in the UK right now so this is the perfect recipe to sip on! The coffee jelly came out perfect – thanks for the recipe!
Perfect coffee alternative for those extra hot days. Thanks for the review!
This coffee jelly is such a unique recipe! I have had some extra gelatin for awhile now that I wasn’t sure how I was going to use, but I have i figured out now!
Perfect. Hope you enjoy, Lauren.
I love coffee and can’t wait to try your dessert! It looks delicious!
Thanks for the comment, Dennis. Let us know how it turns out.
Me and my husband are huge coffee lovers, so this is a must try recipe! Love that it looks like a fancy dessert but is simple to make!
Hope you find it to be easy. Thanks, Tristin.
Coffee jello?! Just when I thought I had found a way to enjoy coffee in every form, I’ve found yet another! What a fun drink and one I cannot wait to now try 😀
Truth for us coffee lovers, Lol. Hope you love it!
I have to try this but with decaf! It looks super easy and delicious!!
My kids love it when I make decaf. Enjoy 🙂
Such an interesting and fun dessert concept. Very excited to try this as a coffee lover 😉
I made this using decaf because I knew my daughter would want some too. So fun and refreshing.
Thanks for the review, Lola – it is a fun dessert to try.