How to Clean Your Ears in the Shower
As a participant in the Amazon Services LLC Associates Program and other affiliate programs, Easy Homemade Life may collect a share of sales or other compensation from the links on this page. This comes at no additional cost to you, and all the prices and availability are accurate at the time of publishing.

Learning how to clean your ears in the shower can be a game-changer for your health. While our ears are naturally designed to be self-cleaning, occasional care is essential to prevent complications and maintain good ear hygiene.

In this article, I will teach you 4 straightforward steps to clean your ears effectively. From dissolving stubborn earwax to properly drying your ear canal, let’s explore important details to unlock the secrets to healthier ears.
Should You Clean Your Ears?
Generally, you don’t need to clean your ears often because they are designed to be self-cleaning. That’s more than we can say for most things; if only our carpets and trash cans were like this too.
Earwax removal can sometimes do you more harm than good. This is because earwax naturally lubricates the ear canal, preventing it from drying. A normal level of wax also helps trap bacteria and harmful organisms, reducing the chances of infection.
However, excessive wax or earwax impaction can cause symptoms such as earache or pain, partial hearing loss, dizziness, tinnitus, or discharge, among other discomforts. Such a condition is called cerumen impaction, a disease in which a lot of earwax blocks the entire ear canal. Of course, in that case, you should seek medical attention from a professional healthcare provider and not try to remove the earwax blockage at home.
Wax removal is also important for individuals who wear hearing aids or those who always have earplugs on since they’re more prone to wax buildup. Instead of resorting to over the counter ear drops all the time, cleaning your ears naturally is the safest way to maintain ear health.
Find a balance with your ear cleaning process. If your ears don’t show any symptoms of ear infections or difficulty hearing, you can eliminate the unsightly wax yourself. Like cleaning the tongue and your nails, taking care of your ears is a simple task promoting long-term healthy balanced hygiene.
How to Clean Your Ears in the Shower
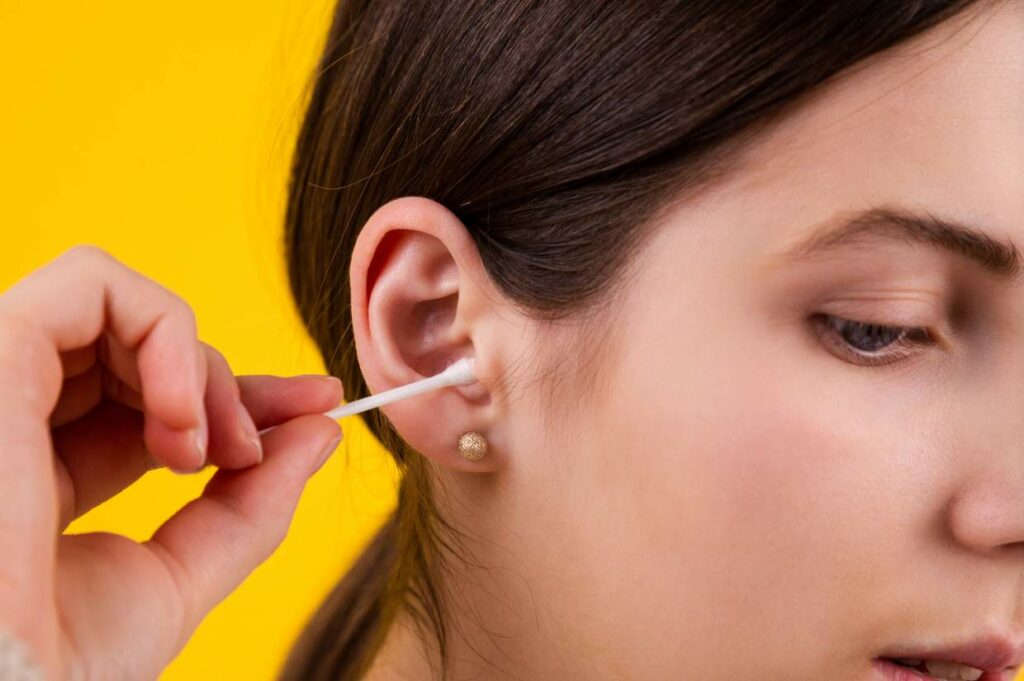
You’ll need a washcloth, natural body soap, and warm water to clean your ears in the shower. You can also use cotton swabs to remove any buildup, but only from the external portion of your ears. Avoid the temptation of using sharp objects like bobby pins.
In the case of stubborn earwax, you can try to soften it using warm water, a saline solution, or mineral oil. It’s really that simple. No special tools are required! Here are four steps to help you wash your ears while showering.
Step 1: Prepare your wax-softening solution
This pre-shower step is optional. However, it’s helpful if you’re dealing with some dirt, dust, and earwax buildup.
Start by using a softening solution to clean your ears. Some of the common treatments include warm water, mineral oil, and hydrogen peroxide. While doctors use the latter, I don’t recommend a mixture of hydrogen peroxide.
Hydrogen peroxide can potentially irritate the skin and even damage it if left on too long. Since there are other safe ways, I find it better to omit and not worry about unwanted consequences.
Instead, use the following steps to get rid of ear wax:
- Boil two cups of water.
- Add one teaspoon of salt and a pinch of baking soda.
- Stir until dissolved.
- Allow the water to cool to body temperature.
- Alternatively, warm some mineral oil in a water bath.
The gentle saline solution is an alternative to ear candles, which is another route employing a hollow candle. However, ear candling is difficult to do with one person and on a child’s ears. Additionally, the flame can get quite big, which may become a fire hazard or make you feel nervous about the proximity to your body.
Step 2: Apply the solution to your ears
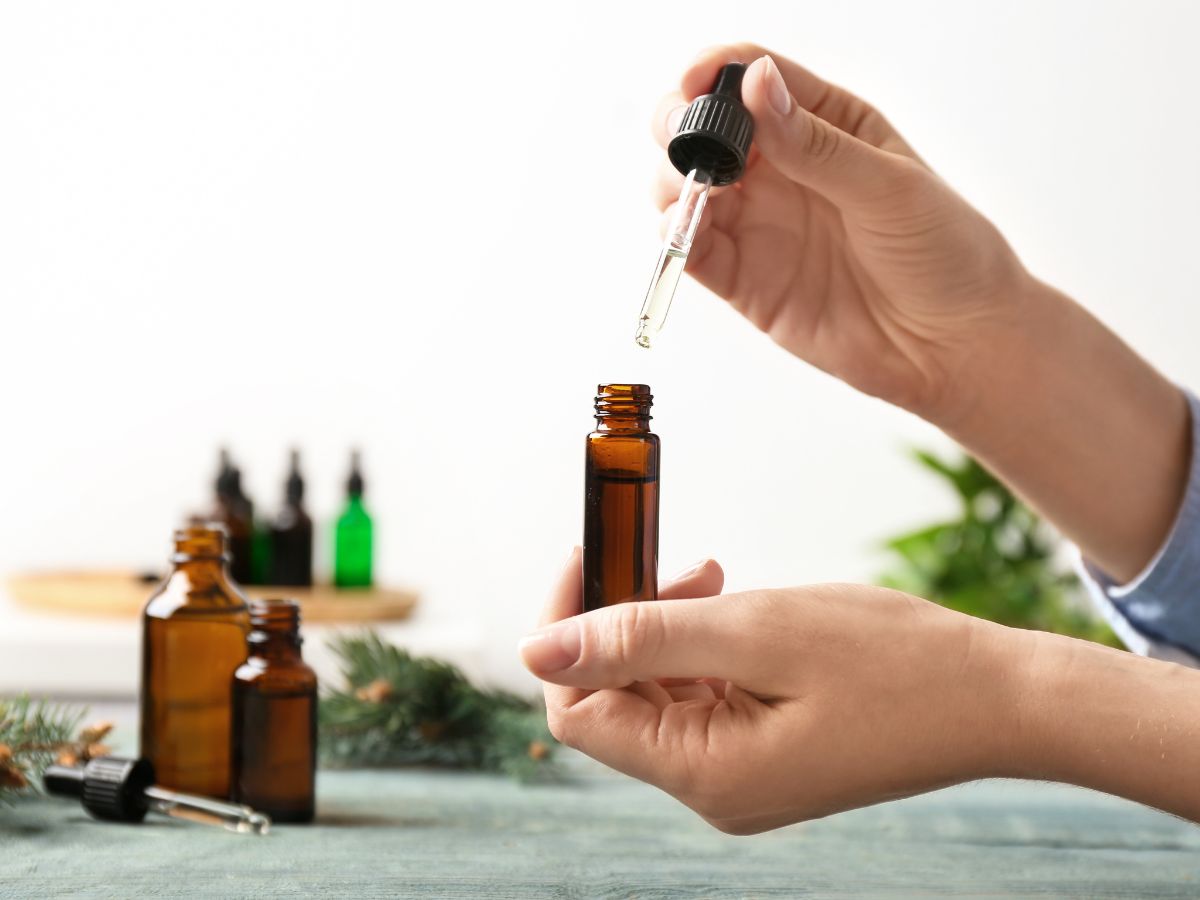
Once you’ve prepared the saline solution, all you need to do is apply it to your ears. You can use an applicator for this process.
Prepare a new regular or ear syringe, a rubber suction bulb, or an eyedropper, whichever you have on hand. Just make sure they’re clean. You can soak them in hot, soapy water and disinfect them with rubbing alcohol beforehand.
Now, all you need to do is apply the solution to your ear opening. Here’s how:
- Fill the applicator slightly more than halfway.
- Tilt your head to the side so your ear canal is as vertical as possible.
- Squeeze around 5-10 drops into each ear. Use a towel underneath your head to catch any spillage.
- Alternatively, add 3-5 drops of warm mineral oil using the same technique.
If you don’t have an applicator tool, you can apply the solution directly from the bowl into your ear, although the process will be a bit messy. I always save empty tincture bottles for reasons like this. Having a stash of eye droppers is very useful in times of need.
Step 3: Drain the fluid and wash the exterior
Let the mixture work its magic to dissolve the ear wax; around 5-15 minutes would be enough. As for the mineral oil, you can leave it overnight. Drain the fluid by tilting your head. Additionally, flush your ears with lukewarm water.
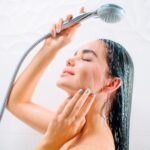
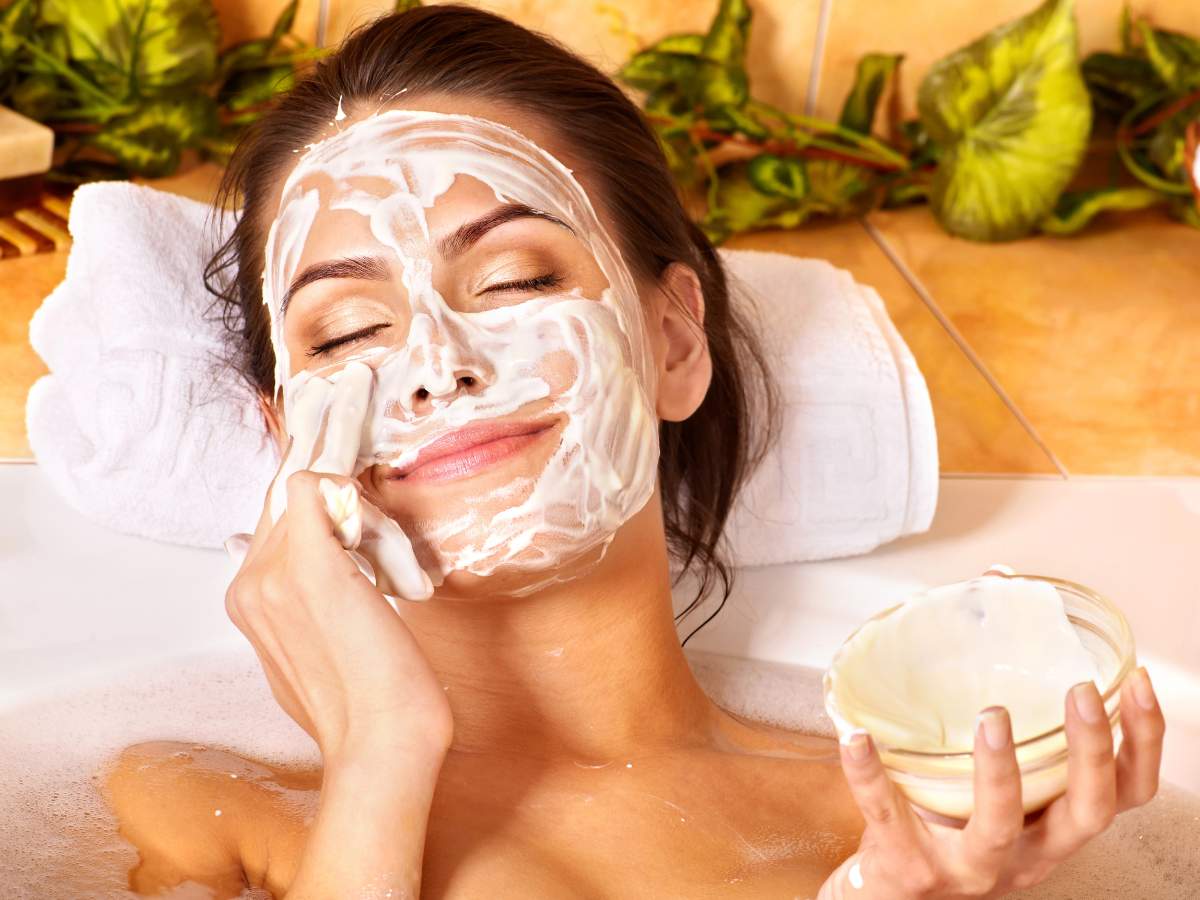
After removing the earwax, prepare for a warm shower. Using your palms or a clean, damp washcloth, add some soap.
Gently rub your outer ear in a circular motion. Don’t forget to clean the back as well. You can use your fingers or a cotton swab to clean around the folds, but make sure not to use the soapy mixture in the inner ear.
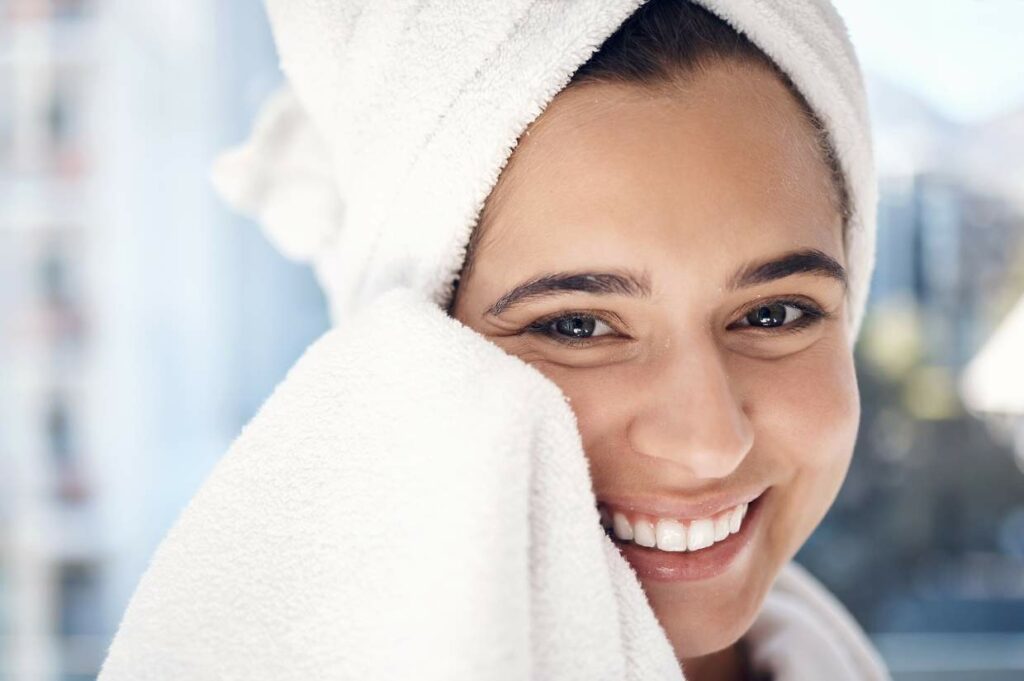
Step 4: Dry your ears
After rubbing the soap, rinse your ears in the shower. Use warm water, and make sure to remove any soap left over. You can tilt your head slightly for the water to reach the corners.
All you need to do now is dry your ears, and you’re done! Drying the ears is crucial because leaving them wet can cause a bacterial infection known as otitis externa. So, don’t skip drying your ears. To do that, simply use a towel and pat your ears dry. You can tilt your head to the sides and pull your earlobes to drain excess water.
If you’re having trouble and your ears still aren’t dry, turn a blow dryer on the lowest setting, hold it a foot away, and let the warm air dry them out.
Easy, right? Although the ear has a self-cleaning mechanism, excessive earwax can be unsightly. Not to mention, it can lead to troublesome infections in kid’s ears and adults. Fortunately, you can make use of this information and work to prevent that problem. It’s a good idea to figure out how to clean your ears in the shower and add it to your self-care routine as needed.
How to Clean Your Ears in the Shower (Best Tips)
Equipment
- 1 Ear syringe a rubber suction bulb, or an eyedropper
Instructions
- Prepare the saline solution: Boil 2 cups of water. Add salt and baking soda. Stir until dissolved. Allow it to cool to body temperature.
- Apply solution to ears: Use an applicator like an ear syringe, a rubber suction bulb, or an eyedropper. Fill the slightly more than halfway. Tilt your head to the side so your ear canal is as vertical as possible. Squeeze around 5-10 drops into each ear. Use a towel underneath your head to catch any spillage.
- Rest, drain, and wash: Let the solution soak in for 5-15 minutes. Drain the fluid by tilting your head. Start a warm shower. Using your palms or a clean, damp washcloth, add some soap. Gently rub the outside of your ear in a circular motion. Don’t forget to clean the back as well. You can use your fingers or a cotton swab to clean around the folds, but make sure not to use the soapy mixture in the inner ear. Rinse clean.
- Dry ears: Use a towel and pat your ears dry. You can tilt your head to the sides and pull your earlobes to drain excess water. If you're having trouble and your ears still aren’t dry, turn a blow dryer on the lowest setting, hold it a foot away, and let the warm air dry them out.


I tried ear candling a couple times, but having something on fire next to my face really makes me nervous so I have switched to using this salt water and baking soda solution. Works great!