Cold Diffuser For Essential Oils: A Beginner’s Guide
As a participant in the Amazon Services LLC Associates Program and other affiliate programs, Easy Homemade Life may collect a share of sales or other compensation from the links on this page. This comes at no additional cost to you, and all the prices and availability are accurate at the time of publishing.
A cold diffuser for essential oils is an invaluable tool if you’re into aromatherapy. As a big essential oil user, I use all kinds of diffusers at home, but a cold air diffuser is one of my favorites because it’s easy to use, doesn’t require water, and I get the benefits from pure, undiluted essential oils.

But what exactly makes a cold diffuser stand out from the rest? In this article, let’s talk about this incredible device – how it works, the pros and cons of using it, plus some helpful buying tips if you’re shopping for one. Let’s get started!
What Is A Cold Air Diffuser and How Does It Work?
A cold-air diffuser, also called a nebulizing diffuser or essential oil nebulizer, is one of the best essential oil diffusers that you can use in any space. This device uses cold air diffusion technology, which disperses essential oils into the air without using heat or water. It also uses a nebulization process that creates a fine, scented mist. Unlike other types of electric diffusers, cold diffusers use a stream of air to break up the molecules of essential oils while actively filtering the cold air in the space without leaving any residue.
Because essential oils are not heated or diluted in water, their therapeutic properties remain intact, making them a good choice for those who want to fully experience the benefits of aromatherapy. One thing that I love most about this device is that it only uses pure essential oils and the smell is more potent when I diffuse my favorite scents, like my vanilla, ginger, woodsy, summer, or winter essential oil blends.
More than its therapeutic benefits, I discovered something when flu season came – I found that my essential oils for flu were more effective when I use my cold diffuser compared to when I use ultrasonic diffusion. My stuffy nose, sore throat, and other common cold symptoms were gone before I knew it!
The same thing happened with my niece’s nail fungus and my daughter’s skin irritations, they healed faster when I used a nebulizer to diffuse oils with antibacterial properties.
Additionally, while they are an excellent choice for small spaces, these aroma diffusers also cover larger spaces more effectively compared to regular diffusers, so we use them in common areas in our home and our offices.
How To Use A Cold Air Diffuser
Using a cold air diffuser is easy and straightforward. This type of diffuser has a wide range of models in different shapes and sizes, so it’s best to follow your manufacturer’s instructions. However, here’s how it’s generally operated:
- Remove the lid of your cold air diffuser, if applicable.
- Some models like the Babel Tower Aroma Nebulizer require you to put in a specific number of essential oils drops into its reservoir and some like the Loxim Aromatherapy Nebulizing Diffuser require you to screw on the essential oil bottle or original container itself. Depending on the model that you own, follow the instructions on how to put in essential oils or diffuser blends into your device. Your unit’s manual should also state how much essential oil to add to your diffuser.
- Plug in your device and turn it on.
- Adjust the available settings on your cold diffuser according to your preferences, such as timer, adjustable mist, and mood lighting.
- Replace the lid if needed and enjoy your aromatherapy session.
It’s important to note that cold air diffusers work best when you use therapeutic-grade pure essential oils. It’s also best to minimize the use of very thick essential oils as they can get in the way of the nebulization process.
How To Clean And Store A Cold Air Diffuser
Like any other electronic device, cold-air diffusers need proper care and storage to work optimally. Again, it’s best to check your unit’s manual for specific maintenance instructions, but here’s how cold diffusers for essential oils are cleaned and stored:
- Unplug the power source before cleaning or storing your cold air diffuser.
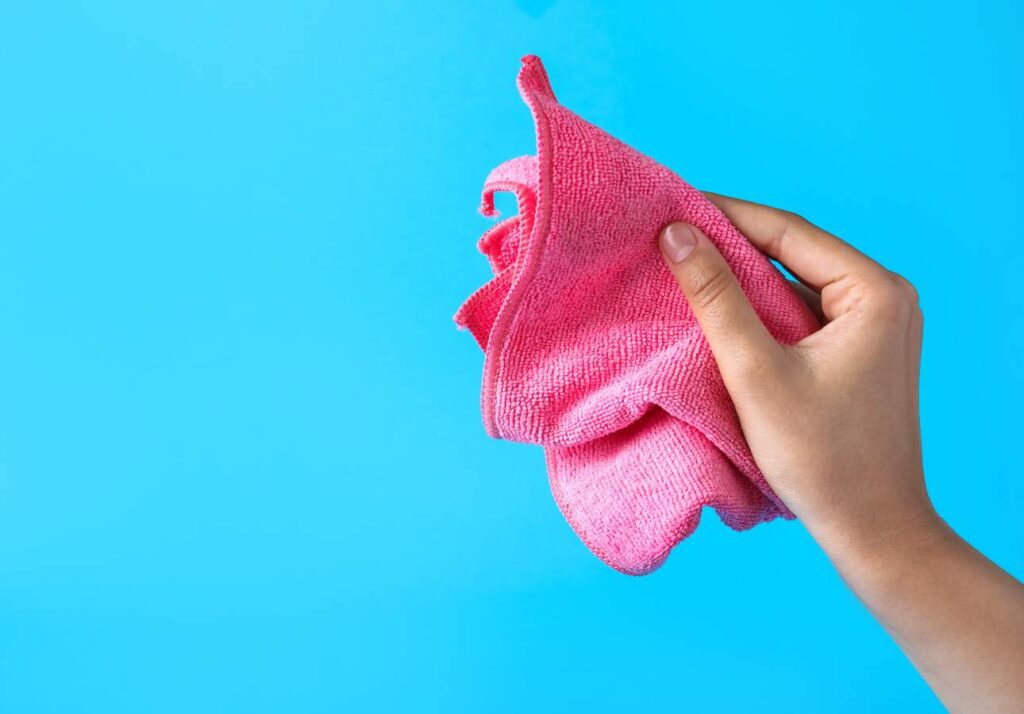
- To clean your cold air diffuser, use a microfiber cloth to remove dust or dirt buildup. Wipe down your unit at least once a week if you use it regularly.
- Use a cotton swab to clean crevices and other hard-to-reach parts of your diffuser.
- Once or twice a month, it’s ideal to give your diffuser a more thorough cleaning. To do this, lightly spray a soft, damp cloth with rubbing alcohol and wiping down all the parts. Avoid using any other chemicals or detergents to clean your unit. Do not submerge any parts in water. If there is any remaining oil, transfer it to a different container so that you can clean the reservoir.
- Allow to air dry before you plug and use your diffuser again.
- The best way to store your cold air diffuser is in a cool and dry area, away from direct sunlight or any heat source.

The Pros and Cons of Using a Cold Diffuser For Essential Oils
If you’re aiming to experience the full effects of essential oils, try diffusing them using a cold diffuser as the oils are released into the air without being altered in any way. This is one of its many advantages – however, it’s still important to weigh the device’s benefits and drawbacks before buying one and adding to your wellness routine. To help you make an informed decision, let’s go through the pros and cons of having a cold diffuser for essential oils.
Pros
- Preserves Oil Integrity: Since cold diffusers don’t use heat or any any carrier oil, the chemical composition of a pure essential oil remains intact and its therapeutic properties are fully preserved.
- Gives Off Potent Aroma: A cold air diffuser produces strong aromatic compounds. Since it doesn’t require water to operate, the essential oils are not diluted in water. This means you can enjoy purer, stronger scents from aroma oils. Additionally, there’s no risk of mold or bacteria growing in the device and being diffused in your space, which is common in water-based diffusers.
- Distributes Scents Effectively: Nebulizing diffusers break organic oils into micro-particles, which can be dispersed easily throughout a space, making it effective for distributing scents in larger areas.
- Operates Quietly: Since they don’t use water, cold diffusers tend to operate more quietly compared to ultrasonic diffusers that have water pumps. This means no buzzing of a running motor or swirling sound of water that can get in the way of your peace and quiet.
- Requires Minimal Maintenance: No water tank means less to clean, which makes cold air diffusers easier and quicker to clean – all you need is some rubbing alcohol!
Cons
- Costs Higher: Because of their intricate designs and features, cold diffusers tend to be more expensive than heat or water-based diffusers.
- Uses More Oil: Cold air diffusers typically consume more drops of essential oil. They consume fragrance oils at a faster rate compared to ultrasonic diffusers which only require only a few drops per cycle. Frequent refills of essential oils can be costly over time.
- Does Not Have Humidifying Features: Unlike water-based diffusers that have humidifying features, nebulizing diffusers don’t add moisture to the air, which can be a drawback in dry environments.
- Harder To Setup: Though nebulizing diffusers are generally easy to operate, the initial setup might be a little more complex because of their intricate designs. This requires more time and effort to get started.
Wrapping Up
A cold diffuser for essential oils is a must-have if you want to maximize the effects of aromatherapy. Using cold-air diffusion technology to enjoy your favorite scents, may it be the smell of ocean breeze, floral bouquet, or a bed of sweet vanilla, is an effective way to relax and unwind.
Although a little more expensive compared to traditional diffusers, cold air diffusers specialize in preserving the integrity of essential oils, distributing potent scents in large spaces, and letting you experience an essential oil blend in its purest form – it’s a great way to enjoy aromatherapy without the hassle! They make an awesome Christmas gift idea for adults, for teens, or even for older women like your mom or grandma! As for me, I gave my husband one as an anniversary gift and he uses it non-stop in his office!
Convinced to buy a cold air diffuser for yourself or a loved one so you can diffuse your signature scent anytime, anywhere? Bookmark this post and use it as a guide once your unit arrives. It would also be awesome if you shared this post to family and friends who might be interested in investing in a cold air diffuser, too!
How To Use A Cold Air Diffuser Step By Step
Equipment
- 1 cold air diffuser
Instructions
- Remove the lid of your cold air diffuser, if applicable.
- Some models require you to put in a specific number of essential oil drops into its reservoir and some require you to screw on the essential oil bottle itself. Depending on the model that you own, follow the instructions on how to put in essential oils into your device. Your unit’s manual should also state how much essential oils to use.
- Plug in your device and turn it on.
- Adjust the available settings on your cold diffuser according to your preferences, such as timer, adjustable mist, and mood lighting.
- Replace the lid if needed and enjoy your aromatherapy session.





Oh, amazing! This is just what I needed to know about cold diffusers. Thanks for the tips!
Thank you for the warm feedback, Issabelle. I hope it helps!
Oh, amazing! This is just what I needed to know about cold diffusers. Thanks for the tips!
I’m glad you found this post, Ana. Thanks for visiting!