
Mixed Berry Dump Cake
As an Amazon Associate, I earn from qualifying purchases.
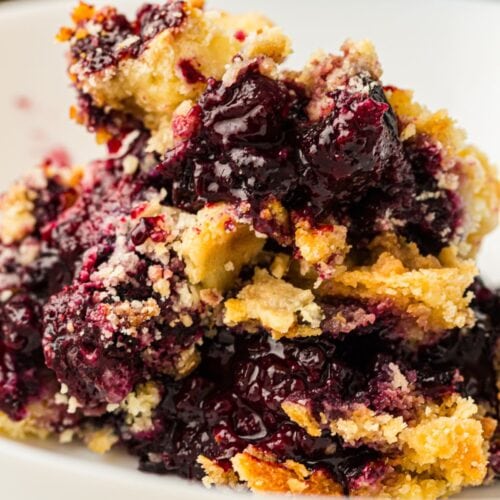

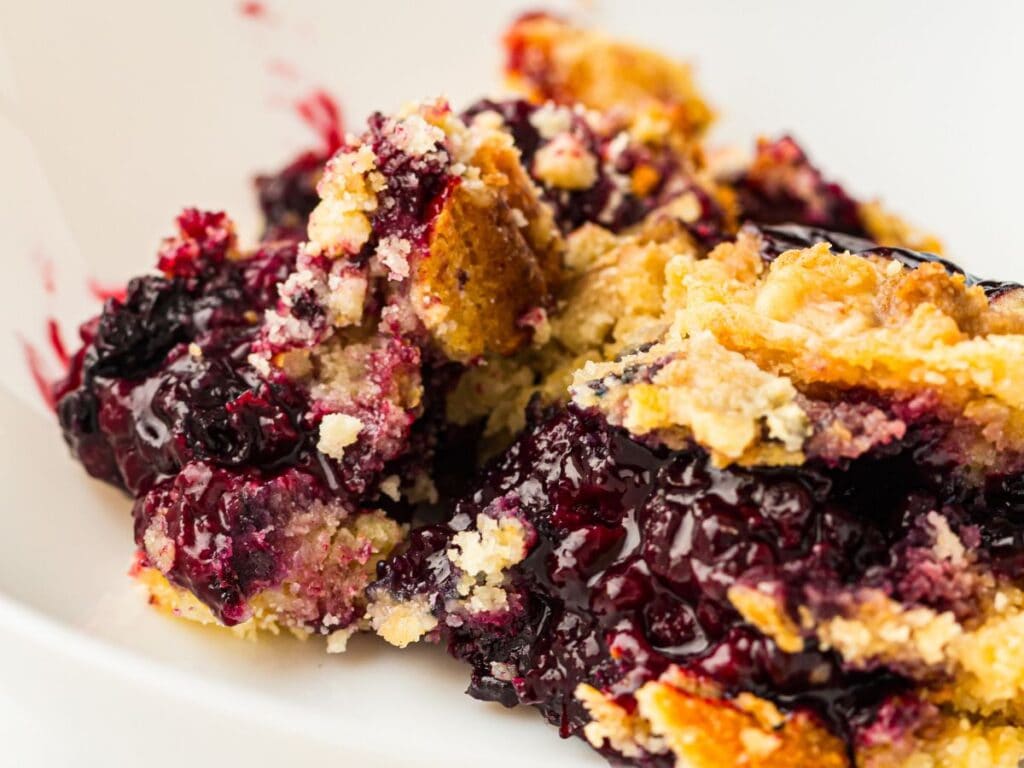
My dad still gives me grief every time I say a recipe only takes five minutes of prep. He insists that’s not fair, that it takes at least five minutes just to gather the ingredients and actually measure something. Normally he has a point. This berry dump cake is the one recipe where he’s wrong. I’ve timed it. Five minutes, start to finish, because there’s nothing to chop and nothing to mix, just fruit, sugar, cake mix, and butter, layered straight into the dish.
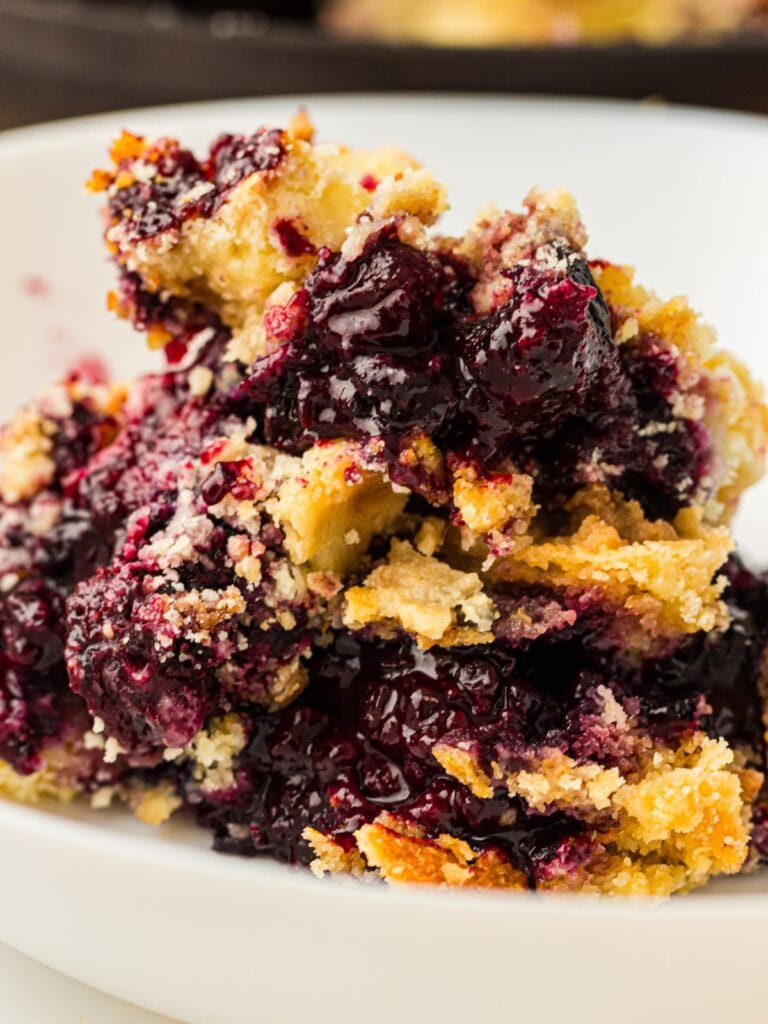
That’s really the whole trick of a dump cake, and it goes against every baking instinct you have. You dump the dry cake mix over the berries, and you leave it alone. No stirring, no folding, no batter. The second you mix it together, you’ve made a cobbler instead, and you lose the thing that makes this recipe worth making: distinct layers of jammy fruit underneath a golden, crisp-edged topping.
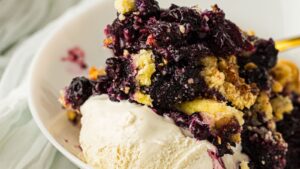
Serve it warm with vanilla ice cream or whipped cream; the contrast between the warm, jammy fruit and something cold is the main reason people go back for seconds. It’s not a summer-only dessert either; frozen berries mean it comes together just as easily in January.
If you’re a fan of dump-style desserts, my 3-ingredient peach cobbler uses the same yellow cake mix trick with a different fruit. You’re welcome for sharing two worth keeping in the rotation for potlucks and easy weeknight desserts alike.
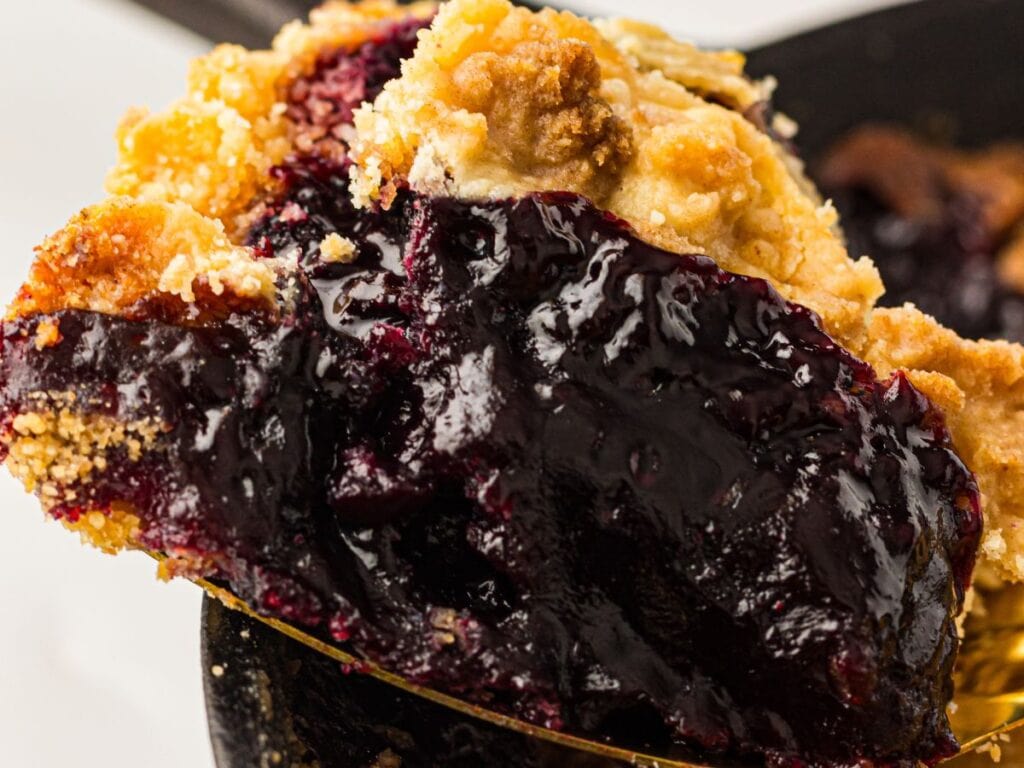
How to Make a Berry Dump Cake
A dump cake earns its name because there’s literally nothing to prepare; you’re layering, not building a batter. Berries go down first, then sugar and lemon juice to draw out their juice into that glossy jam layer, then the dry cake mix spread evenly without stirring, then butter poured over the top.
It’s the same principle behind my Tiramisu, respect the layers and don’t disturb them, and you get texture and definition you’d lose the moment everything gets blended together.
The one thing people miss: Go back over the top of the dry cake mix a second time with the butter. One pass almost never reaches every corner, and any dry patch of cake mix left uncoated won’t crisp up, but will stay powdery instead of turning golden. Circling back and drizzling slowly is the difference between an evenly golden top and one with a few sad, chalky spots.
You’ll know this cake is done by sight, not just the clock. Look for a deep golden-brown top and berry juices visibly bubbling up around the edges of the dish. If it’s still pale and quiet in the middle, give it a few more minutes. You’ll use the same approach to strawberry crumble.
Full ingredients and measurements are in the printable recipe card at the bottom of this post.
Ingredient Notes
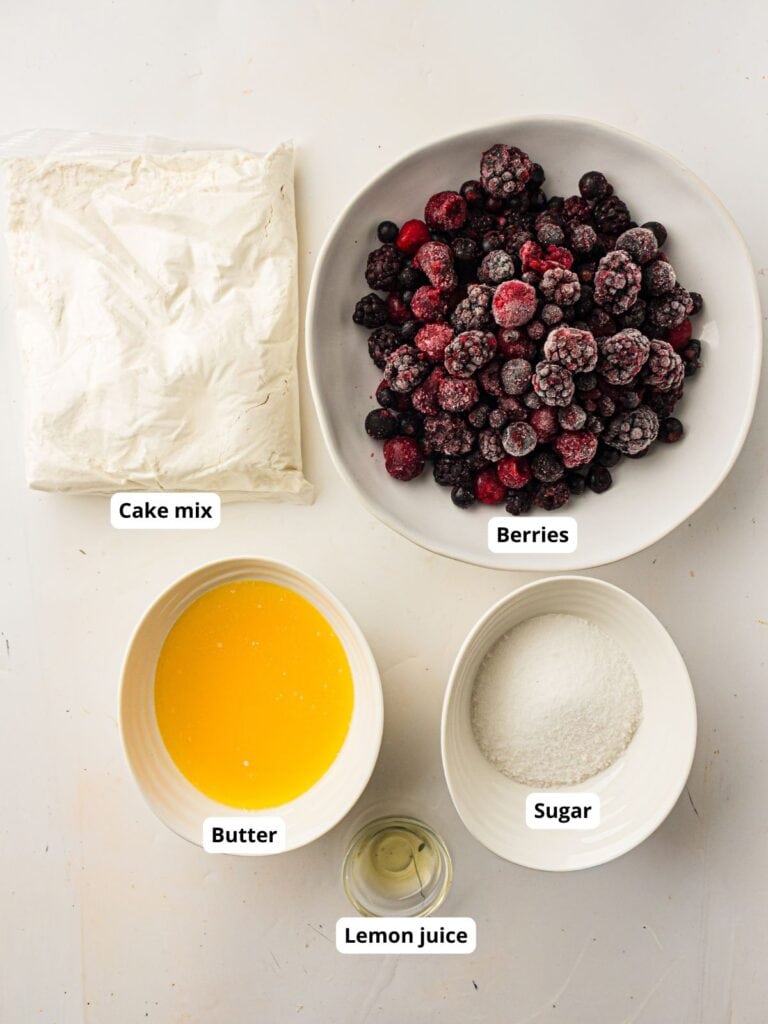
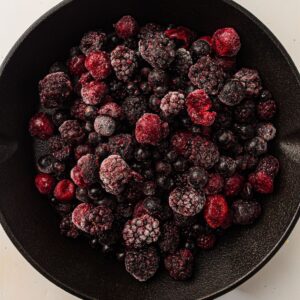
Mixed berries, fresh or frozen. Frozen works just as well as fresh and doesn’t need to be thawed first, just break up any large clumps so they spread evenly. Frozen berries also release plenty of juice on their own, which is exactly what you want under the cake layer, and they’re what make this an any-season, pantry-and-freezer dessert rather than a summer-only one.
Yellow cake mix. Any box brand works. This is the layer that goes in dry and stays dry until the butter reaches it, so an even, edge-to-edge spread matters more than which brand is in the box.
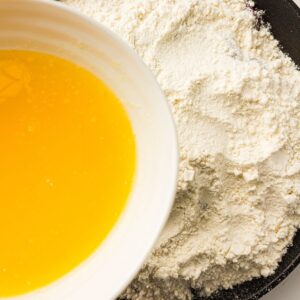
Unsalted butter, melted. Coverage matters more than the amount. A thin layer left dry won’t crisp, so take the time to drizzle slowly and go back over any spots you missed.
How It Comes Together
Layer the berries, sugar, and lemon juice in the dish, sprinkle the dry cake mix over the top without stirring, then drizzle with melted butter and bake until deep golden and bubbling. Full measurements and timing are in the recipe card below.
What I’ve Learned Making This
I’ve never had this one fail on me. It holds up whether you’re rushing or taking your time, and it survives sitting on a buffet table next to six other desserts without drying out or falling apart.
This is the same reason my Old-Fashioned Fudge stays in regular rotation too. It’s a different process entirely, no oven involved, but it comes from the same instinct to have something reliable ready whenever a crowd shows up.
A dump cake doesn’t need to look picture-perfect to disappear fast either. The rustic, slightly rough look baked in a cast iron skillet is part of the appeal, not something to apologize for.
The only adjustment worth knowing: if you’re using a 9×13-inch dish instead of the skillet, keep an eye on it near the 40-minute mark, since the shallower layer can finish a few minutes faster.
How to Store
Store covered in the refrigerator for up to 3 days. To freeze, portion into an airtight container for up to 2 months, then thaw and reheat before serving.
Easy Berry Dump Cake, No Mixing!
Ingredients
- 4 cups mixed berries fresh or frozen
- ½ cup sugar
- 1 tablespoon lemon juice
- 1 box yellow cake mix
- ¾ cup unsalted butter melted
Instructions
- Preheat your oven to 350 °F and get out a 10-inch cast iron skillet or round baking dish. A well-seasoned cast iron skillet does not need to be greased, but you should lightly grease the baking dish with butter or nonstick spray.
- Spread the berries in an even layer across the bottom of the dish. If you’re using frozen berries, no need to thaw them first; just break up any clumps so they’re evenly distributed.

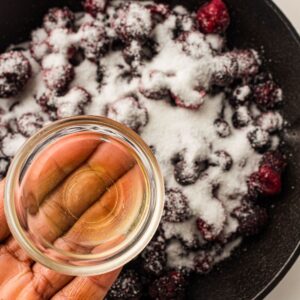
- Sprinkle the sugar and lemon juice over the berries as evenly as you can. This is what turns the berries into that glossy, jammy layer underneath the topping.
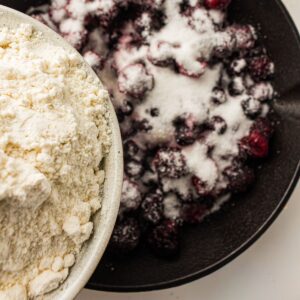
- Sprinkle the dry cake mix over the berries in an even layer, all the way to the edges of the dish. Resist the urge to stir it in; the whole point of a dump cake is those distinct layers.
- Drizzle the melted butter over the cake mix, making sure to coat as much of the dry mix as possible. Any spots left dry won’t crisp up right, so go slowly and circle back over any patches you missed.
- Bake for 40 to 45 minutes. You’re looking for the top to turn deep golden brown and the berry juices to be bubbling up around the edges of the dish; that’s how you know it’s ready.

Easy but tastes like store bought cake mix. Not homemade. Don’t bother.
A dump cake is really built around the boxed mix. That’s what makes it a dump cake! If you’re looking for something from scratch with fresh berry flavor, my strawberry crumble uses real ingredients and comes together almost as quickly. It might be a better fit for what you’re after.