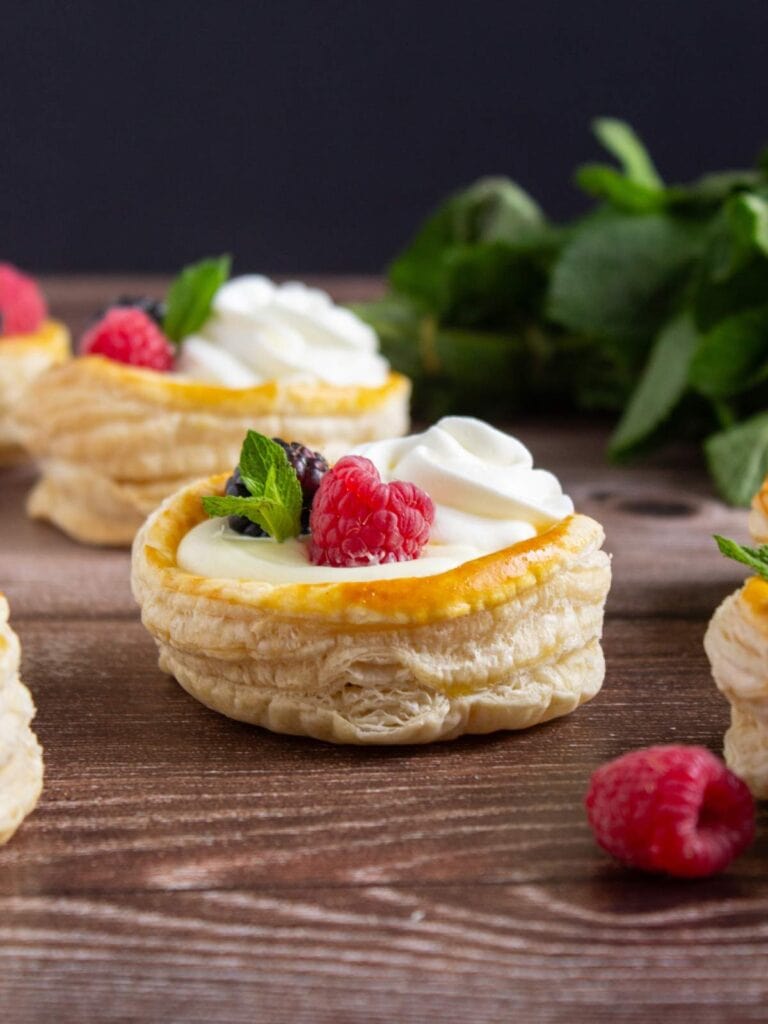
Sweet Puff Pastry Vol-Au-Vent
As a participant in the Amazon Services LLC Associates Program and other affiliate programs, Easy Homemade Life may collect a share of sales or other compensation from the links on this page. This comes at no additional cost to you, and all the prices and availability are accurate at the time of publishing.

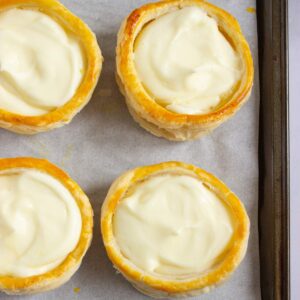
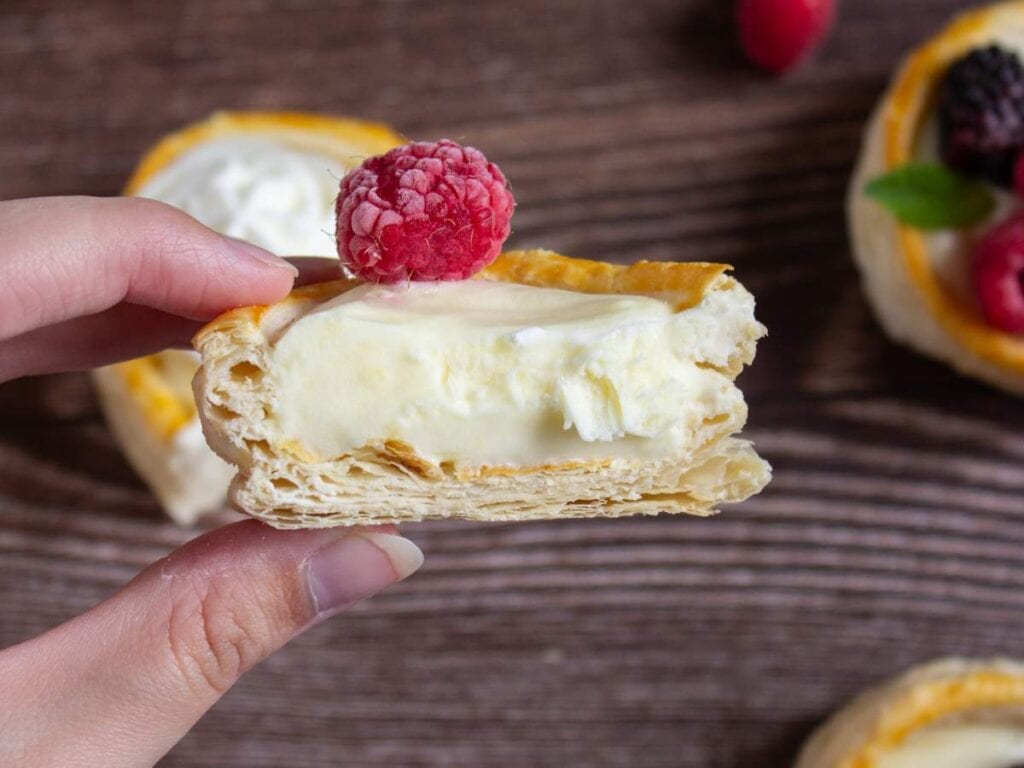
Puff pastry vol-au-vent is a happy kitchen discovery I wish I’d made sooner. For the longest time, the French name intimidated me, but the moment I looked into it, I realized these elegant little pastry cups are really just puff pastry, a simple cream filling, and berries. I actually laughed at how approachable it all was. Turns out, I already knew how to make something like this, I just didn’t know it had a fancy name.
There’s something oddly delightful about discovering that an Instagram-worthy dessert starts with a box of puff pastry and pudding mix. Even with its straightforward technique and short ingredient list, the real magic of this recipe is the gap between its fancy French name and the actual effort it takes to make it. I often use puff pastry to make other treats like upside down apple tart, and I can say that sweet vol-au-vent isn’t harder or more complicated.
Puff pastry vol-au-vent always sparks conversation at gatherings, whether it’s a simple weekend brunch or a special occasion like an 18th birthday, bridal shower, gender reveal, Mother’s Day, or any holiday. Someone inevitably asks what the name means, someone else takes a stab at pronouncing it, and then everybody laughs when they realize what they’re eating is basically flaky pastry and cream dressed up for the occasion.
How to Make Puff Pastry Vol-Au-Vent
Say it with me: VOL-AU-VENT (vohl-oh-vahn). The French name literally means windblown, a nod to the dessert’s light, airy pastry. Vol-au-vents have been around since the 18th century, when French chefs filled delicate pastry shells with savory or sweet fillings for elegant dinners.
Now, home cooks like us can pull off a batch of this impressive dessert in an hour from start to finish, even without a pastry degree or a French grandmother. Keep scrolling for the printable recipe card with everything you need, including ingredient amounts, timing, and step-by-step directions.
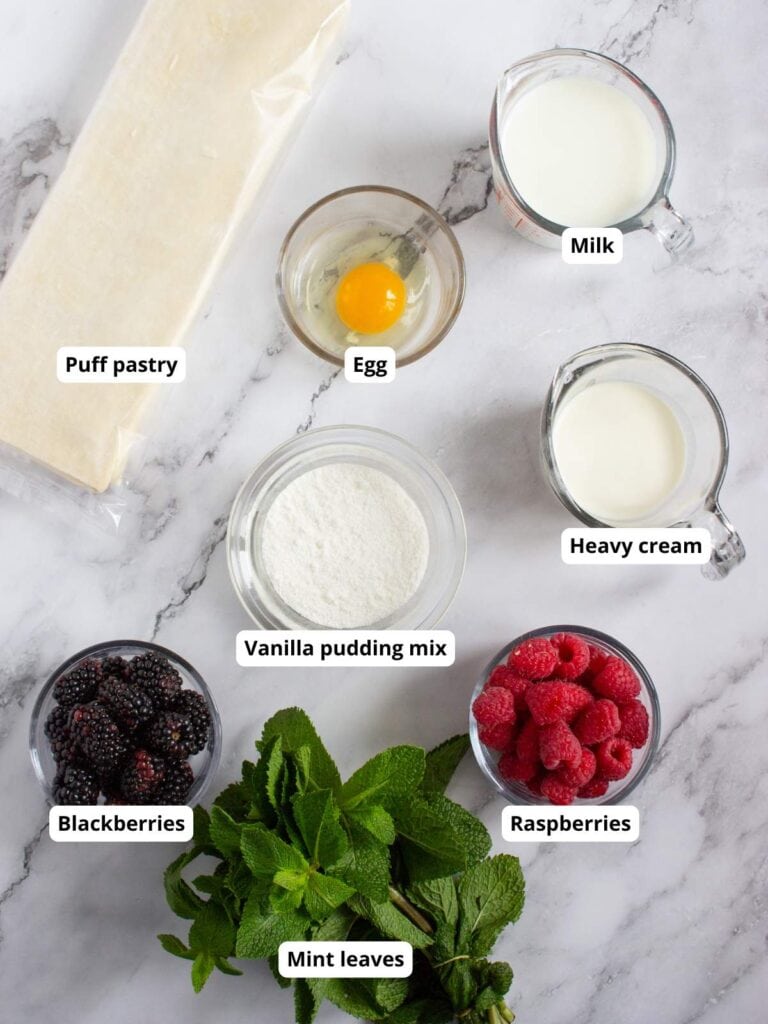
Ingredient Notes
- Puff pastry: Keep it thawed but still cold so it’s easier to cut and stack, giving you those tall, crisp layers that make vol-au-vent so pretty. If it gets too warm, it becomes sticky and harder to work with, and the pastry won’t puff quite as nicely in the oven.
- Instant vanilla pudding mix: This is my shortcut to a creamy filling without making traditional pastry cream. Since the pastry already does the heavy lifting in the looks department, I’m happy to let a box mix save me some time.
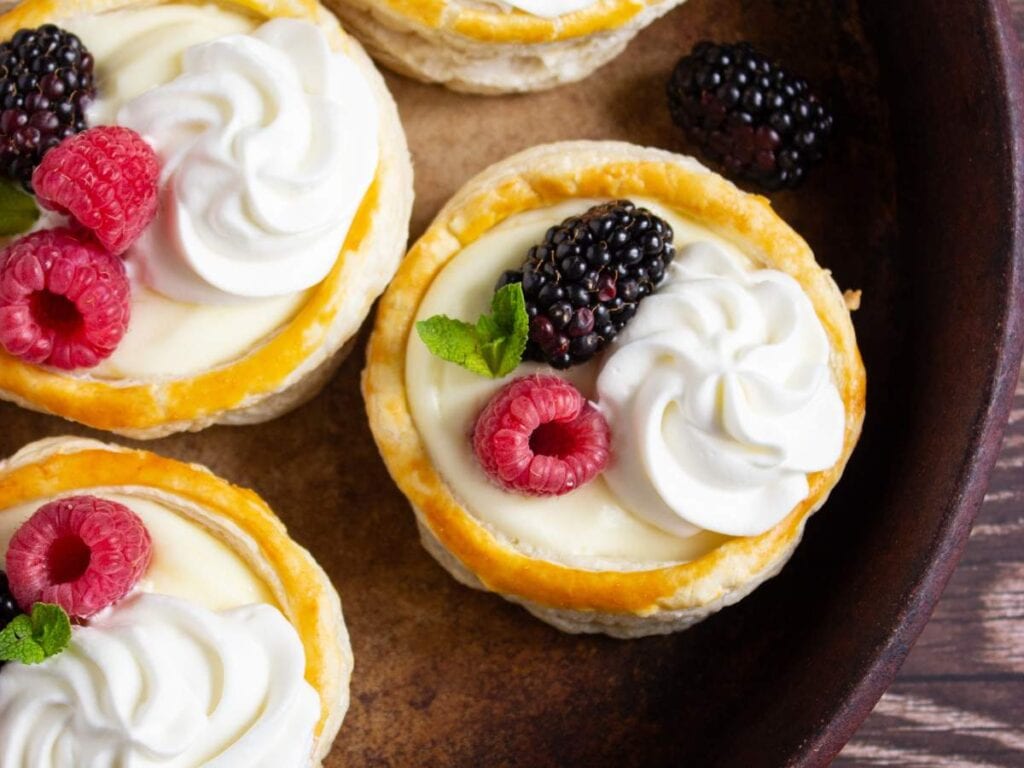
- Fresh berries: Any of your favorite summer berries will do. I love raspberries and blackberries, but strawberries, blueberries, or a mix of all four make these puff pastry vol-au-vent look especially pretty on a brunch table.
Step-By-Step Instructions
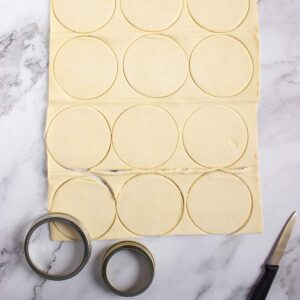
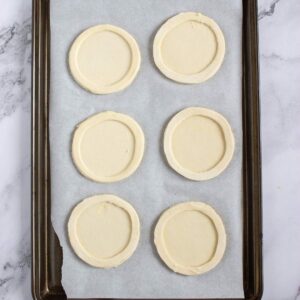
- Prepare the pastry cups by rolling out the puff pastry and cutting out rounds.
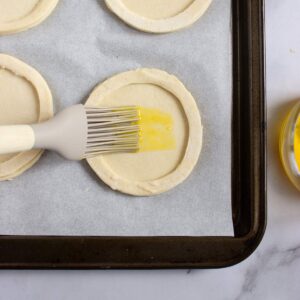
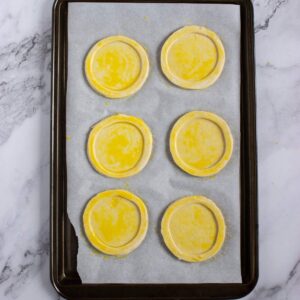
- Brush with an egg wash and bake until puffed and golden.
- Make the filling and chill until ready to use.
- Spoon or pipe the cream into each pastry cup.
- Top with piped whipped cream, fresh berries, and mint sprigs.
Variations
- Swap the vanilla pudding mix for cheesecake or white chocolate pudding if you want a slightly richer filling. I was surprised by how much my family liked the cheesecake version.
- Add a spoonful of lemon curd to the filling for a bright, tangy twist. It gives the dessert a little more personality and pairs beautifully with fresh berries.
- Top each pastry cup with sliced peaches, cherries, or kiwi when berries aren’t in season. I like letting the produce aisle decide what version we’re making that day.
Jessica’s Tips
- I learned not to fill the pastry baskets too far in advance because the cream will gradually soften them. If I know guests are coming, I make the components ahead and assemble right before serving.
- If the centers puff up more than you’d like, don’t panic. Gently press them down with the back of a spoon after they’ve cooled. I’ve found that waiting until they’re cool keeps the shells from cracking.
- If I’m serving these at a special occasion, I pipe the filling into the puff pastry instead of spooning it. It takes only a few extra minutes, and the whole dessert feels extra elegant without much extra effort.
Storage Tips
If making ahead, it’s best when the components are stored separately. I keep the baked pastry in an airtight container at room temperature for up to 2 days and refrigerate the filling for up to 3 days. Having the pastry baked and the filling chilled means dessert is basically done before anyone rings the doorbell, which makes entertaining feel a whole lot more relaxed.
Once assembled, they’re best enjoyed the same day. The pastry eventually softens, which still tastes good but loses some of that delicate crunch that makes vol-au-vent so special.
How to Serve Puff Pastry Vol-Au-Vent
I love serving these gorgeous treats with a pot of pour-over coffee or a cozy drink like chocolate chai latte. If you’re putting together a brunch spread, serve a breakfast charcuterie board alongside favorites like cheese and onion quiche and smoked salmon tartlets, then finish with these elegant little pastry cups for dessert.
More Dessert Recipes To Try
- Lemon angel pie
- No-bake apricot cheesecake
- White chocolate mousse with raspberries
- Glazed lemon loaf cake
- Frog eye salad
Light and Creamy Puff Pastry Vol-Au-Vent
Ingredients
- 1 sheet puff pastry thawed but still cold
- 1 large egg beaten, for egg wash
- 3.4 ounces instant vanilla pudding mix 1 box
- 1 cup cold milk
- ½ cup heavy cream
For topping:
- Fresh berries raspberries, blackberries, etc.
- Whipped cream from a piping bag for presentation
- Fresh mint leaves
Instructions
Prepare the pastry cups:
- Preheat oven to 400 °F and line a baking sheet with parchment paper.
- Roll the puff pastry out on a lightly floured surface, then cut out rounds with a 2.5 or 3-inch cookie or biscuit cutter.

- Take half of those rounds and cut them again with a smaller cutter, about 1.5 inches. Discard the center to create rings. These become the raised edges of your pastry cups.
- Place the whole rounds on your prepared baking sheet and set a ring on top of each one. They will bake together into a little cup with a built-in border.
- Brush the tops lightly with beaten egg, but keep the brush away from the sides so the pastry can puff up fully around the edges.
- Use a fork to prick the center of each base, but not the ring. Pricks prevent the inside from puffing too much.
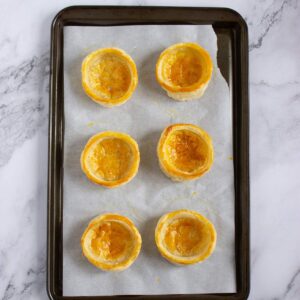
- Bake for 12 to15 minutes until golden brown and puffed. Let them cool completely before filling. If the center puffs up more than you want, just press it down gently with the back of a spoon once they have cooled.
Make the filling:
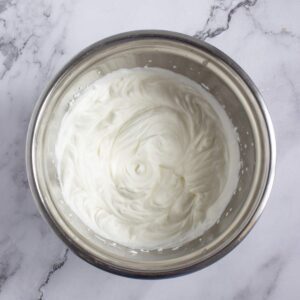
- Whip the cream into soft peaks, just until it holds its shape without being stiff. Then, set it aside.
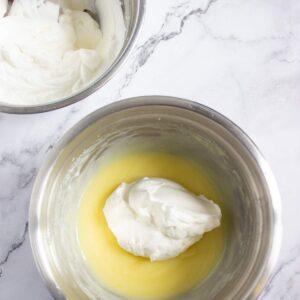
- Whisk the pudding mix with cold milk until smooth and thickened.
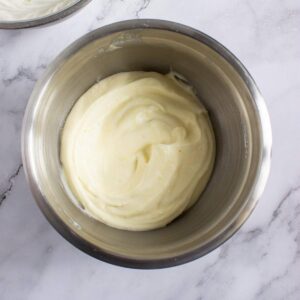
- Fold the whipped cream into the pudding mixture for a lighter, mousse-like filling that pipes well. Chill until you are ready to assemble.
Assemble:
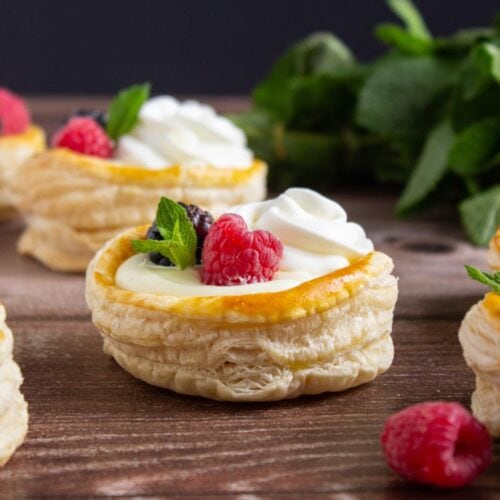
- Spoon or pipe the vanilla cream into each cooled pastry cup, filling right to the edges of the ring.
- Top with a swirl of whipped cream, a few fresh berries, and a sprig of mint.