All-Purpose Bread Machine Bread
As an Amazon Associate, I earn from qualifying purchases.
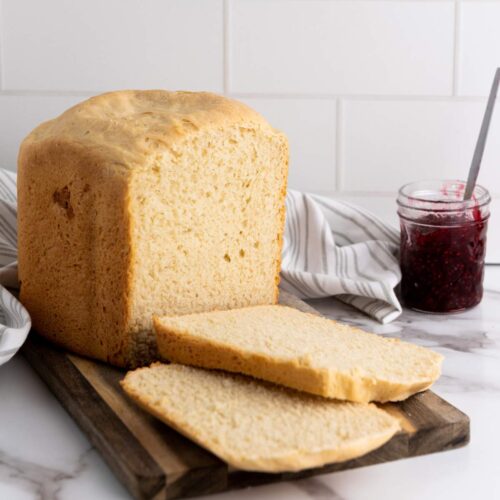
I make this bread machine bread the same way almost every time: after breakfast, so it’s ready by lunchtime. It’s an easy dump-and-go situation where I go about my morning to find a fresh loaf of bread waiting for me, ready to enjoy or stored for eating throughout the week.
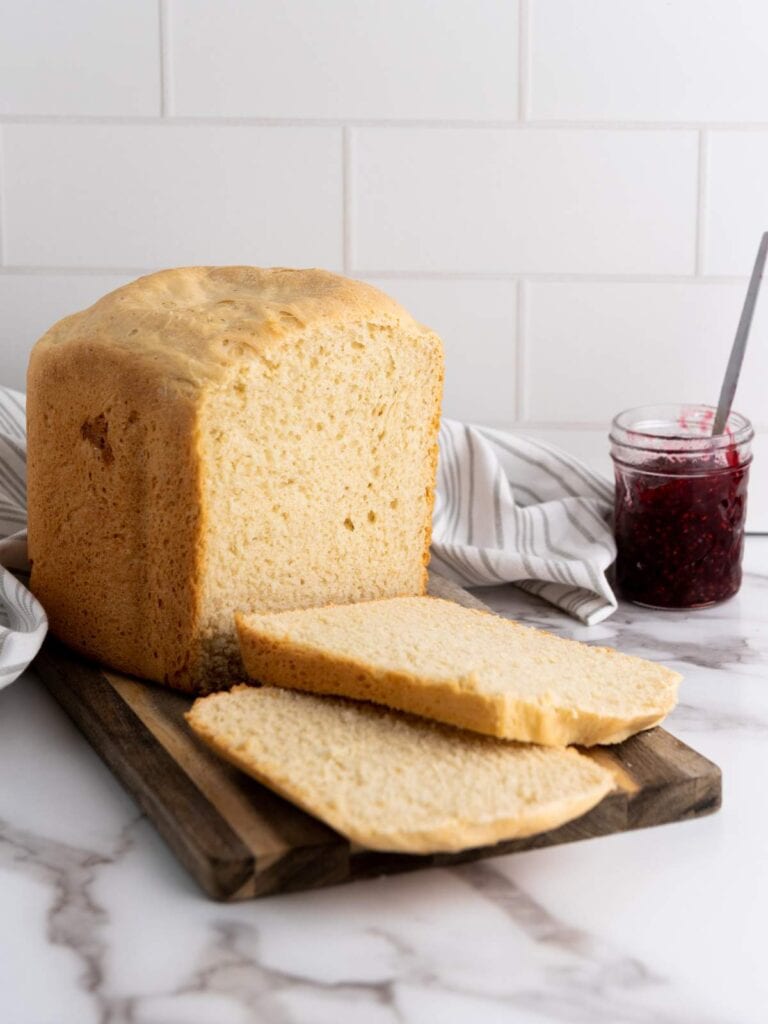
The bread machine earns its place in my kitchen the same way the slow cooker does: it runs quietly in the background while the morning happens around it. I make bread machine zucchini bread every summer and bread machine pumpkin bread every fall, but this basic loaf is the one I come back to all year. No season required.
It’s one of my favorite shortcut bread recipes to share with beginners and anyone who’s a little intimidated by bread making. The machine handles the hard part while you enjoy the best part: a freshly baked loaf without leaving home or paying bakery prices. It’s similar to my no-knead cassava bread and beer bread, which have that same beginner-friendly appeal. Different methods, same cozy payoff.
How to Make Bread Machine Bread
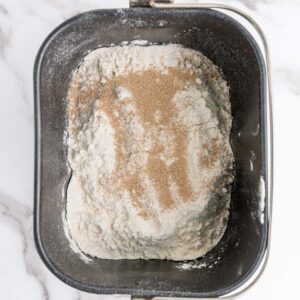
Adding the ingredients in the recommended order helps the bread machine do its job. Keeping the yeast on top of the flour and away from the salt until mixing begins gives the loaf its best chance at a good rise.
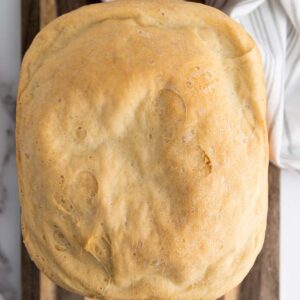
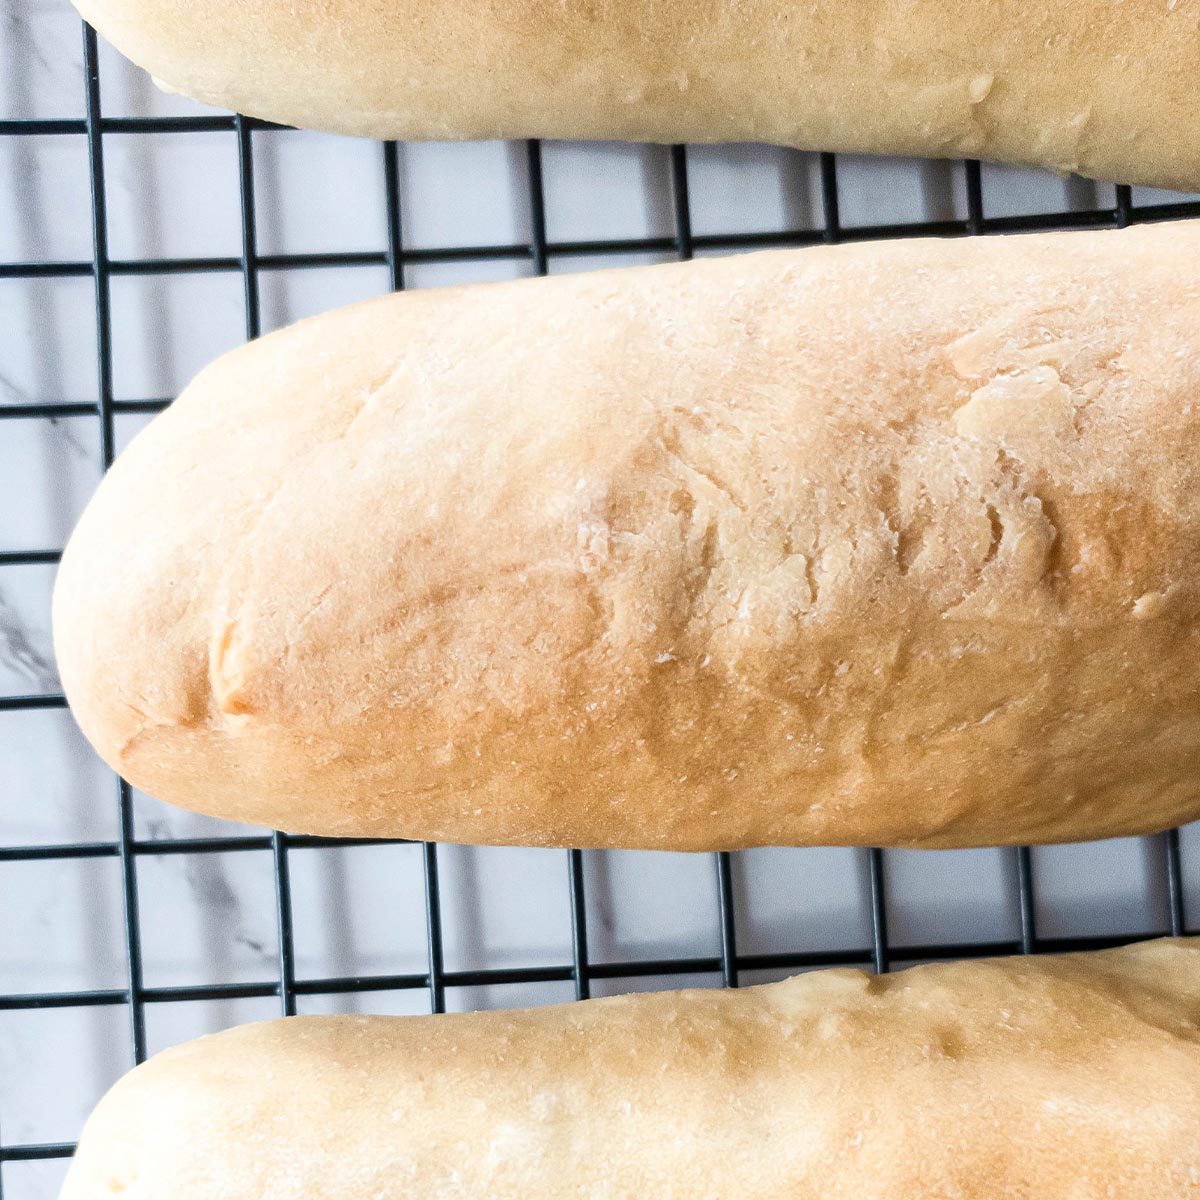
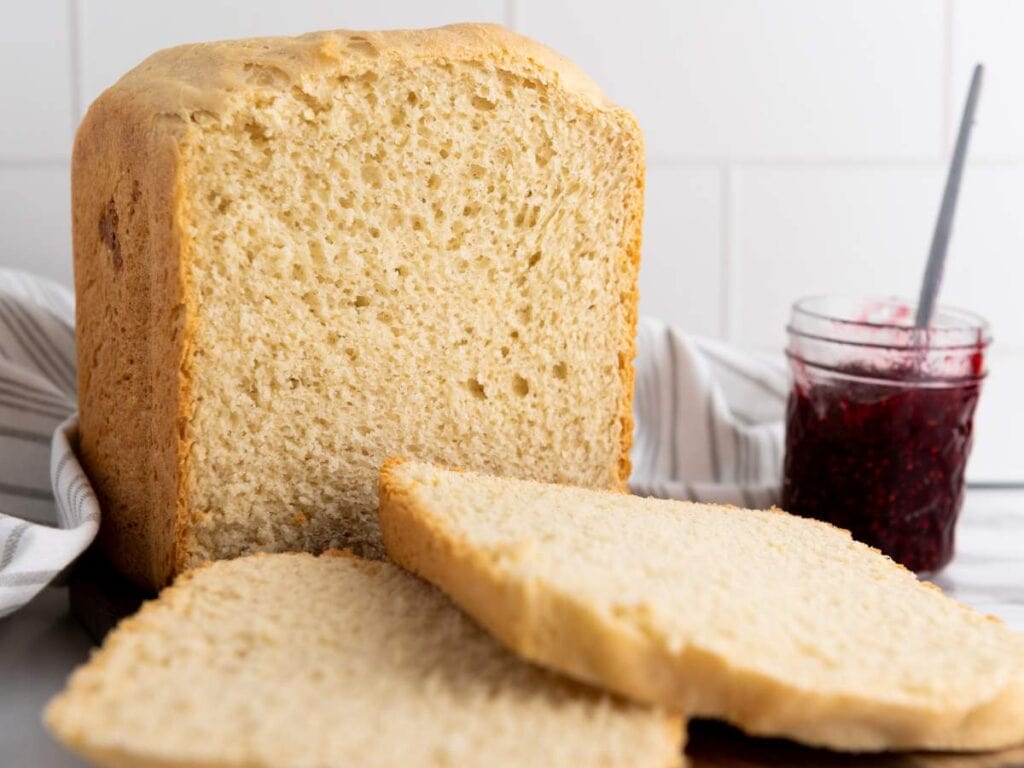
As the bread bakes, you’ll notice the top turning golden and the kitchen starting to smell like a bakery. That’s usually your sign that things are going according to plan. The finished loaf should feel light for its size and have a nicely domed top.
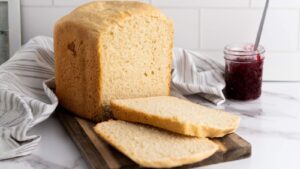
The only step I never rush is cooling. Fresh bread needs a few minutes for the steam inside to settle. If you slice it too soon, the center can seem gummy even though the bread is fully baked. A short rest makes all the difference.
The full ingredient list and step-by-step instructions are in the printable recipe card below.
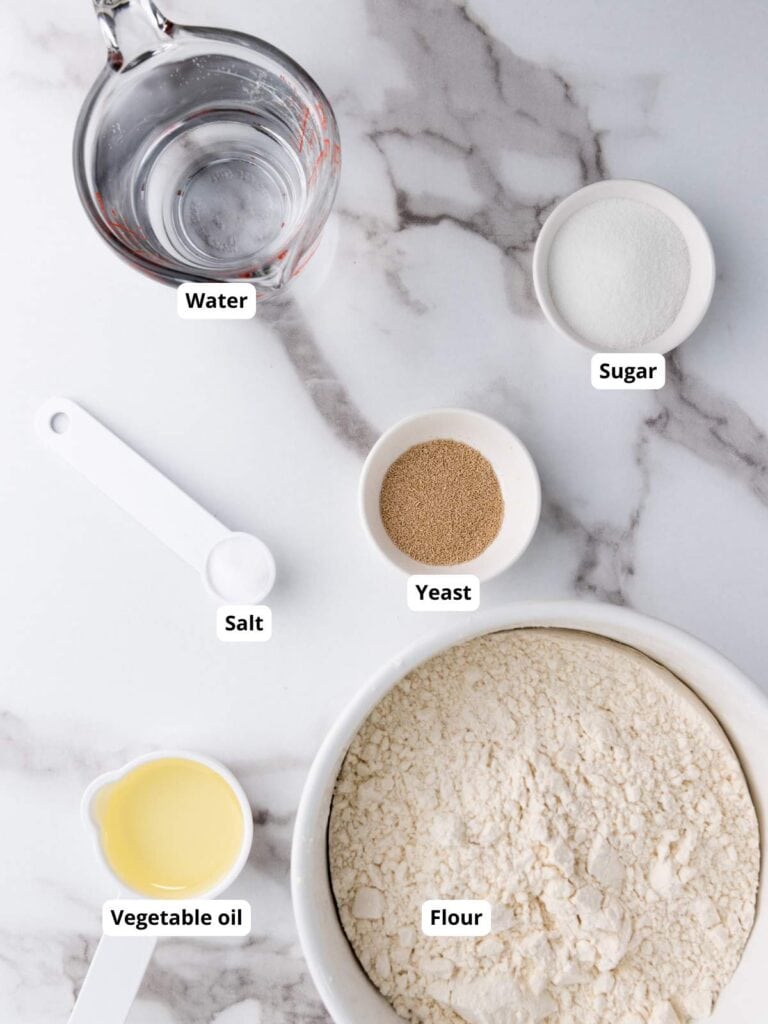
Ingredient Notes
- Bread flour: This is one ingredient I don’t substitute. Bread flour has a higher protein content than all-purpose flour, which gives the loaf its soft, chewy texture and sturdy slices for toast and sandwiches.
- Bread machine yeast: Bread machine yeast can be mixed right in with the dry ingredients. It is formulated to activate a little faster than regular active dry yeast, which makes it especially reliable for the timing and cycles built into bread machines.
Step-By-Step Instructions
- Add the ingredients to the bread machine pan in the order listed.
- Place the pan in the machine and select the correct settings.
- Cool before slicing.
Substitutions and Variations
- Swap the vegetable oil for melted butter if you prefer a richer flavor. The loaf will have a slightly softer crumb and a more buttery aroma. Melted coconut oil also works.
- Stir in 1 to 2 tablespoons of dried herbs such as rosemary or Italian seasoning into the bread flour if you want a savory loaf that’s perfect for soups and sandwiches.
What I’ve Learned Making This
I always check that the bread machine paddle is attached securely before adding the ingredients. I’ve forgotten once or twice and ended up with an expensive-looking brick.
If your loaf sinks in the middle, it’s usually a sign of too much liquid rather than a machine problem. The next time you make it, reduce the water by 1 to 2 tablespoons. Bread dough should be soft and slightly tacky, not loose or batter-like.
If the top of your loaf comes out pale, don’t assume something went wrong. Different bread machines brown differently, which is why I stick with the light crust setting and judge success by the texture of the bread, not the exact shade of the crust.
Storage & Reheating Tips
I keep this bread tightly wrapped or in an airtight container at room temperature for up to 3 days. I usually avoid the refrigerator because it tends to dry out the loaf faster than leaving it on the counter.
For longer storage, slice the loaf first, then place the slices in a freezer-safe bag or airtight container and freeze. That way, I can pull out exactly what I need and pop a slice straight into the toaster.
How to Serve Bread Machine Bread
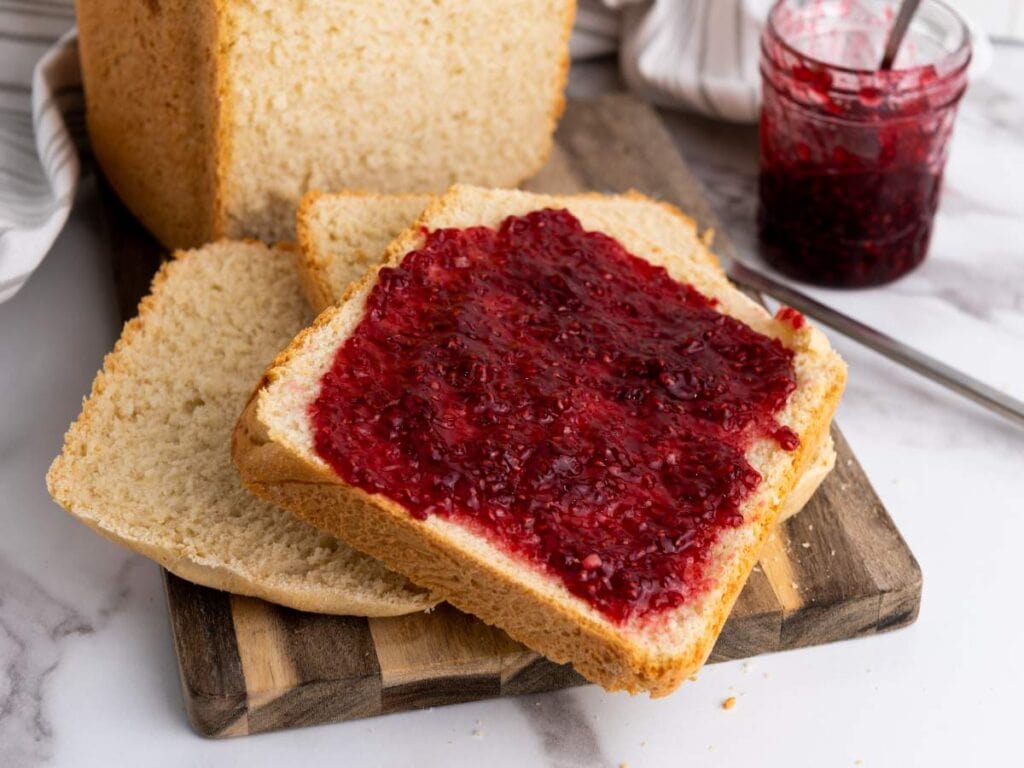
My favorite way to enjoy bread machine bread is by toasting it, slathered with butter and jam or strawberry preserves, spread with peanut butter, or drizzled with honey. I often serve it with scrambled eggs and breakfast sausage in the morning, or pair a few slices with a bowl of soup like Panera’s copycat broccoli cheddar soup or tomato basil soup for lunch.
If you’re looking for a loaf built specifically for sandwiches, my white sandwich bread is a leaner formula built for that job, but don’t hold back if you’ve already got this one made. You can draw flavor inspiration from croffle sandwiches, ham and cheese sliders, and chicken club sandwiches.
More Easy Bread Recipes To Try
- Applesauce bread
- Copycat Jimmy John’s bread
- Roasted garlic bread
- Cornbread with Bisquick
- 4-ingredient banana bread
Basic Bread Machine Bread
Ingredients
- 1 ⅓ cups water
- 1 tablespoon salt
- 2 tablespoons granulated sugar
- ¼ cup vegetable oil
- 4 ½ cups bread flour
- 1 ½ tablespoons bread machine yeast
Instructions
- Add the water, salt, sugar, vegetable oil, bread flour, and yeast to the bread machine pan in that exact order.

- Place the pan in the machine, select the basic bread cycle for a 2 lb. loaf, and choose your crust color. I go with light.
- Let the bread cool for at least 30 minutes before slicing. Cutting in too soon risks making it gummy in the middle.