Baked Custard With Heavy Cream
As an Amazon Associate, I earn from qualifying purchases.
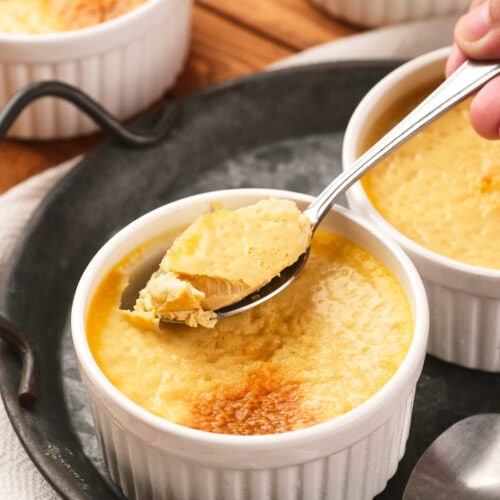

Baked custard should come out silky all the way through, set at the edges and still moving in the middle. This one does, with three ingredients in one bowl and half an hour in the oven. The difference is heavy cream instead of the milk almost every other version uses, and it’s why the list can stop at three and still taste like something. I’ve never seen the need to make it more complicated than that.
Classic custard wants scalded milk, tempered yolks, and a strainer. I’ve got three shelves of cookbooks in the cabinet where the china lives, and a good number of them have a custard in there somewhere asking for exactly that. I’ve read them. I don’t make them, and this is the one I make instead, because eggs, cream, and vanilla already do the job. If you want something simpler still, my chocolate cottage cheese pudding goes in a blender and never sees the oven.
When I want the fussier end of that shelf, lemon angel pie has a meringue crust and three layers to build. The middle ground is the no-crust cheesecake, which leaves the crust out and keeps everything else. There are more of these in my old-fashioned recipes if you want to keep going after this one.
How to Make Baked Custard
Almost every baked custard starts with milk. This one starts with heavy cream, and that swap does most of the work. Cream sets richer and faster, so a three-ingredient list still turns out something worth putting on the table.
Cream instead of milk is the whole difference. Most baked custard recipes call for whole milk, then need sugar and spice to carry it. Cream brings enough on its own that the list stops at three.
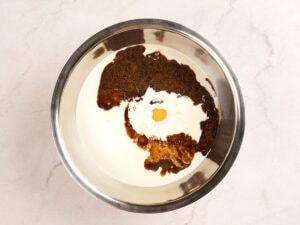
Everything goes into one bowl and gets whisked until it’s smooth. Smooth is the word that matters. Streaks of egg white bake into small, firm bits and once they’re in there, they stay, so give it the extra minute.
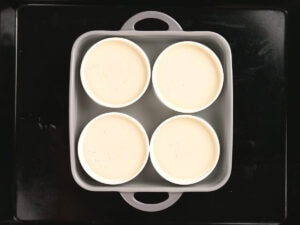
The water bath is the step people want to skip, and it’s the one step that isn’t optional. The hot water keeps the heat around the ramekins gentle and even, which is the difference between custard and sweetened scrambled eggs. Pour the water in once the pan is already on the oven rack, not before you carry it.
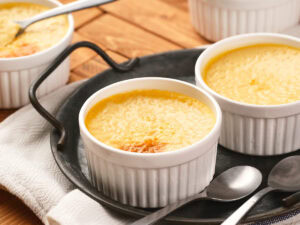
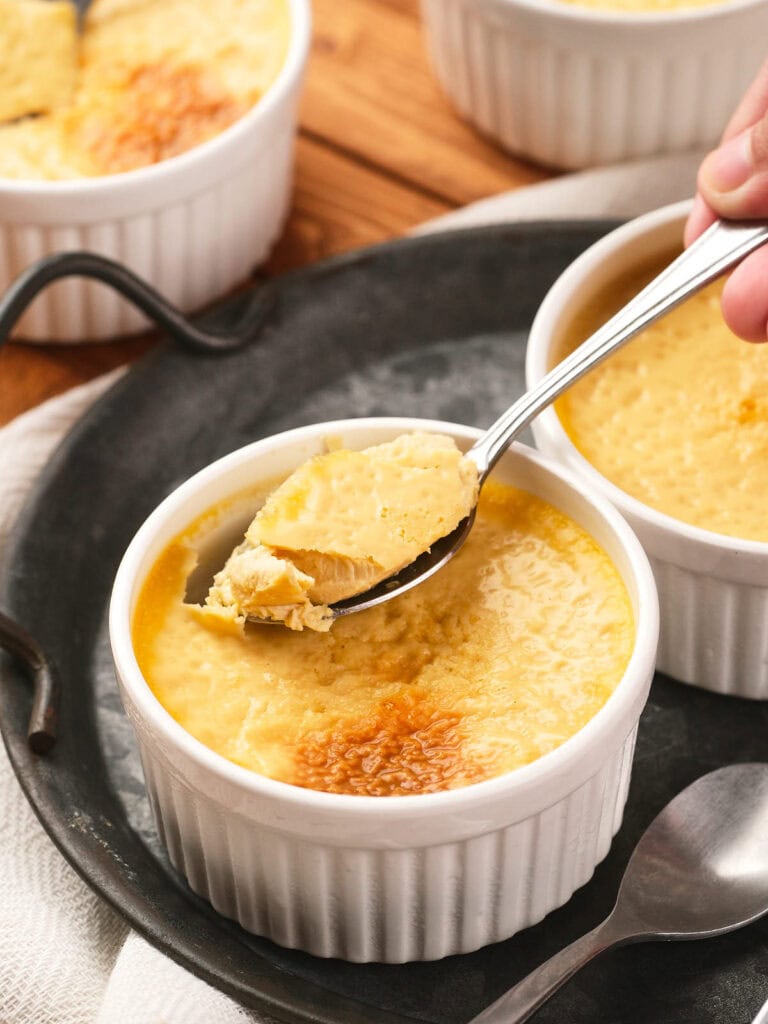
Pull it when the tops are golden and the edges are set but the center still moves if you nudge the pan. It’ll look underdone. It isn’t, and it keeps setting as it cools. Wait for the middle to stop moving in the oven and you’ve gone past it.
Keep scrolling for the printable recipe card with the full ingredient amounts, timing, and step-by-step directions.
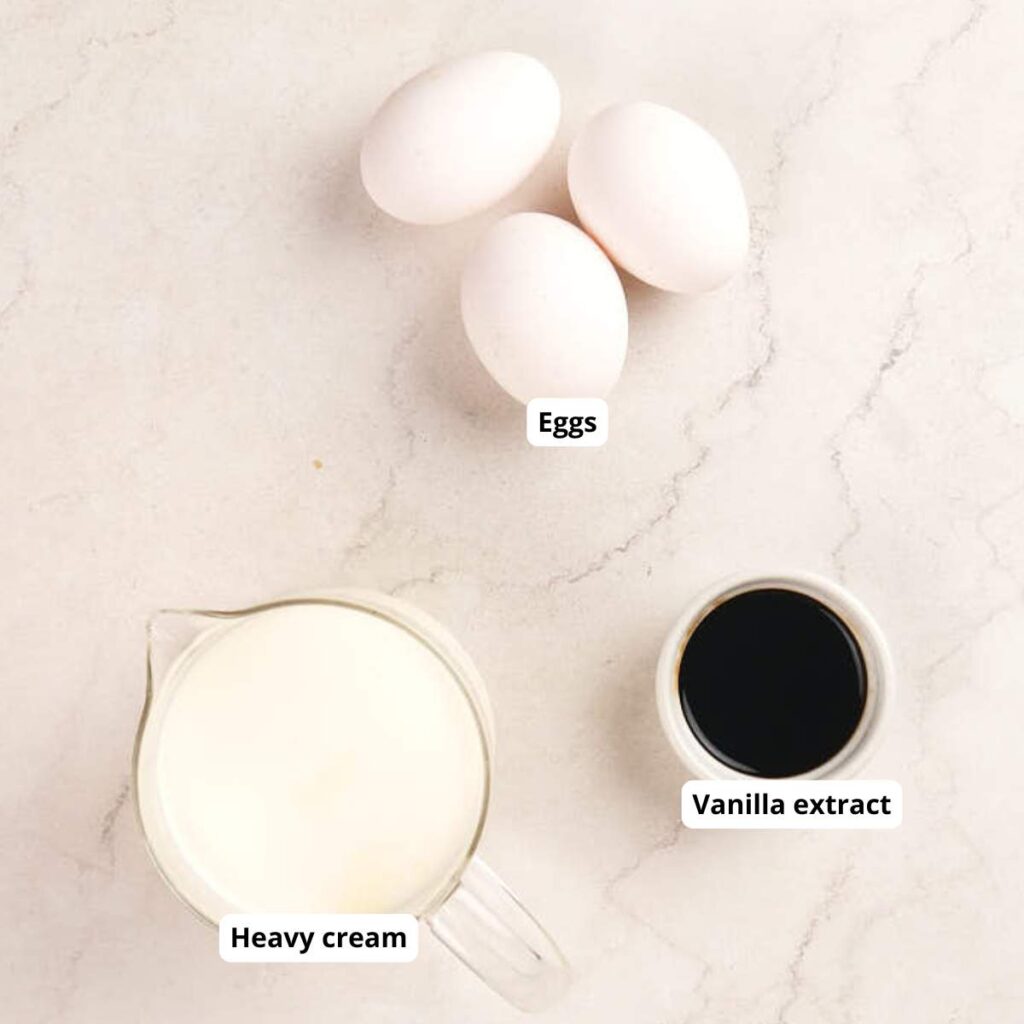
Ingredient Notes
- Eggs. Three whole eggs, yolks and whites together. The whites do the setting, which is why there’s no cornstarch and no cooked base here, and using whole eggs instead of yolks alone is why there’s nothing to separate, temper, or strain.
- Heavy cream. This is the ingredient the recipe is built on. Half-and-half should still set, but it’s lighter and thinner, and with three ingredients on the list, there’s nothing else to make up the difference. I haven’t tested it myself, so treat that as reasoning and not a promise.
- Vanilla extract. A full tablespoon, which is more than most custards use, and real extract if you’ve got it. With this few ingredients the vanilla isn’t a background note. It’s a third of the flavor.
- Sugar, optional, if you want it. I don’t add any. The cream and vanilla carry it, and that’s how we eat it here. If you like a sweeter custard, a quarter cup of granulated sugar goes into the bowl with everything else, and the card is written so you can add it or leave it out without changing anything else.
- Salt, optional. There’s none, and that’s on purpose. Nearly every other baked custard includes a pinch, and I left it out to keep the list at three. A pinch in the bowl won’t hurt anything if you like salt as much as I do.
What I’ve Learned Making This
Whisk longer than feels necessary. The bits of egg white that survive the bowl are the only thing that ruins the texture, and they’re the easiest thing to prevent.
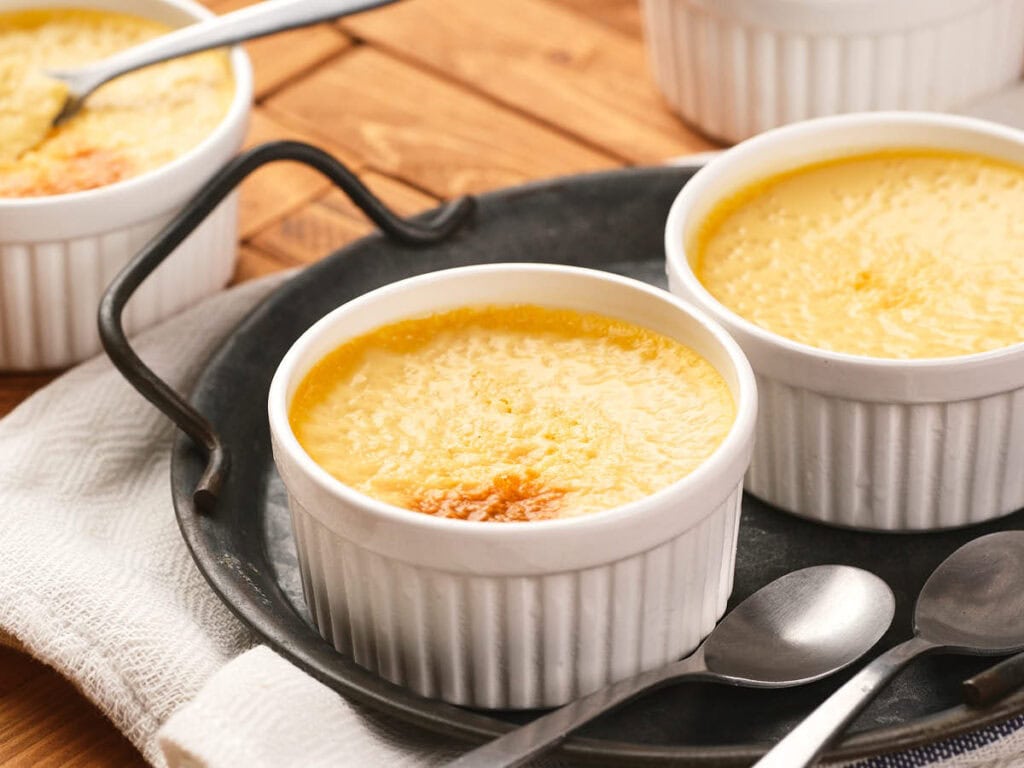
Golden on top is right here, not overdone. With cream and this bake time you get color, and the inside is still soft.
Trust the wobble over the clock. Thirty minutes is right for three-inch ramekins, but ovens vary, and the center moving when you nudge the pan is the read that matters.
Leftovers get eaten cold, straight from the fridge, and they’re better for it. It firms up as it chills and the vanilla comes forward. I’ve never reheated one and I wouldn’t bother.
Don’t freeze it. The texture won’t hold.
How to Serve Baked Custard
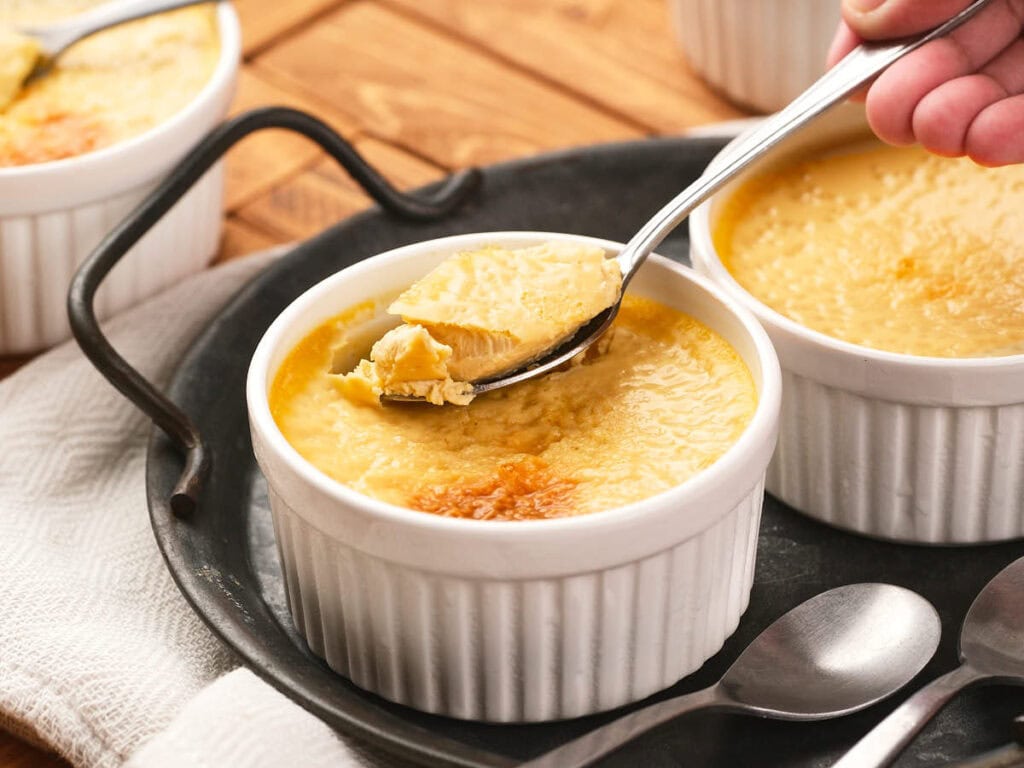
Warm out of the oven and cold from the refrigerator are two different desserts. Warm, after about ten minutes on the rack, it’s loose and spoonable and tastes mostly of cream. Cold, it’s firmer and the vanilla is the first thing you notice.
Plain is how it usually goes here. If you’re dressing it up, a spoonful of honey or a dusting of nutmeg is plenty, and fresh berries work if they’re in good shape, which is its own small project. My guide to washing and storing summer berries covers the part everyone gets wrong. Moisture makes berries go over, not washing them.
Easy Baked Custard With Heavy Cream
Video
Ingredients
- 3 large eggs
- 2 cups heavy cream
- 1 tablespoon vanilla extract
Instructions
- Preheat the oven to 350 F.
- Add all ingredients (including optional sugar) to a large bowl and whisk until the mixture is completely smooth.

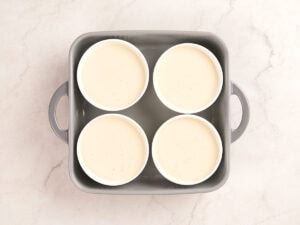
- Pour the custard evenly into four 3-inch ramekins, about 6 ounces each. Set the ramekins inside an 8×8-inch baking dish.
- Boil 2 to 3 cups of water in a small saucepan or kettle. Carefully pour the hot water into the baking dish around the ramekins until it reaches about 1 inch up the sides.
- Bake for 30 minutes, or until the tops are golden, the edges are set, and the centers still have a slight wobble. Bake for up to 10 more minutes if needed.
- Remove from the oven and cool on a wire rack for 10 minutes. Serve warm, or refrigerate until chilled for a firmer texture.