Creamy No-Crust Cheesecake Recipe
As a participant in the Amazon Services LLC Associates Program and other affiliate programs, Easy Homemade Life may collect a share of sales or other compensation from the links on this page. This comes at no additional cost to you, and all the prices and availability are accurate at the time of publishing.

Make this no-crust cheesecake if you want to enjoy cheesecake without all the extra work. This recipe keeps things simple while giving you that smooth, creamy texture everyone loves. No springform pan, no cracking—just a perfectly balanced bite every time.
You all loved the easy cake recipes like chocolate fudge cake and red velvet cake that I shared before, so I know you’re going to be just as smitten with this one! This cheesecake skips the crust and finicky water bath, but keeps all the flavor and creaminess you expect.
This is another of my Aunt’s recipes that my Grandpa loved. I’ll save it to pass on to my daughter and keep it going through the generations. It’s a fuss-free dessert that fits right in at family gatherings, holidays, and special occasion potlucks.
How to Make No-Crust Cheesecake
Just mix up the creamy filling, pour it into your baking dish, and bake until it’s set in the center. Then spread on the sour cream topping and pop it back in the oven for a quick finish. The cooling time is what gives it that rich, creamy texture everyone loves.
Scroll to the bottom of this post for a printable recipe card with a full list of ingredients, measurements, and step-by-step instructions.
Ingredients You Need
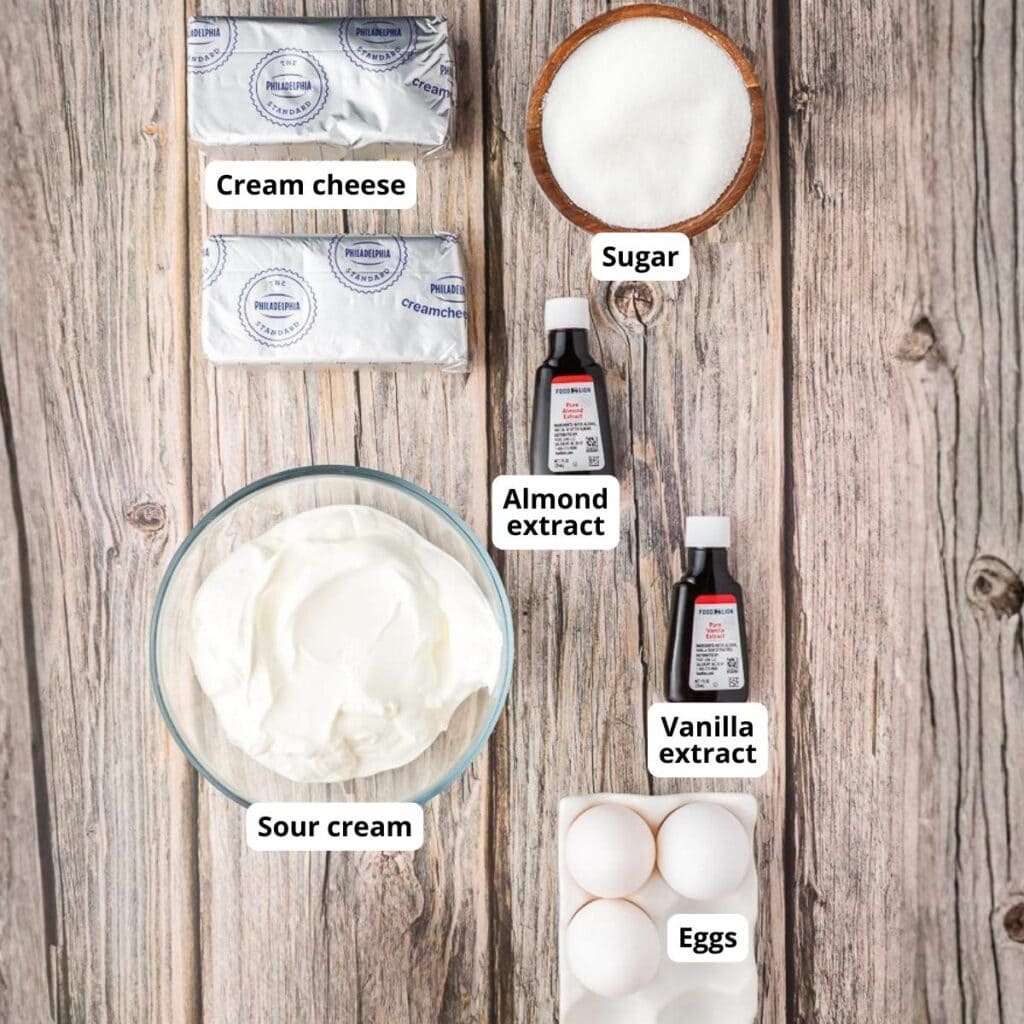
- Butter: Just a little to grease your pan.
For the filling:
- Cream cheese: Go with full-fat for the creamiest texture. Let it soften first so your batter mixes up smooth and lump-free.
- Granulated sugar
- Eggs
- Almond extract
For the topping:
- Sour cream: Balances the sweetness perfectly.
- Granulated sugar
- Vanilla extract
Step-By-Step Instructions
First time making cheesecake from scratch? You’ve got this. Walk through the steps below and get ready to impress family and friends.
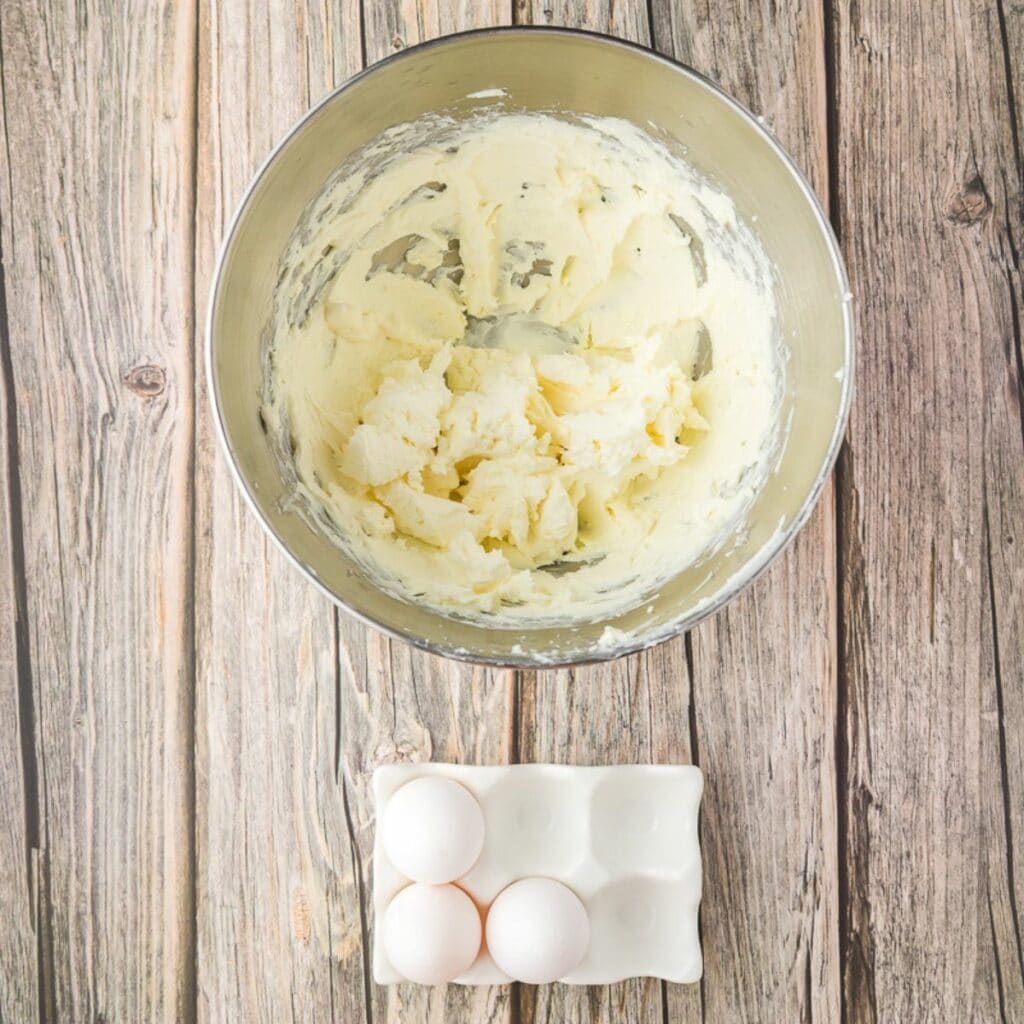
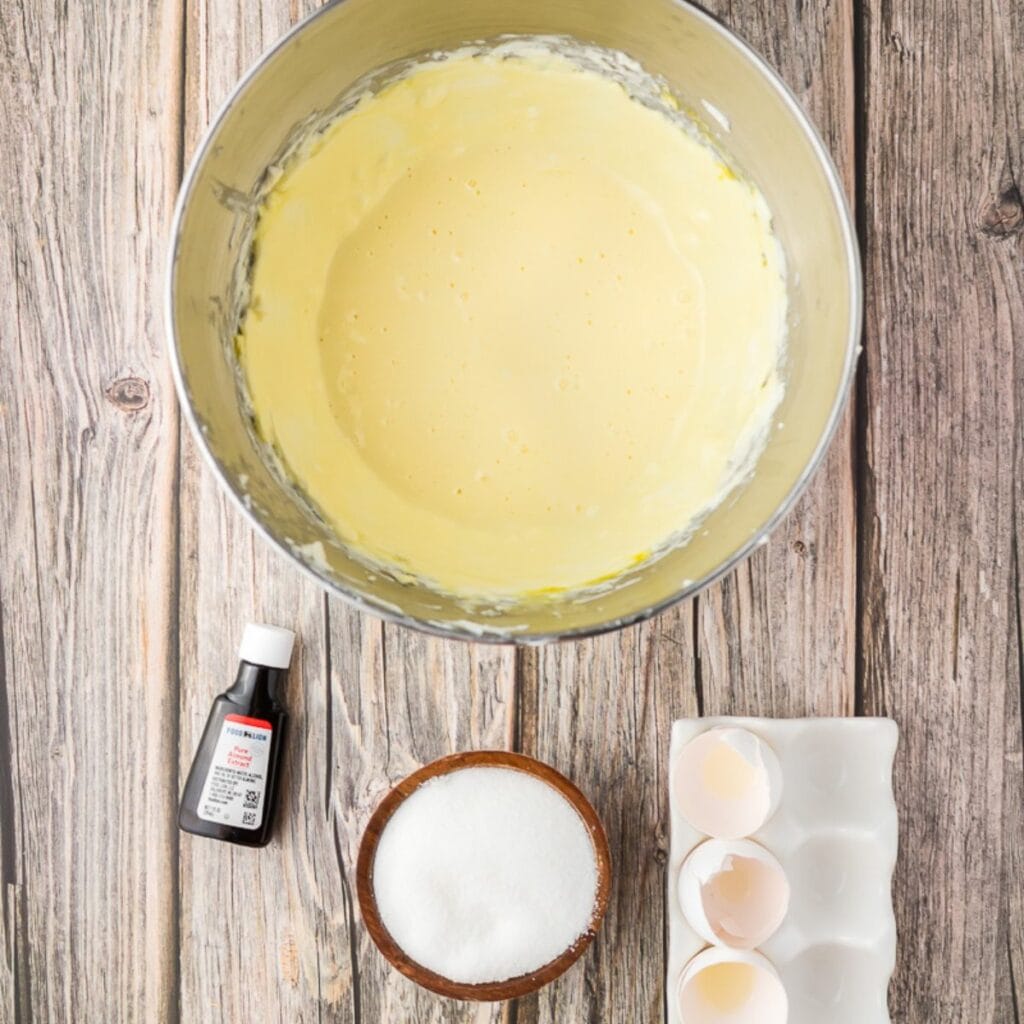
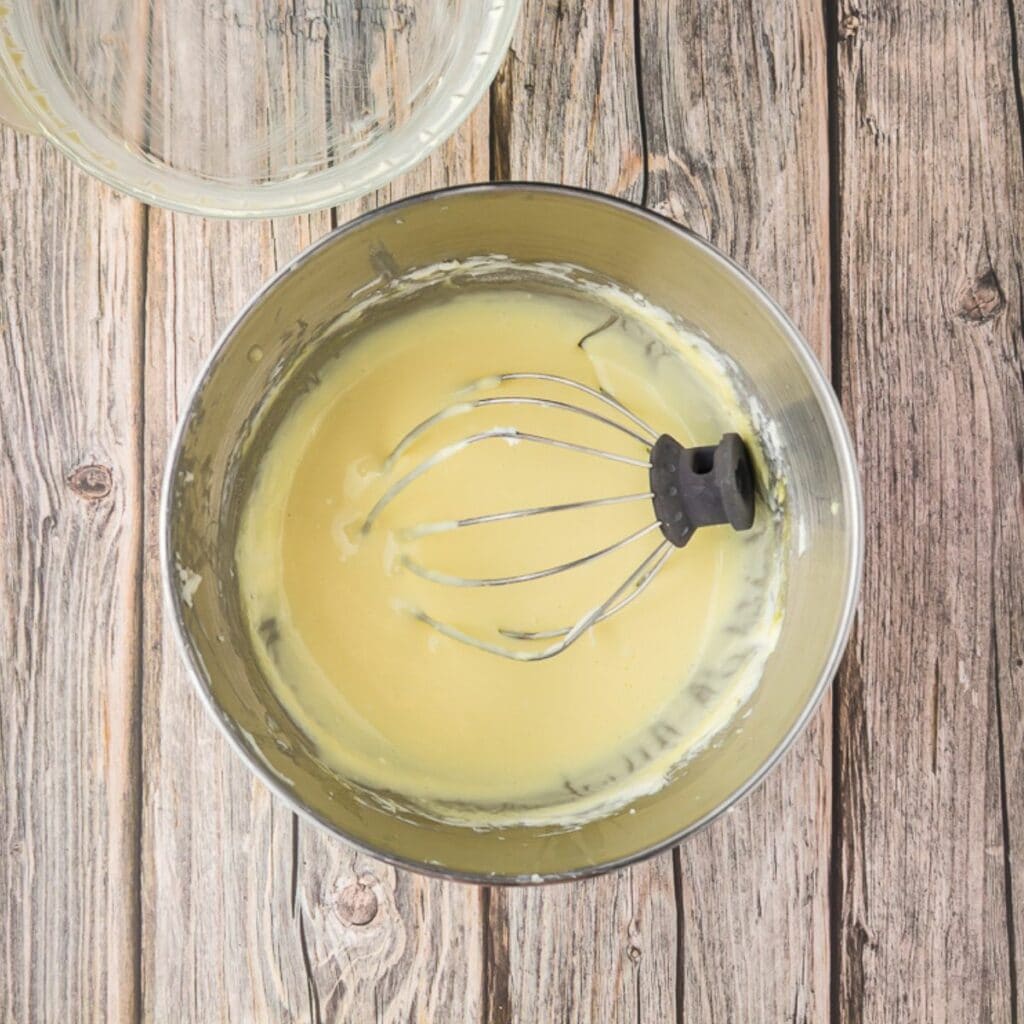

Step 1: Prepare the base
Preheat your oven to 325°F and lightly grease a 9-inch pie pan with butter.
In a mixing bowl, beat the cream cheese until smooth and creamy. Add the eggs one at a time, mixing well after each. Stir in the sugar and almond extract, then continue mixing until the batter looks silky and pale, about 5 minutes.
Step 2: Bake
Pour the filling into your prepared pie pan and place it in the oven. Bake for 50 minutes, then take it out and let it rest on the counter for about 20 minutes while you make the topping. Leave the oven on.
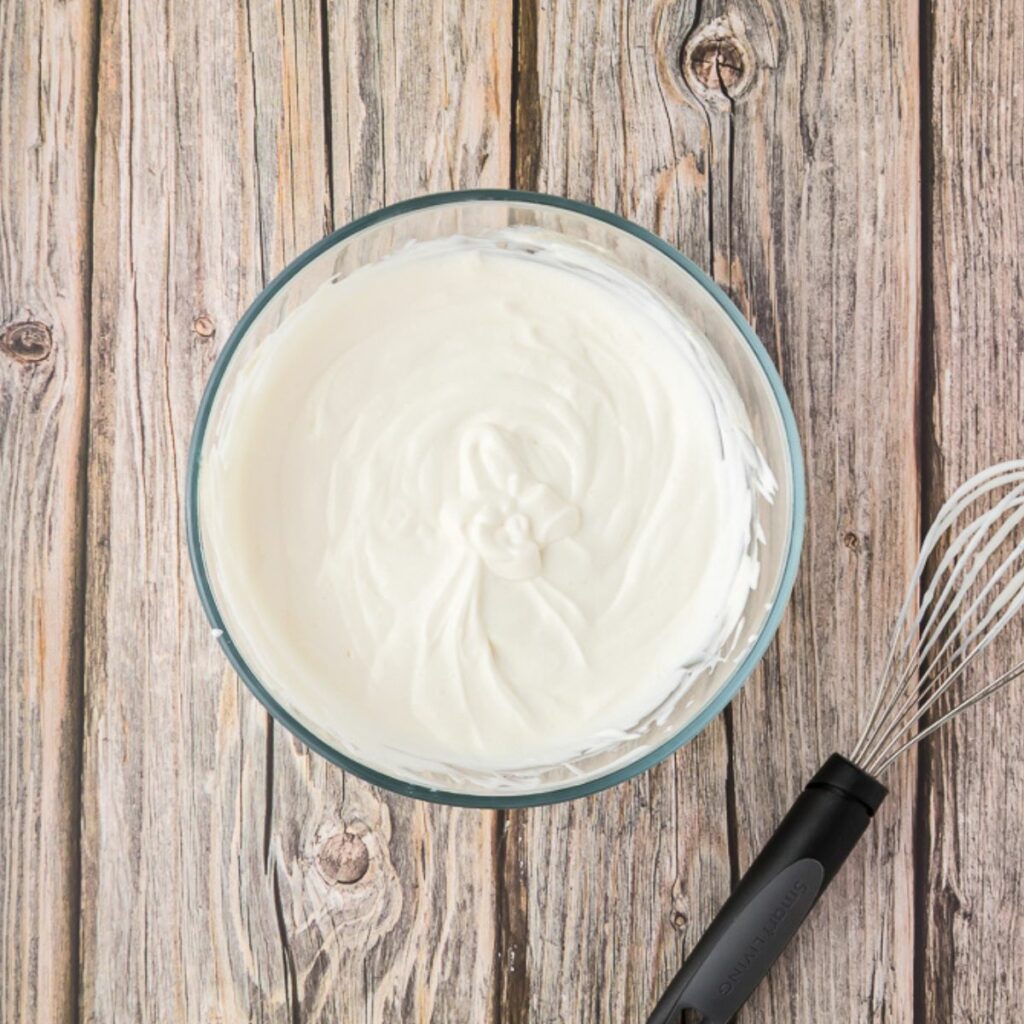
Step 3: Make the topping
In a small bowl, combine the sour cream, sugar, and vanilla. Whisk until smooth and creamy.
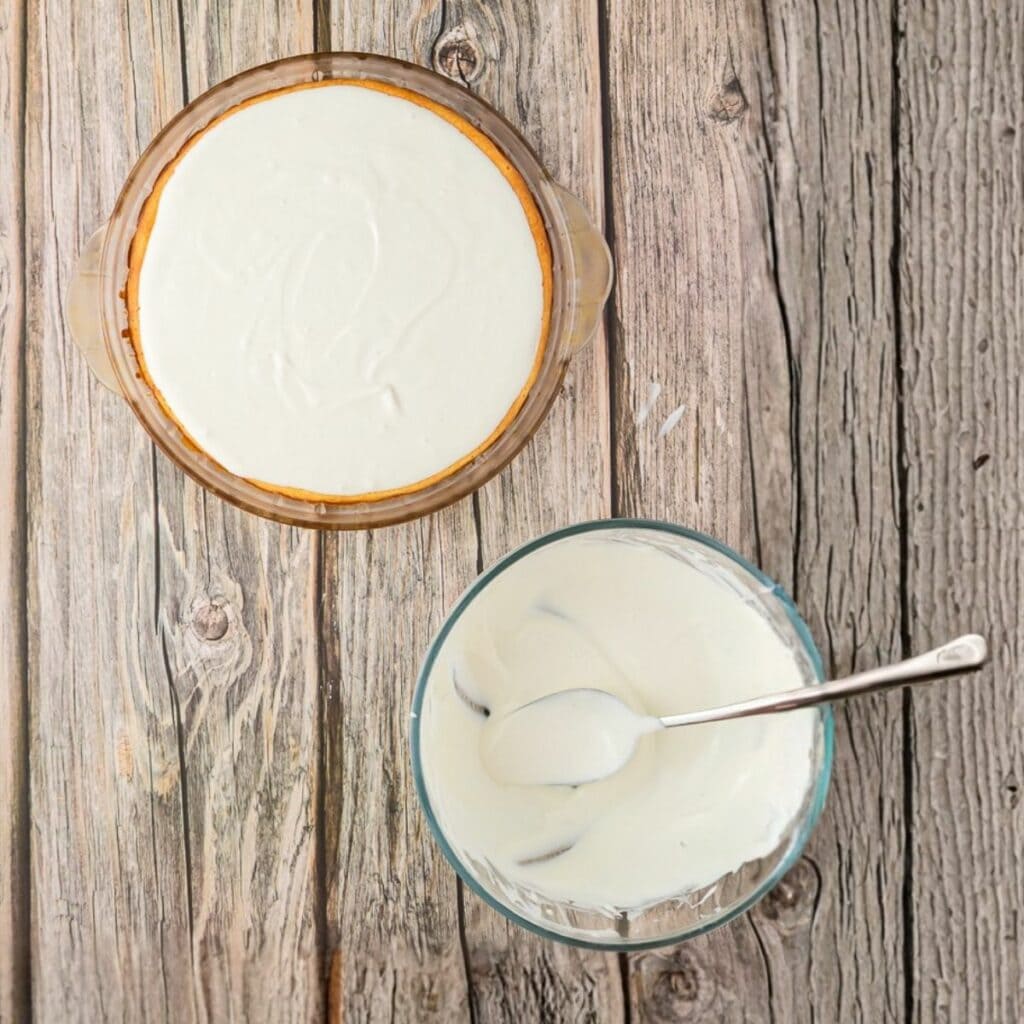
Step 4: Add the topping and bake again
Gently spread the sour cream mixture over the cheesecake, covering the surface evenly. Return it to the oven and bake for another 15 minutes.
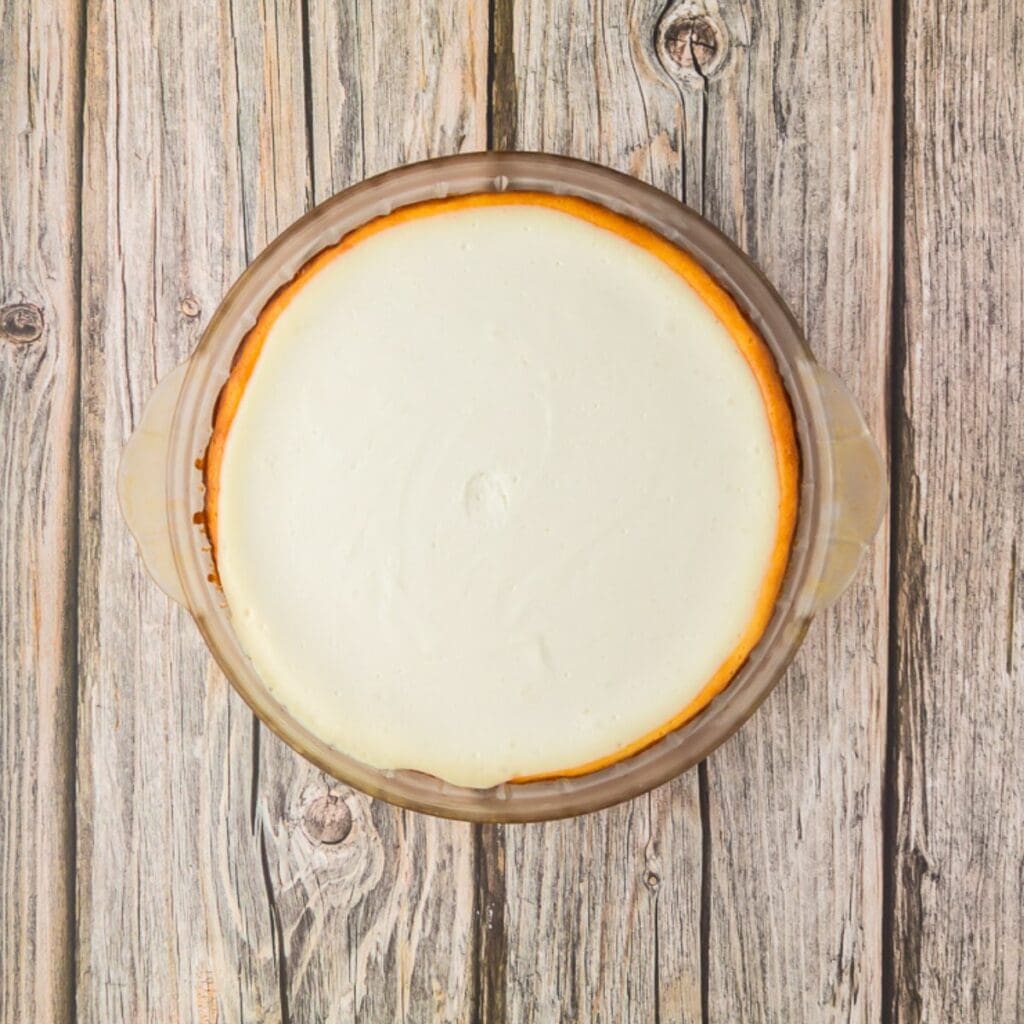
Step 5: Cool
Let the cheesecake cool completely at room temperature before transferring it to the fridge. Chill for at least 4 hours or overnight.
Expert Tips
- Bring ingredients to room temperature: Cold cream cheese and eggs don’t mix well and can leave your batter lumpy. Let them warm up for about half an hour before you start.
- Mix gently: Stop as soon as the batter looks smooth. Overmixing adds too much air, which can lead to cracks while it bakes.
- Play with the flavors: Make this cheesecake your own! Try vanilla or lemon extract instead of almond, or mix in a little orange zest, jam, or chocolate to the topping.
- Don’t rush: Cooling completely in the fridge gives your cheesecake the best texture and flavor, so resist the urge to slice early!
How to Store This Recipe
Keep it in the refrigerator for up to 5 days. To freeze, wrap the whole cheesecake or individual pieces in plastic wrap, then add a layer of foil to prevent freezer burn. It will stay fresh for up to a month.
When you’re ready to enjoy it again, thaw it in the fridge overnight. Serve it chilled.
How to Serve No-Crust Cheesecake
No-crust cheesecake is best enjoyed chilled straight from the fridge when it’s firm. For clean slices, warm your knife under hot water and wipe it dry between cuts.
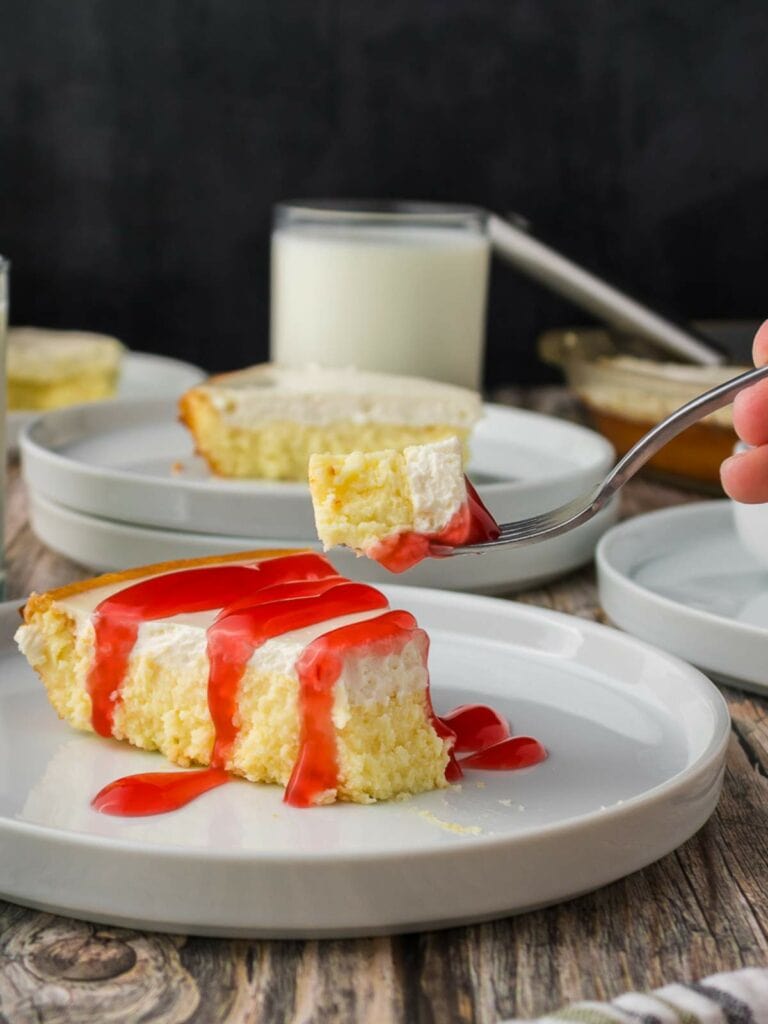
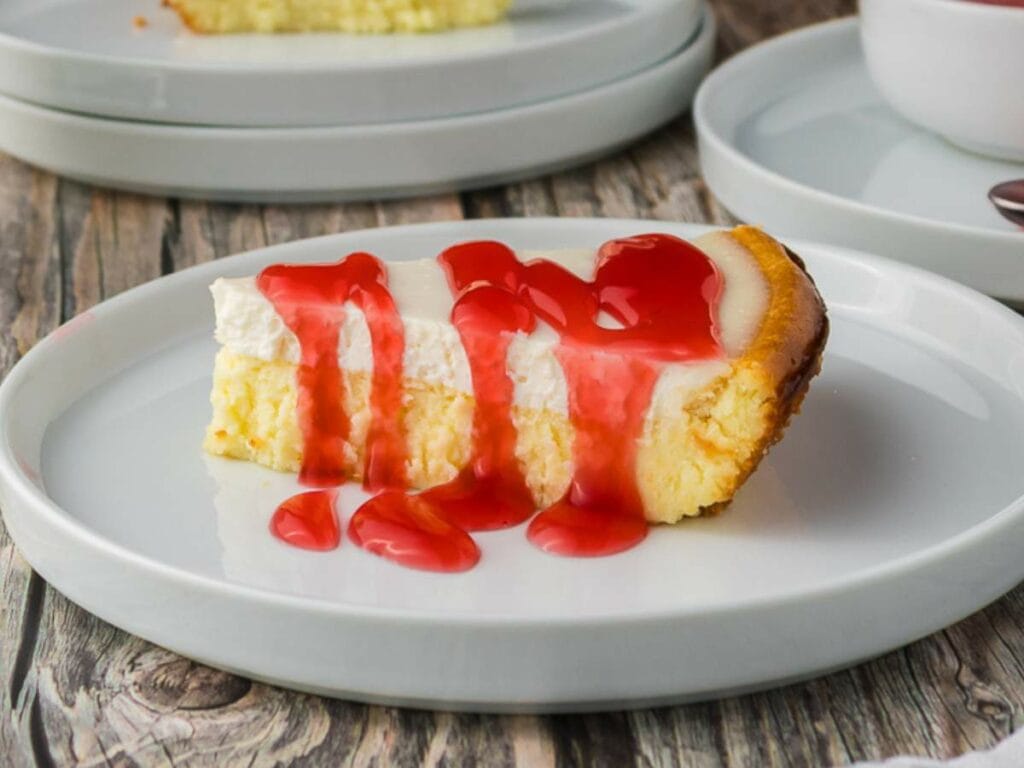
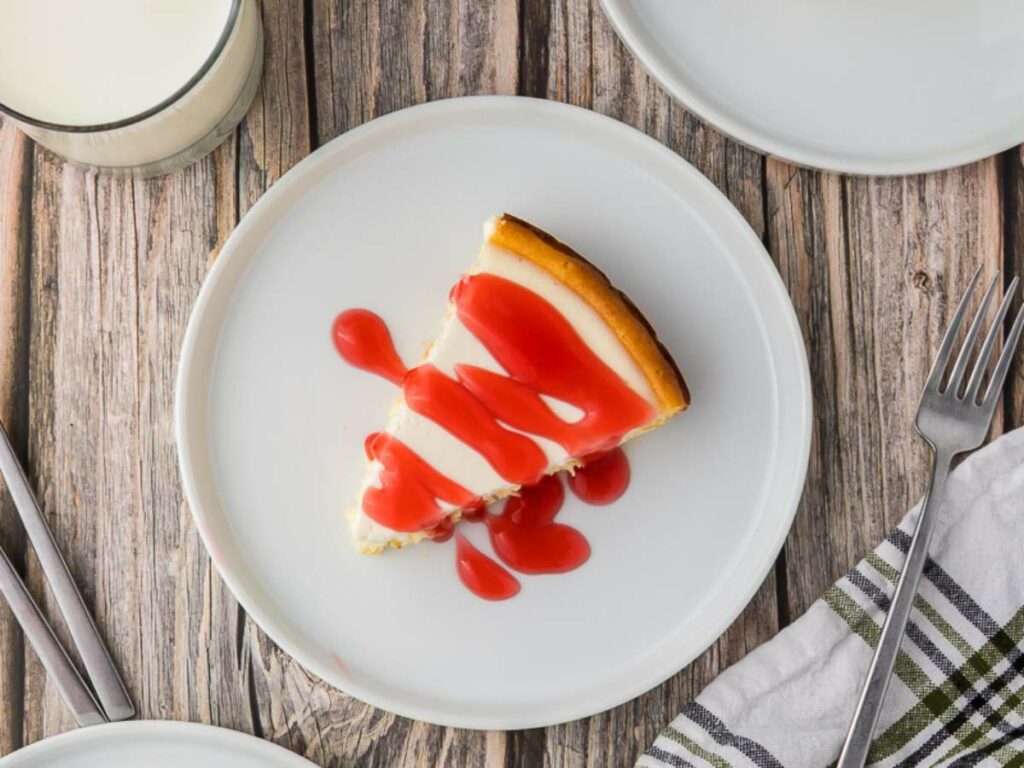
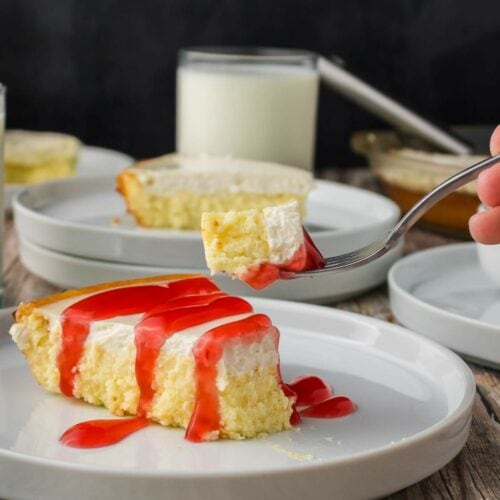
Serve it plain or dress it up with your favorite toppings for a little extra flair. I often grab a can of cherry pie filling and drizzle it over. It’s as easy as opening the can and scooping out a few spoonfuls.
It’s lovely with a hot cup of coffee or tea and also goes well with something a little fancier, like an espresso martini or a glass of sparkling dessert wine for Thanksgiving or Easter feasts.
More Creamy Desserts To Try
No-Crust Cheesecake Recipe
Video
Ingredients
- 1 portion butter for greasing the pie pan
For the Filling:
- 2 (8-ounce) packages cream cheese softened
- ⅖ cup granulated sugar
- 3 large eggs
- ⅙ teaspoon almond extract
For the Topping:
- 2 cups sour cream
- 3 tablespoons granulated sugar
- 1 teaspoon vanilla extract
Instructions
- Preheat your oven to 325 °F and lightly grease a 9-inch pie pan with butter.
- In a mixing bowl, beat the cream cheese until smooth and creamy. Add the eggs one at a time, mixing well after each. Stir in the sugar and almond extract, then continue mixing until the batter looks silky and pale, about 5 minutes.
- Pour the filling into your prepared pie pan and place it in the oven. Bake for 50 minutes, then take it out and let it rest on the counter for about 20 minutes while you make the topping. Leave the oven on.
- In a small bowl, combine the sour cream, sugar, and vanilla. Whisk until smooth and creamy.
- Gently spread the sour cream mixture over the cheesecake, covering the surface evenly. Return it to the oven and bake for another 15 minutes.
- Let the cheesecake cool completely at room temperature before transferring it to the fridge. Chill for at least 4 hours or overnight.
Notes
- Let the cream cheese and eggs sit at room temperature for about 30 minutes so they blend smoothly.
- Mix just until the batter is smooth to avoid cracks while baking.
- Chill completely in the fridge before slicing for the best texture and flavor.